Azure Blob Storage
Overview
The Azure Blob Storage connector provides a convenient way of importing event data directly from an Azure Blob Storage container into the Decentriq DMP.
Prerequisites
- Have an Azure account.
- Have an existing Azure Blob Storage container containing the data to import.
- Have a valid connection string with sufficient permissions to read the storage account and container.
Step-by-step guide
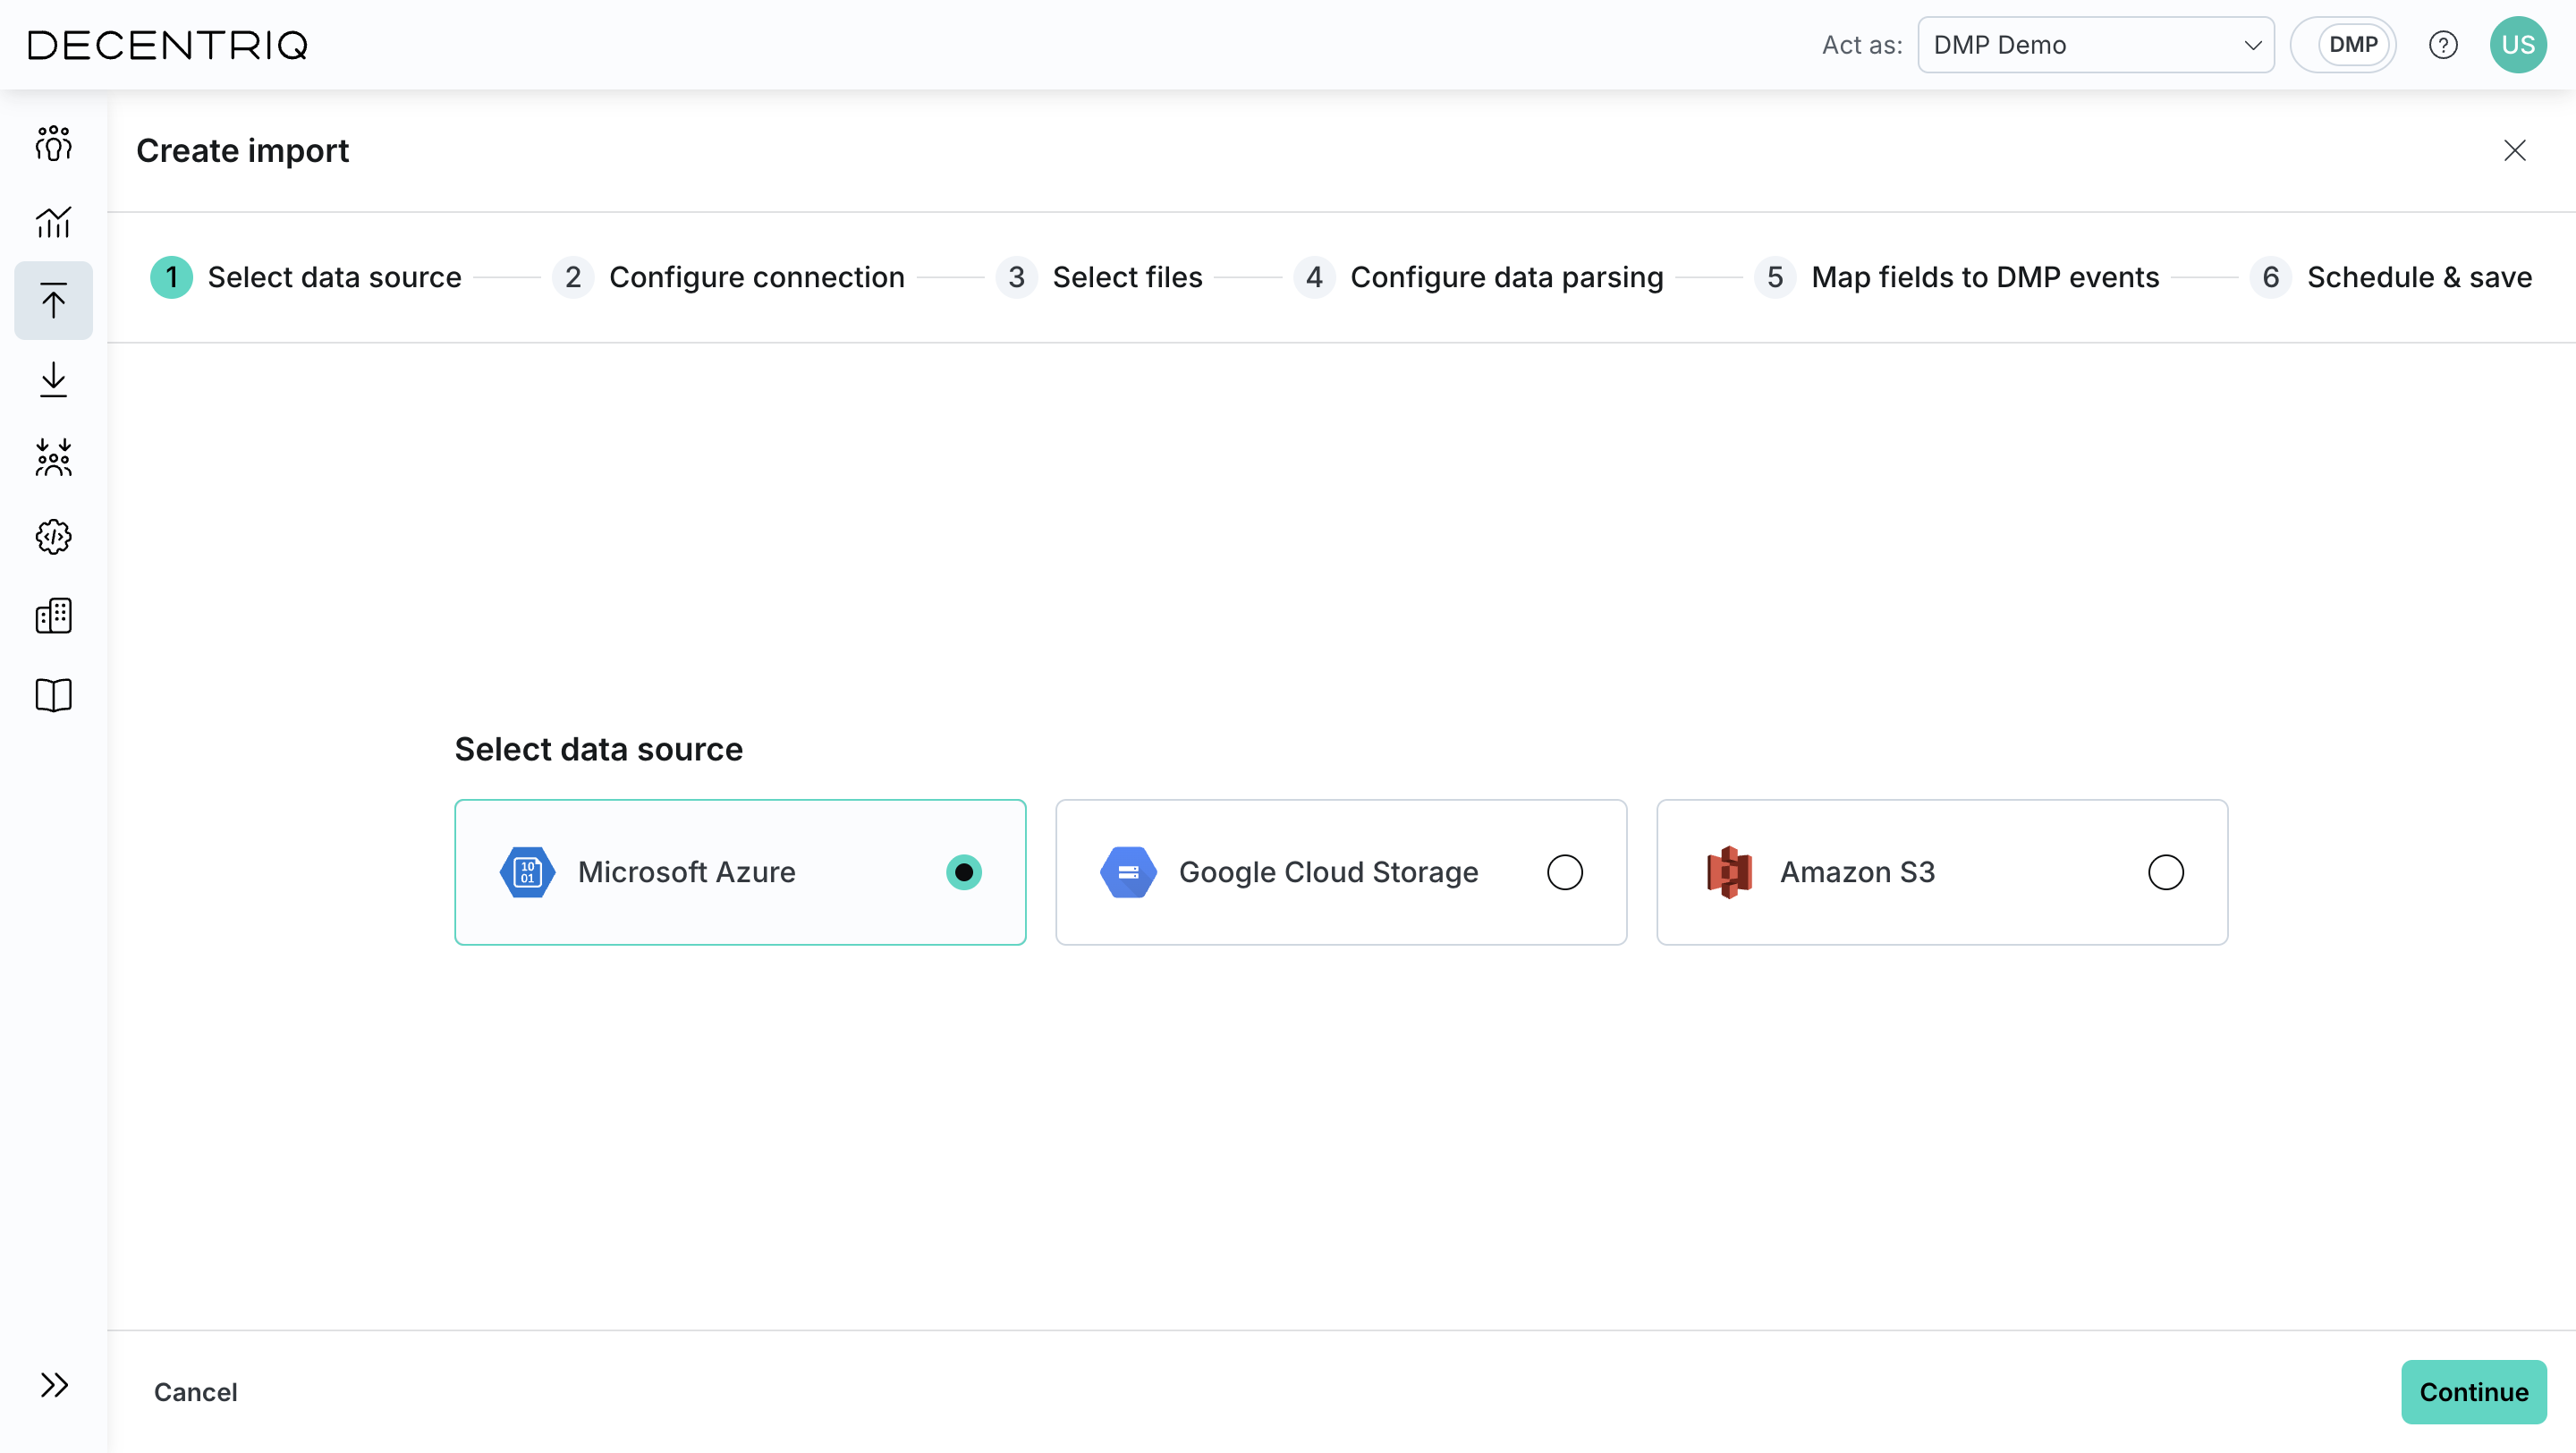
Step 1: Select the source
Follow the steps to create a new import and choose Azure Blob Storage from the list of available data sources.
Step 2: Configure connection
Input the required information:
Connection string: The connection string for the Azure Storage account. This string contains the credentials and configuration required to access the storage account.
You can retrieve it by logging into the Azure Portal, navigating to your storage account, and locating it under Access keys or Connection strings in the settings.

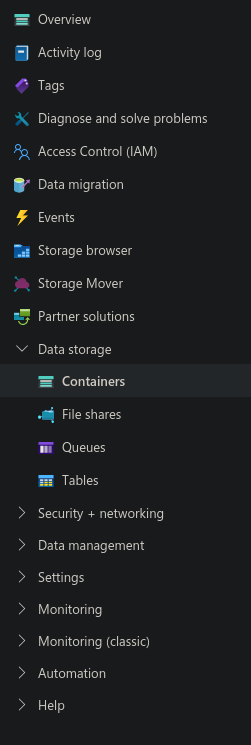
Container: Name of the container from which the data should be imported.
After selecting the appropriate storage account, select the desired storage container from the Data storage > Containers menu.
Path prefix: An optional prefix used to limit the scope of retrieved blobs to a specific folder or directory within the container.
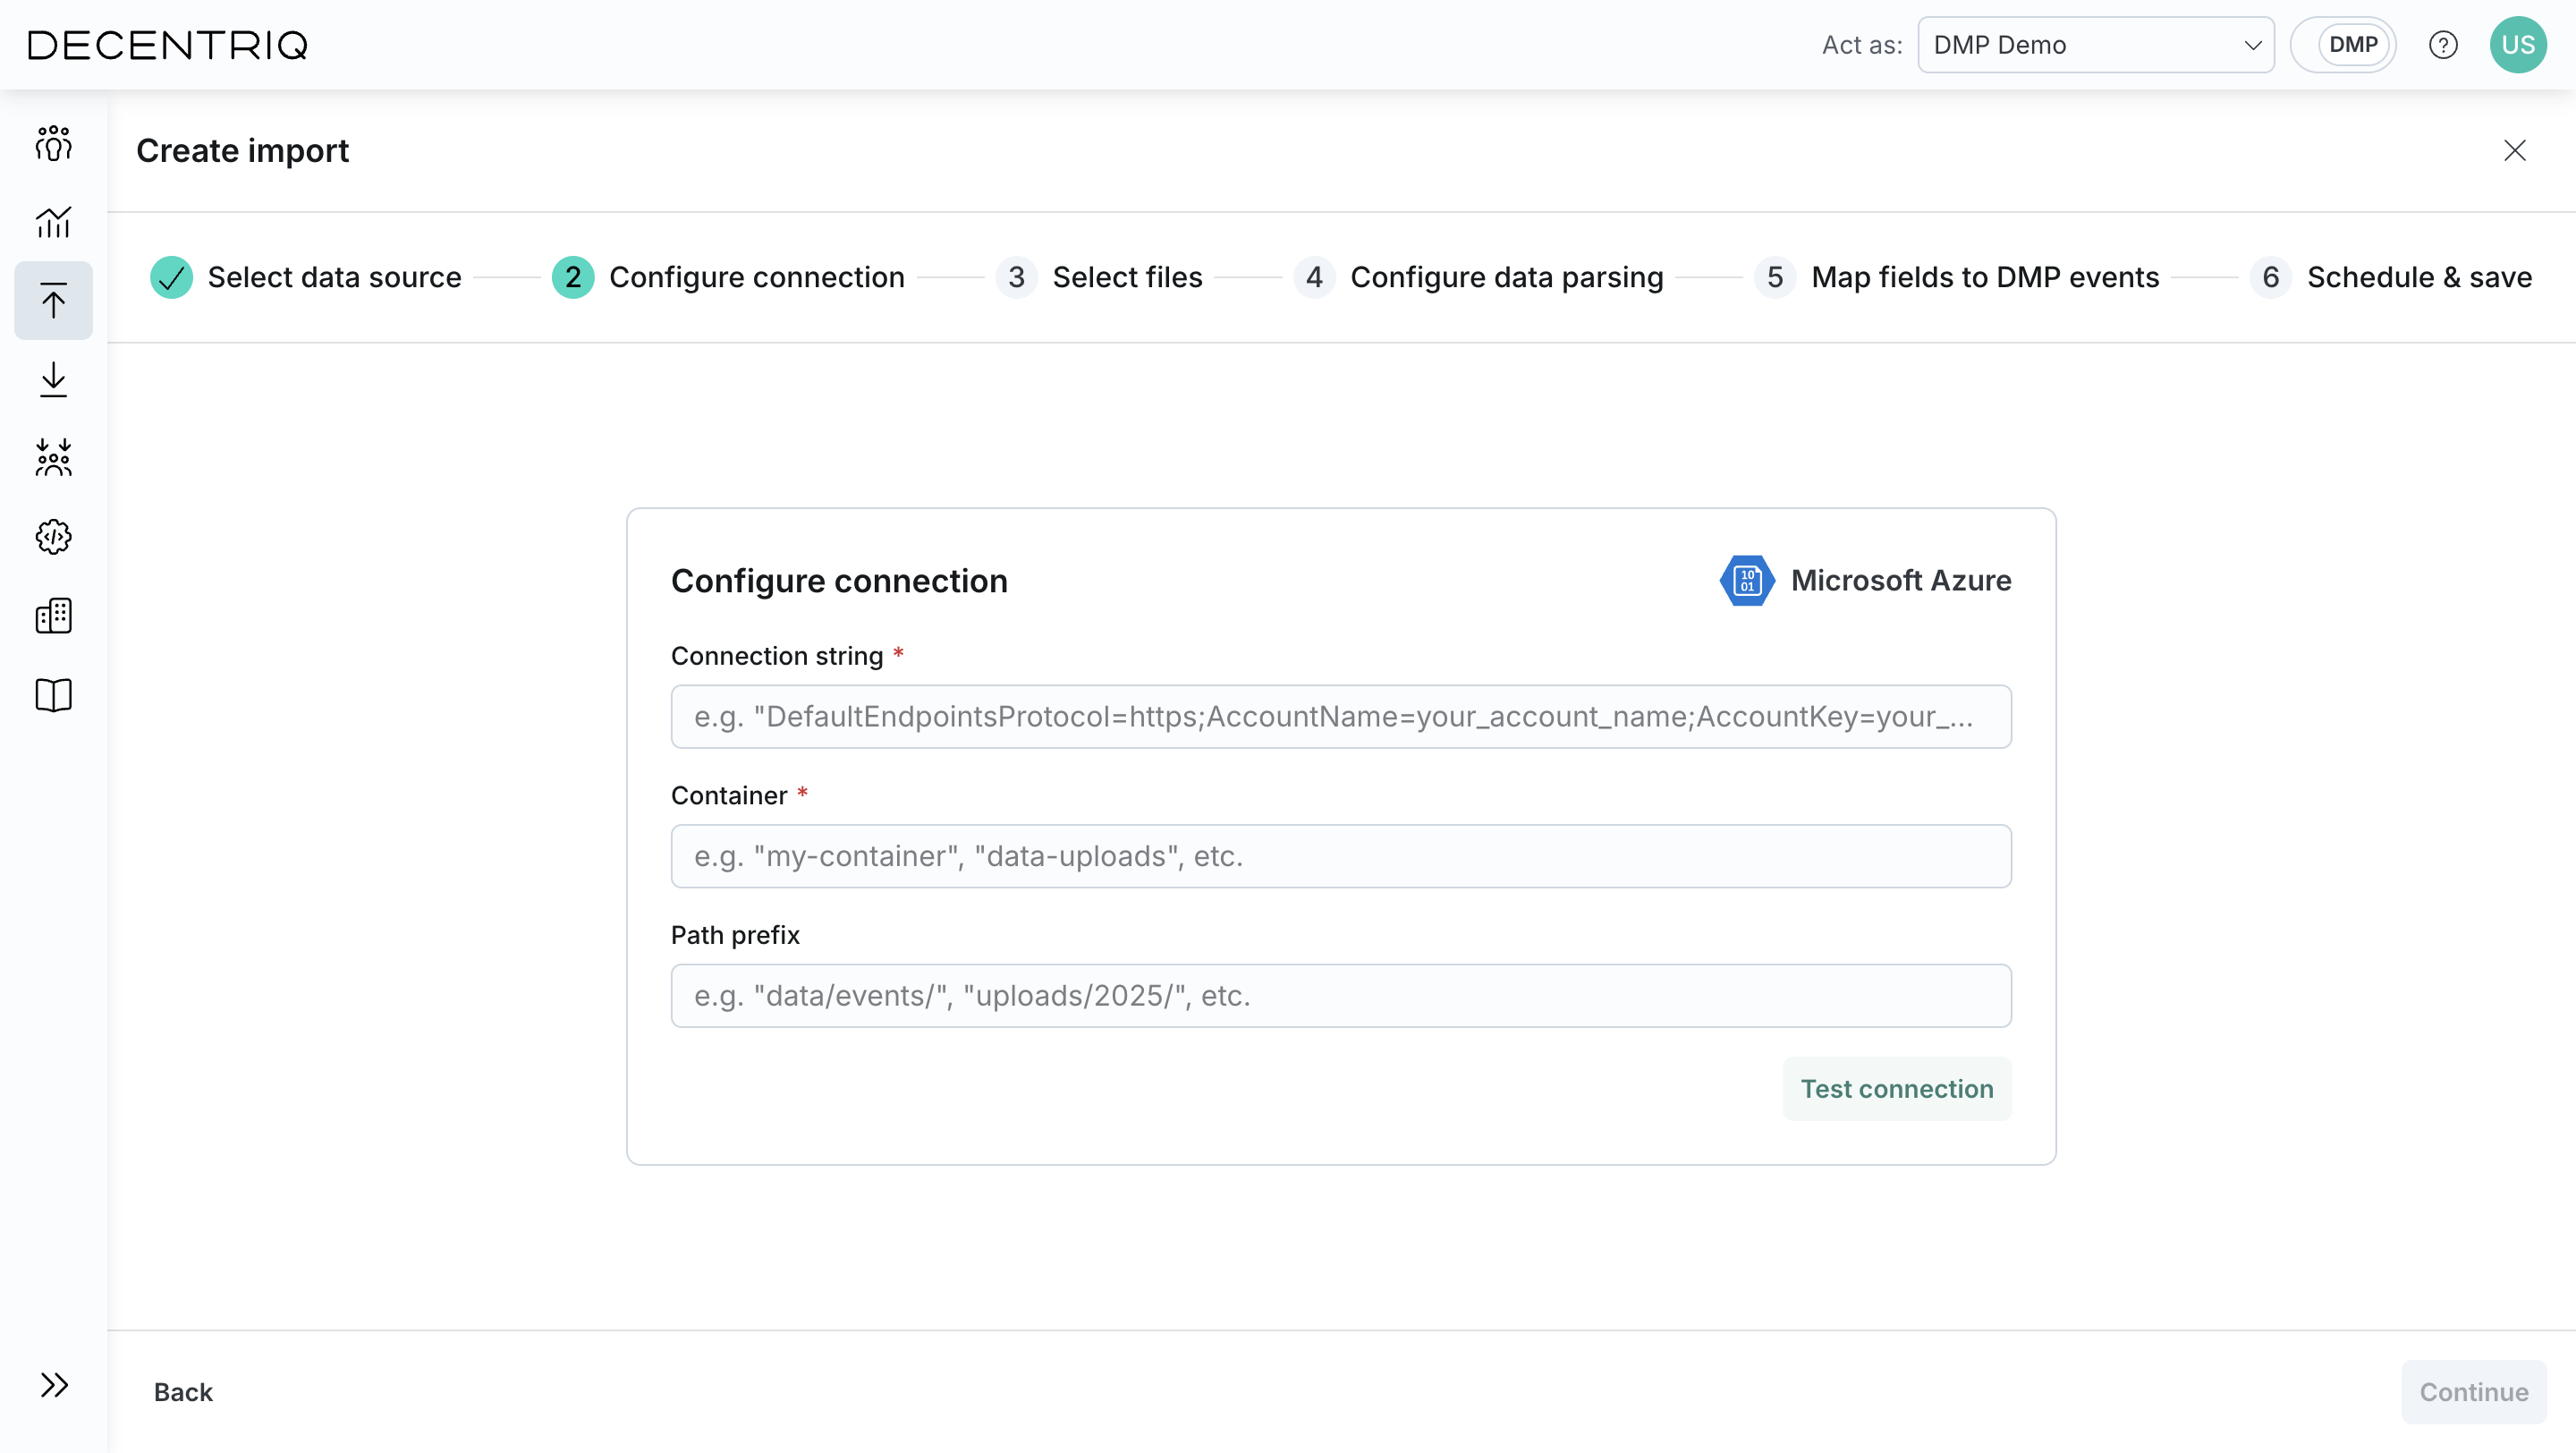
Click Test connection to verify that the credentials and configuration are valid.
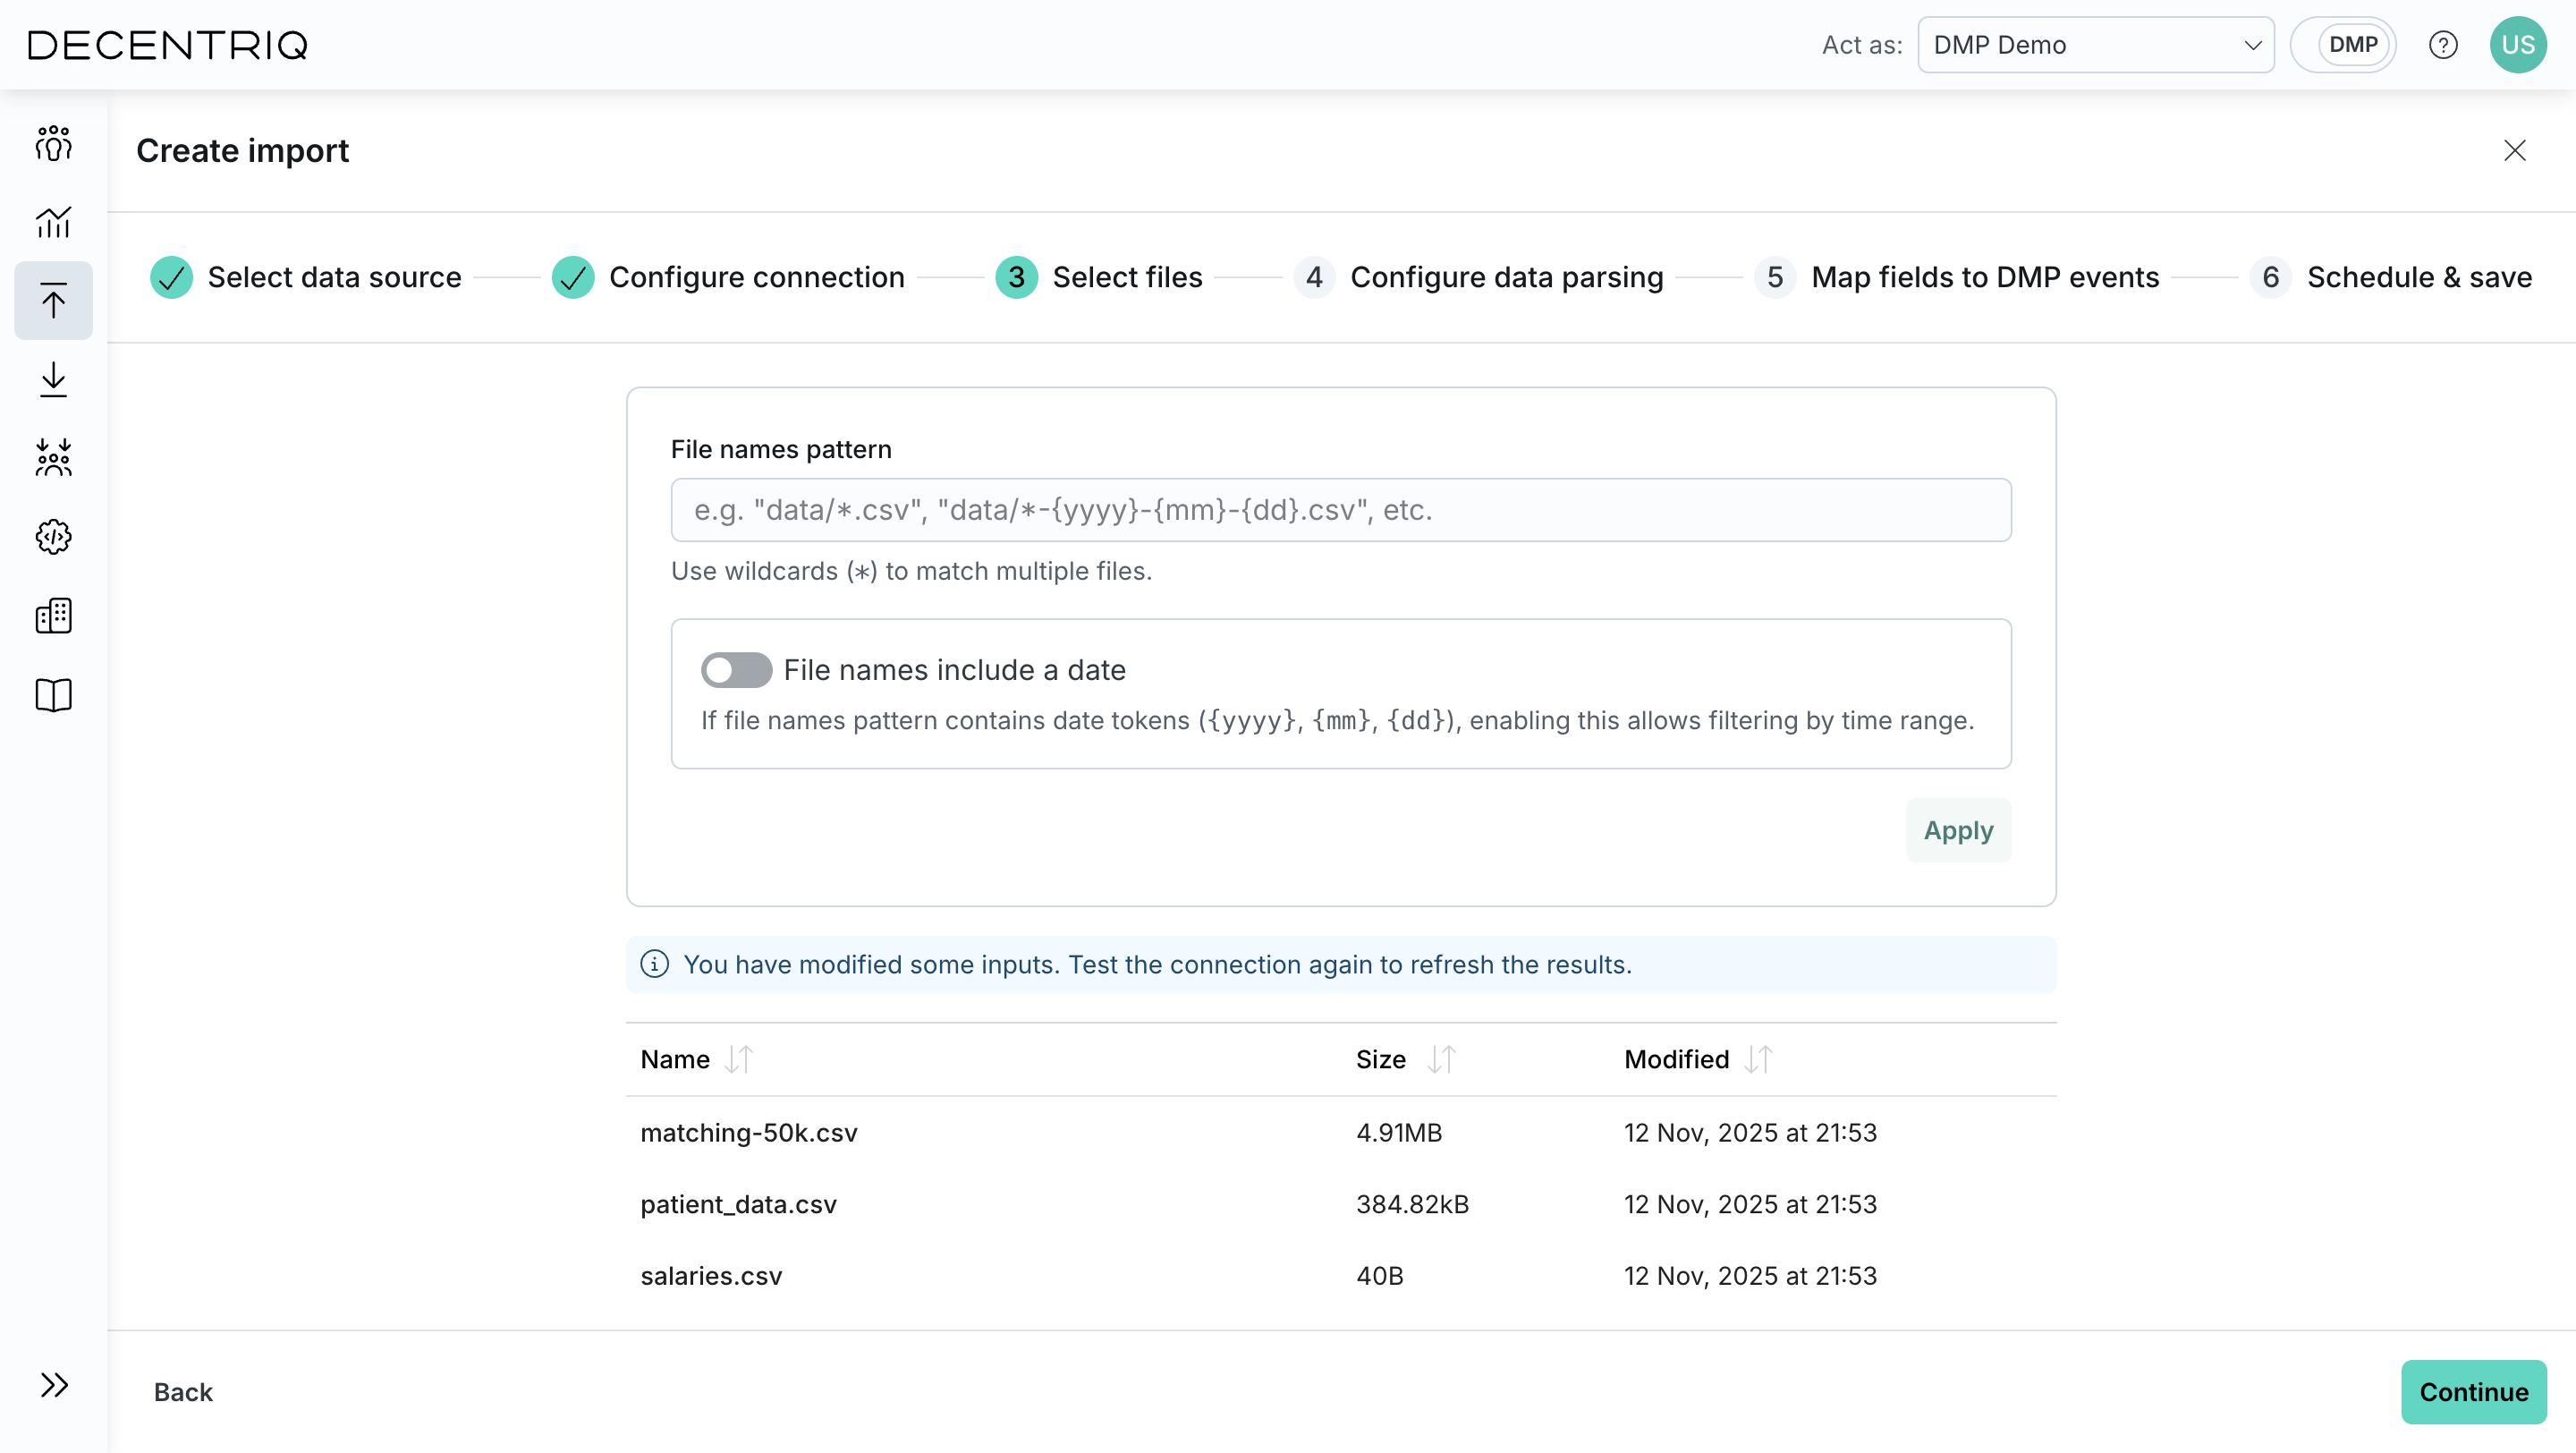
Step 3: Select files
Click Continue to proceed to file selection. Configure which files should be imported:
- File names pattern: Define a path and file name pattern to match files (for example data/*.csv or data/*-{yyyy}-{mm}-{dd}.csv). Wildcards (*) are supported.
- File names include a date (optional): Enable this if the pattern contains date tokens ({yyyy}, {mm}, {dd}), then select an absolute or relative time range.
- Click Apply to update the list of matching files. The table displays all files that match the configured pattern and time range.
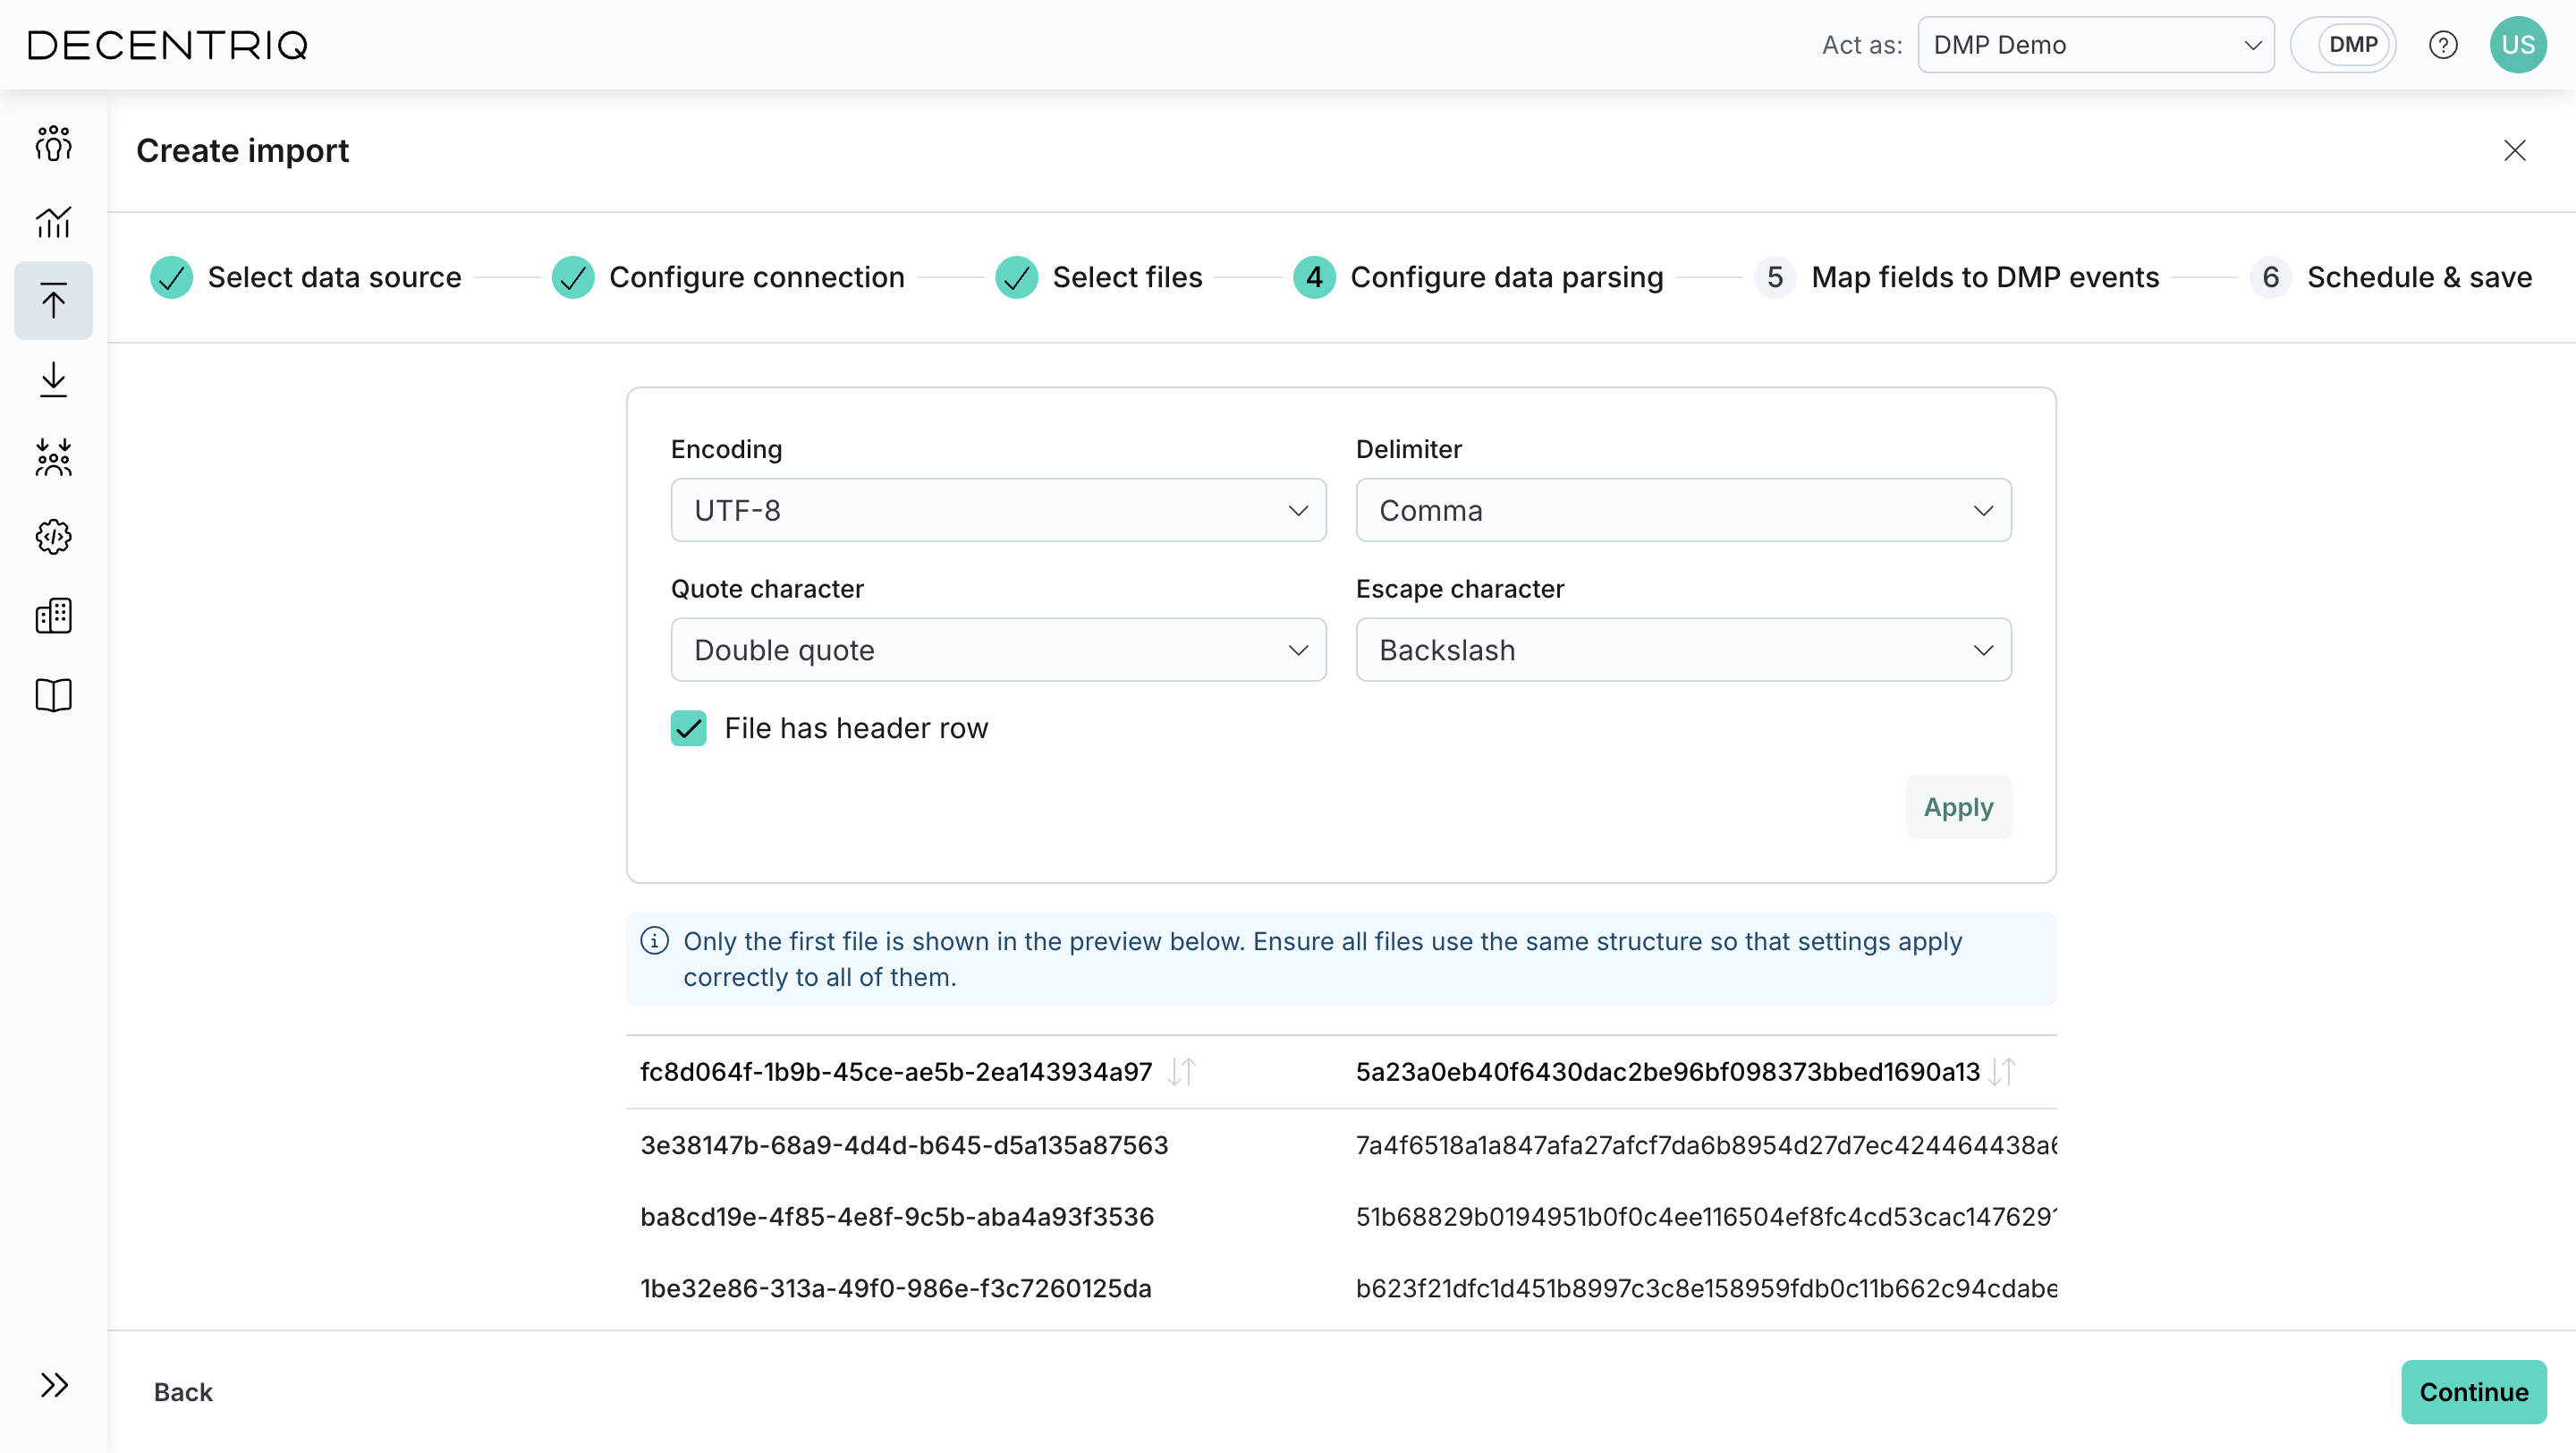
Step 4: Configure parsing
Click Continue to proceed to data parsing. Define how the selected files should be parsed, including format-specific options such as delimiters, headers, or timestamp handling.
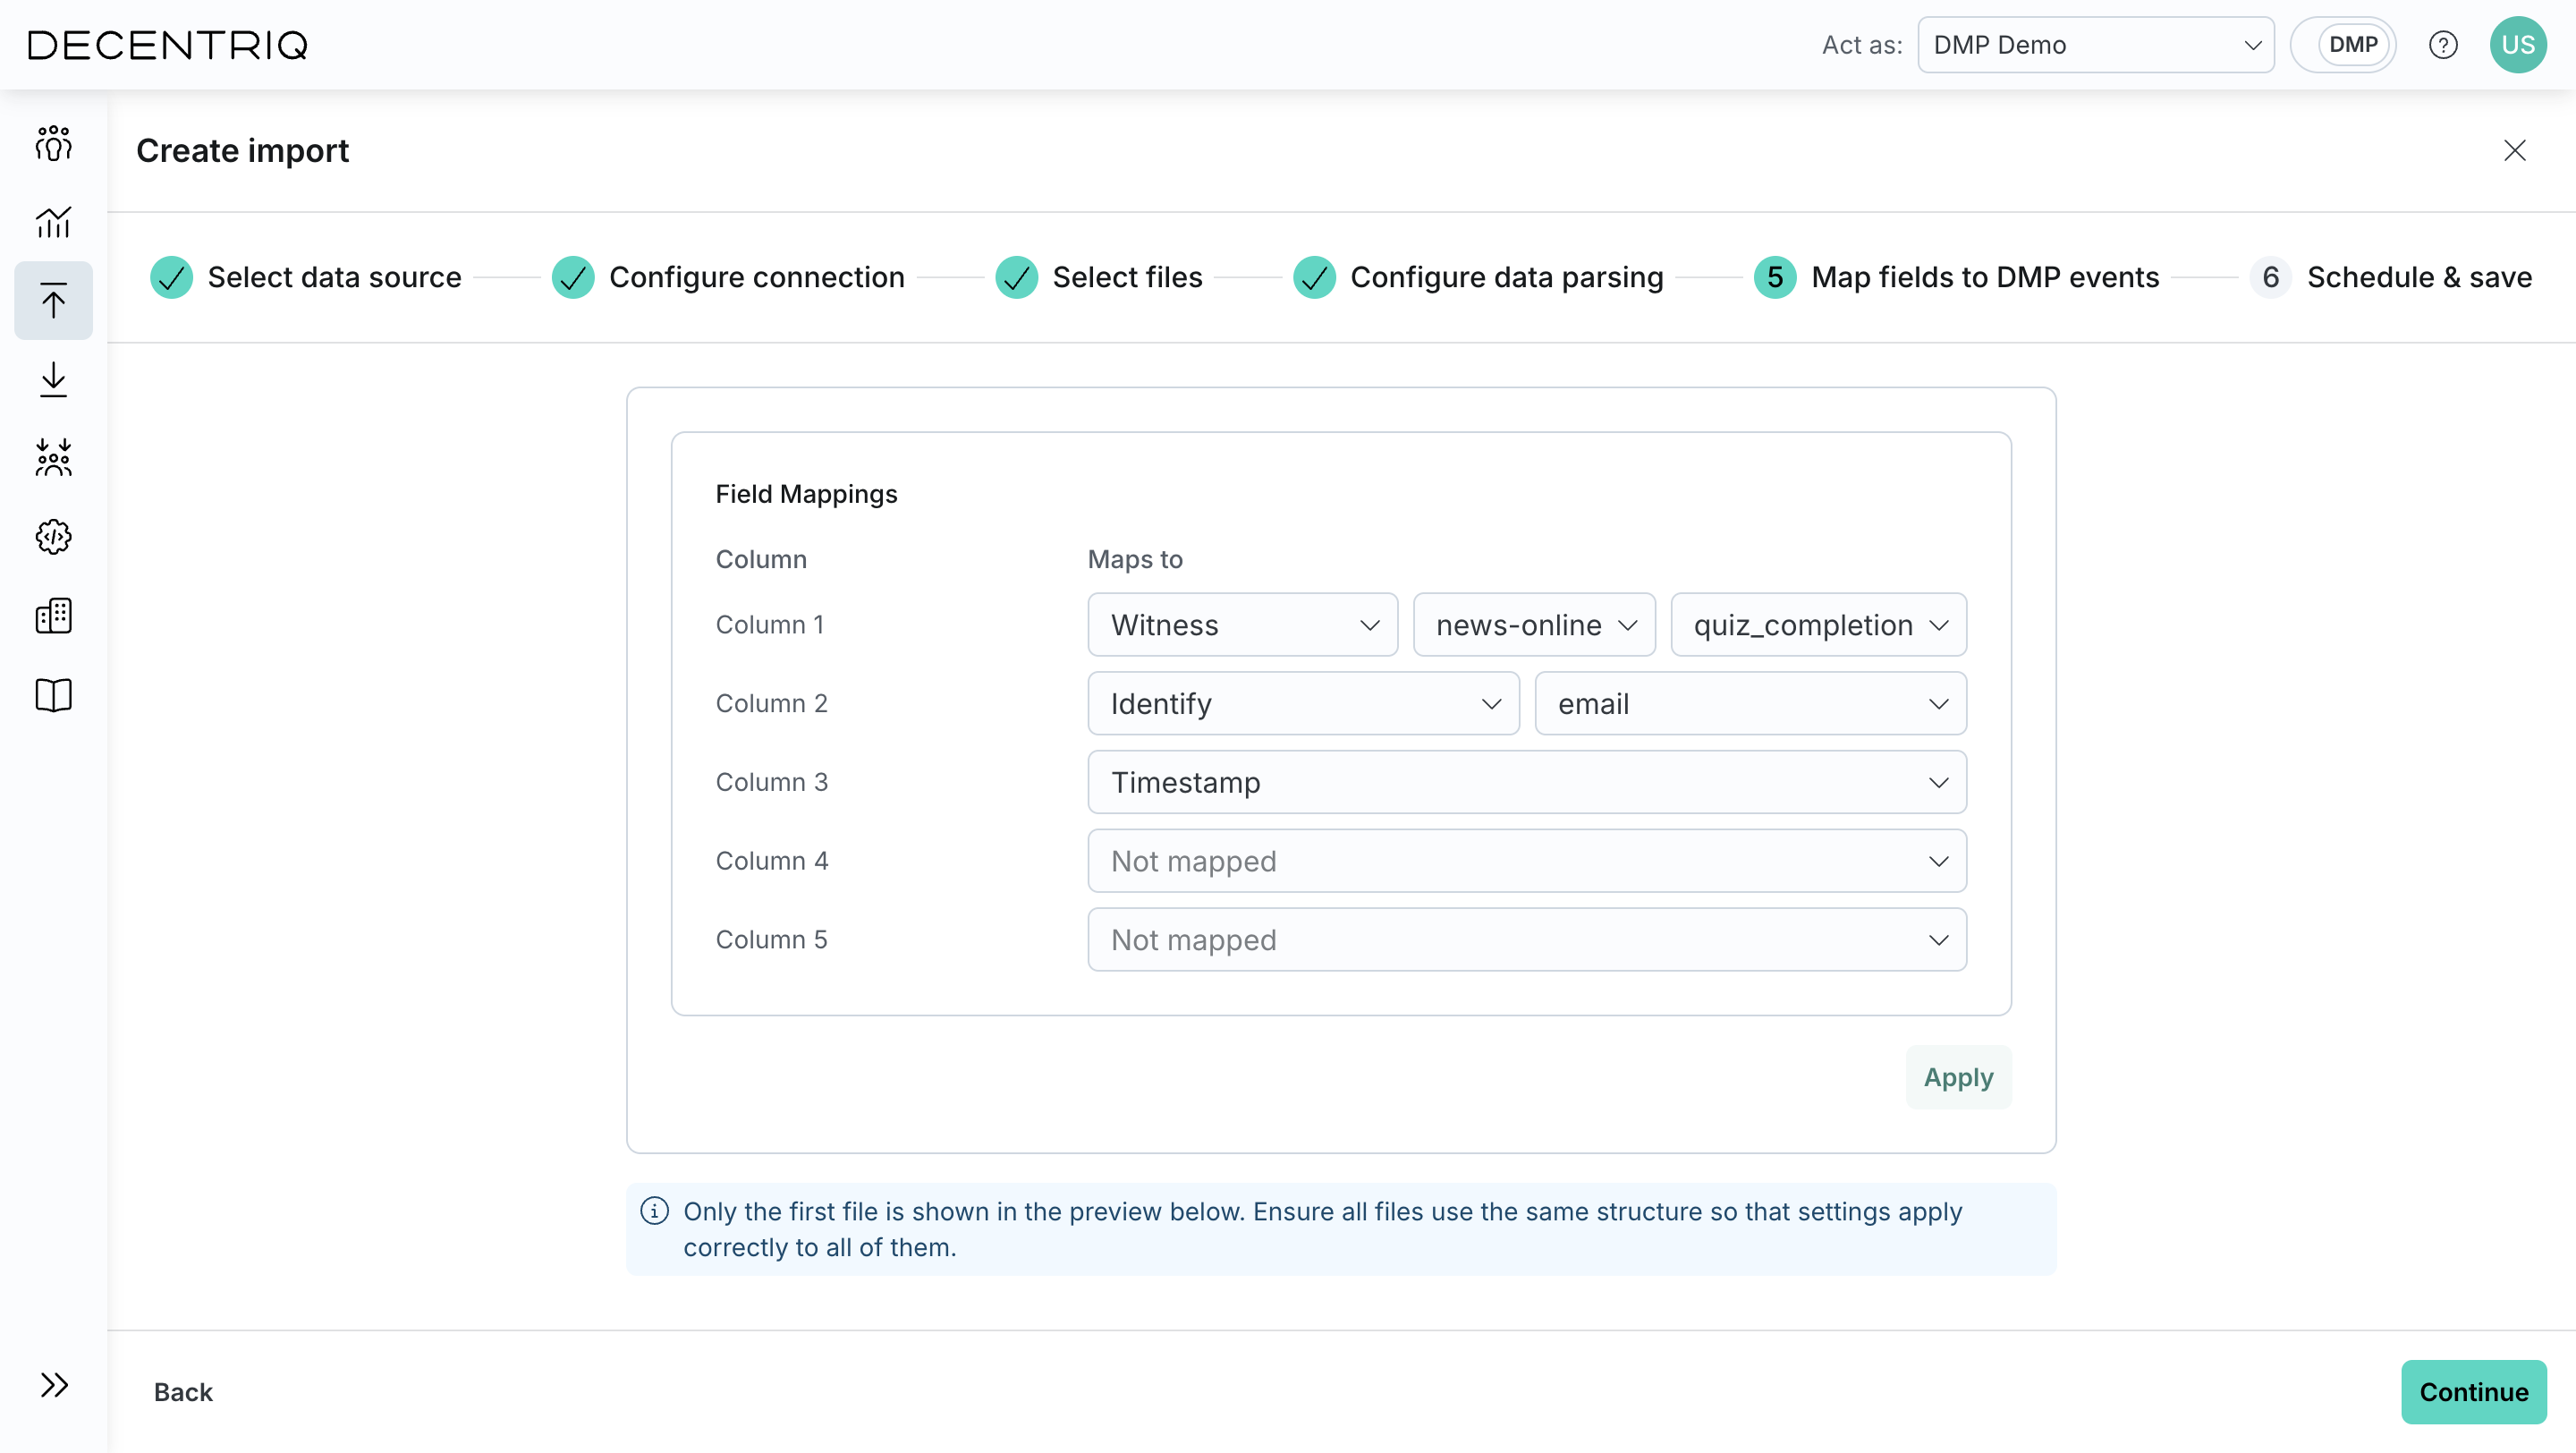
Step 5: Map fields
Click Continue to proceed to field mapping. Map the parsed fields to DMP event attributes. This step defines how incoming data is transformed into DMP events and user profile updates.
Step 6: Schedule and name
Click Continue to proceed to scheduling. Name the import and define how often it should run. Save the configuration to create the import.
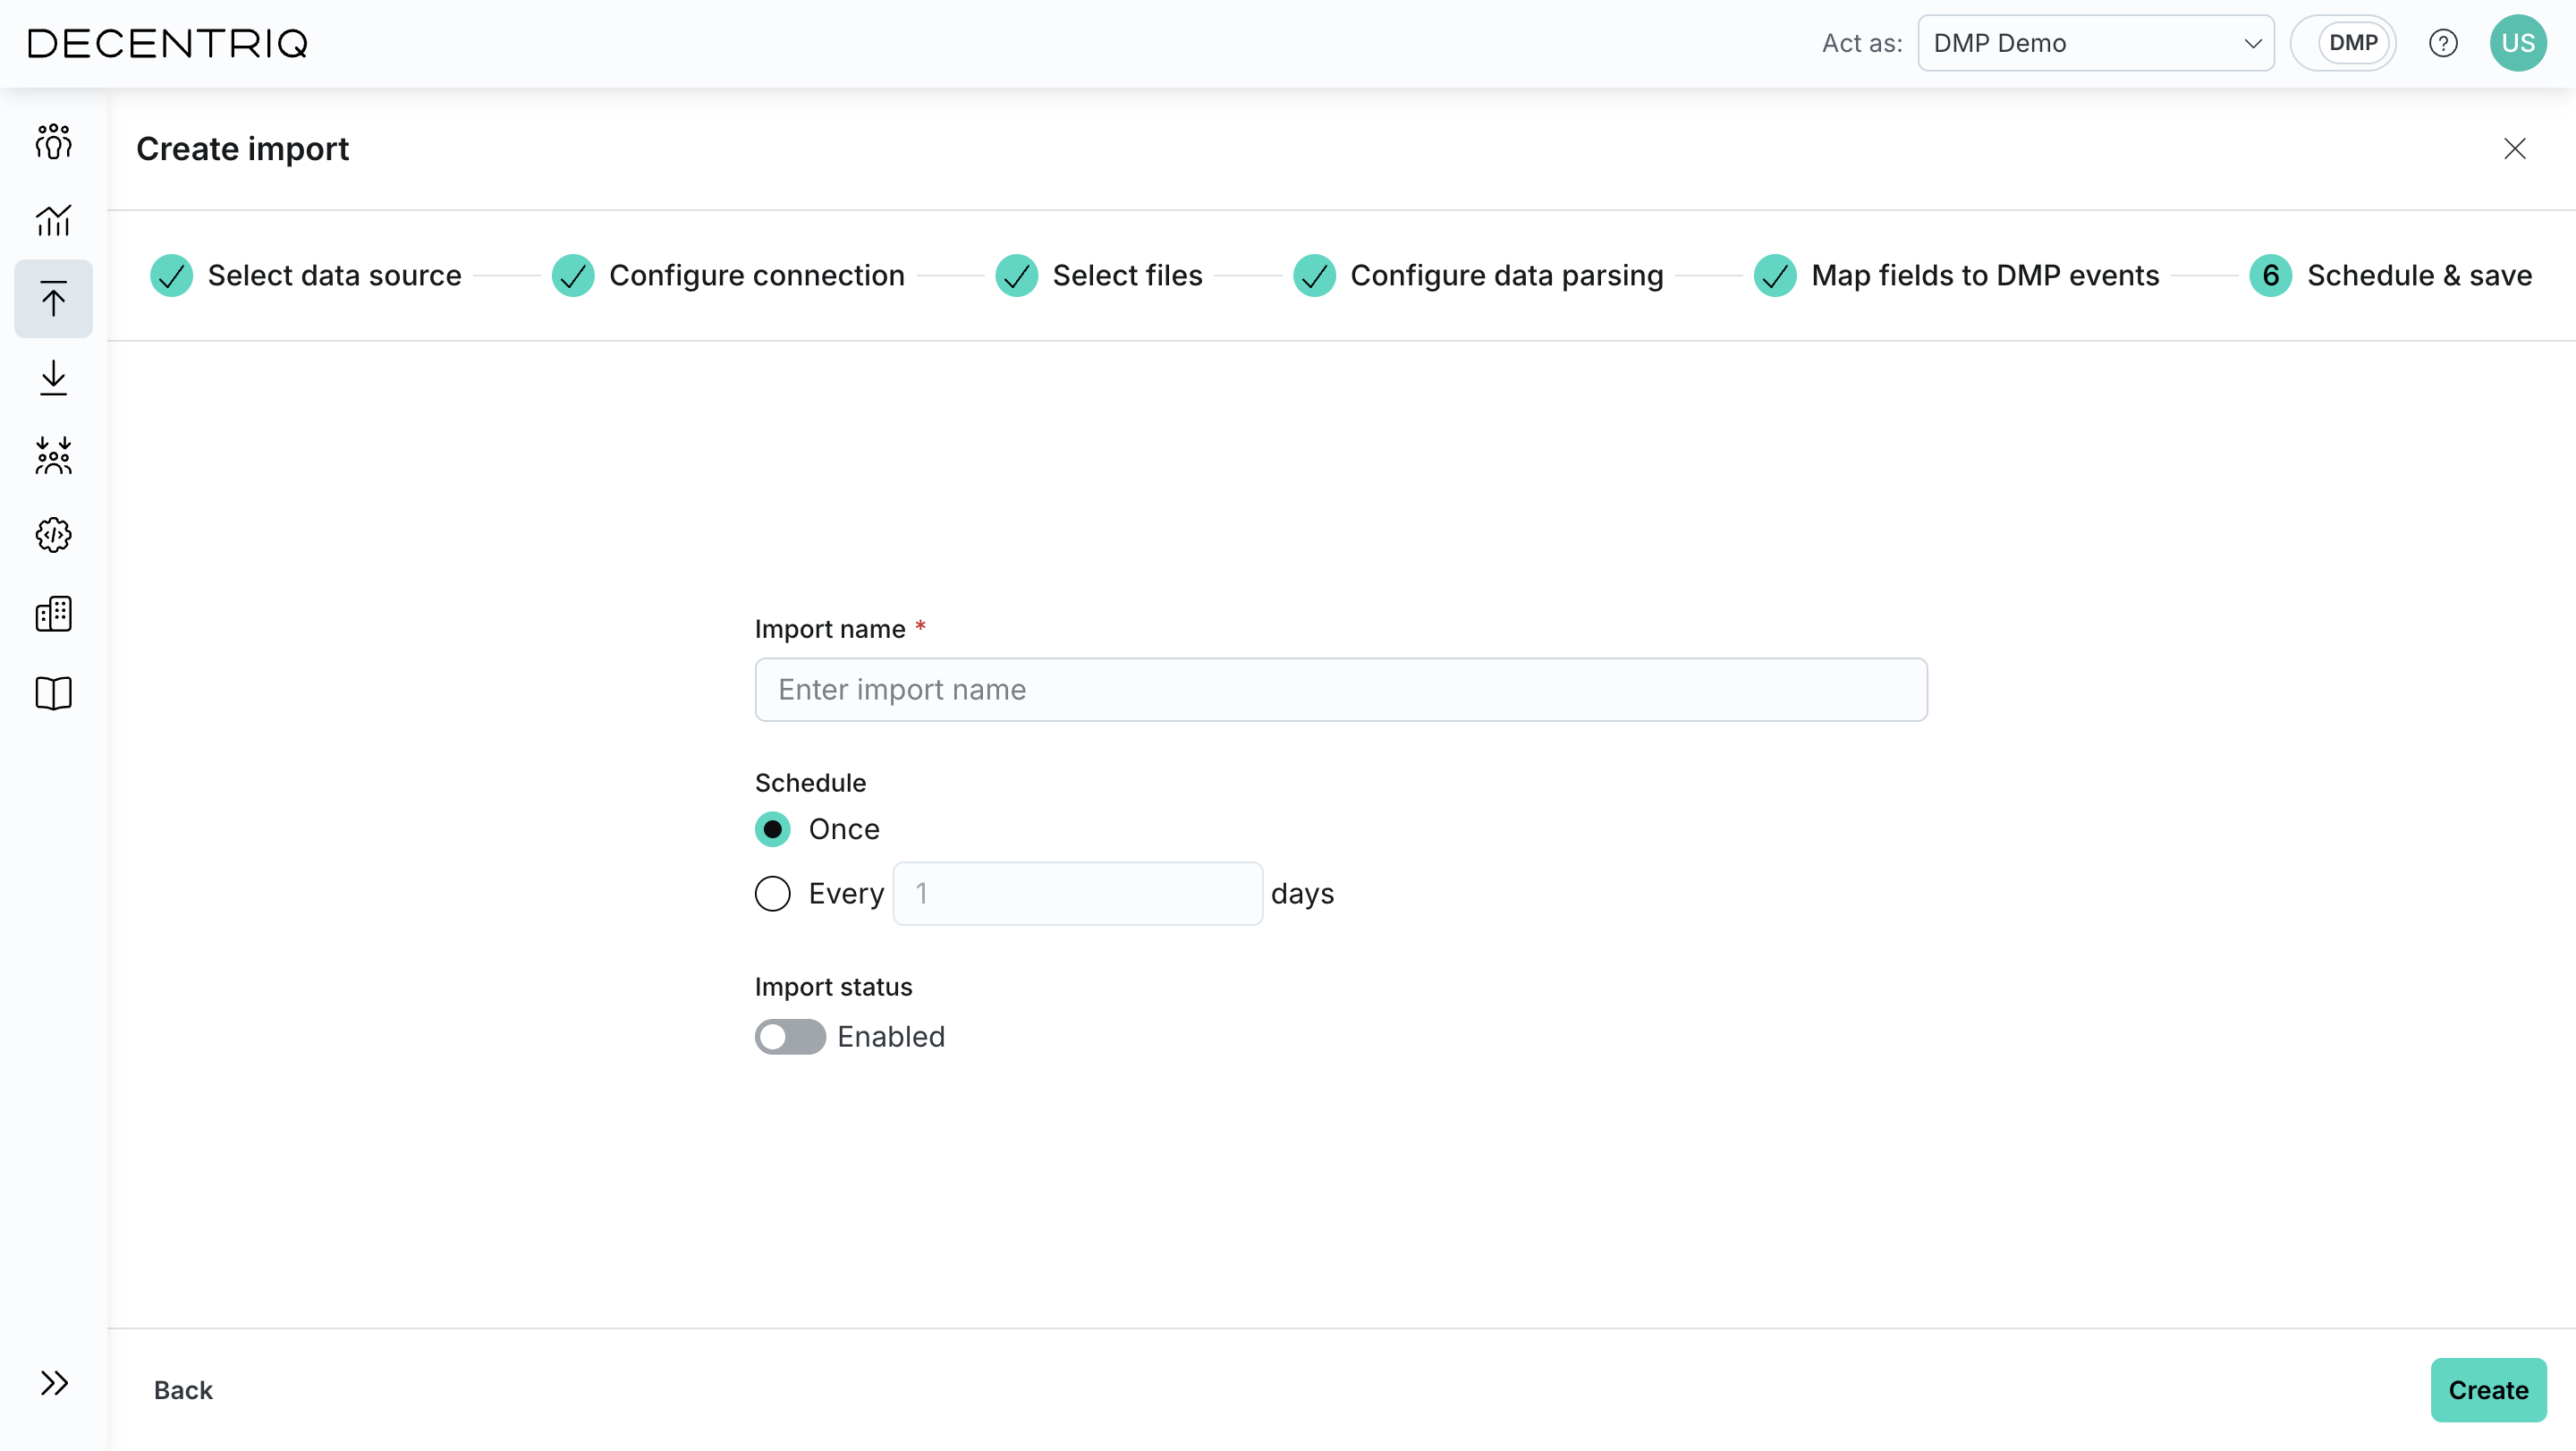
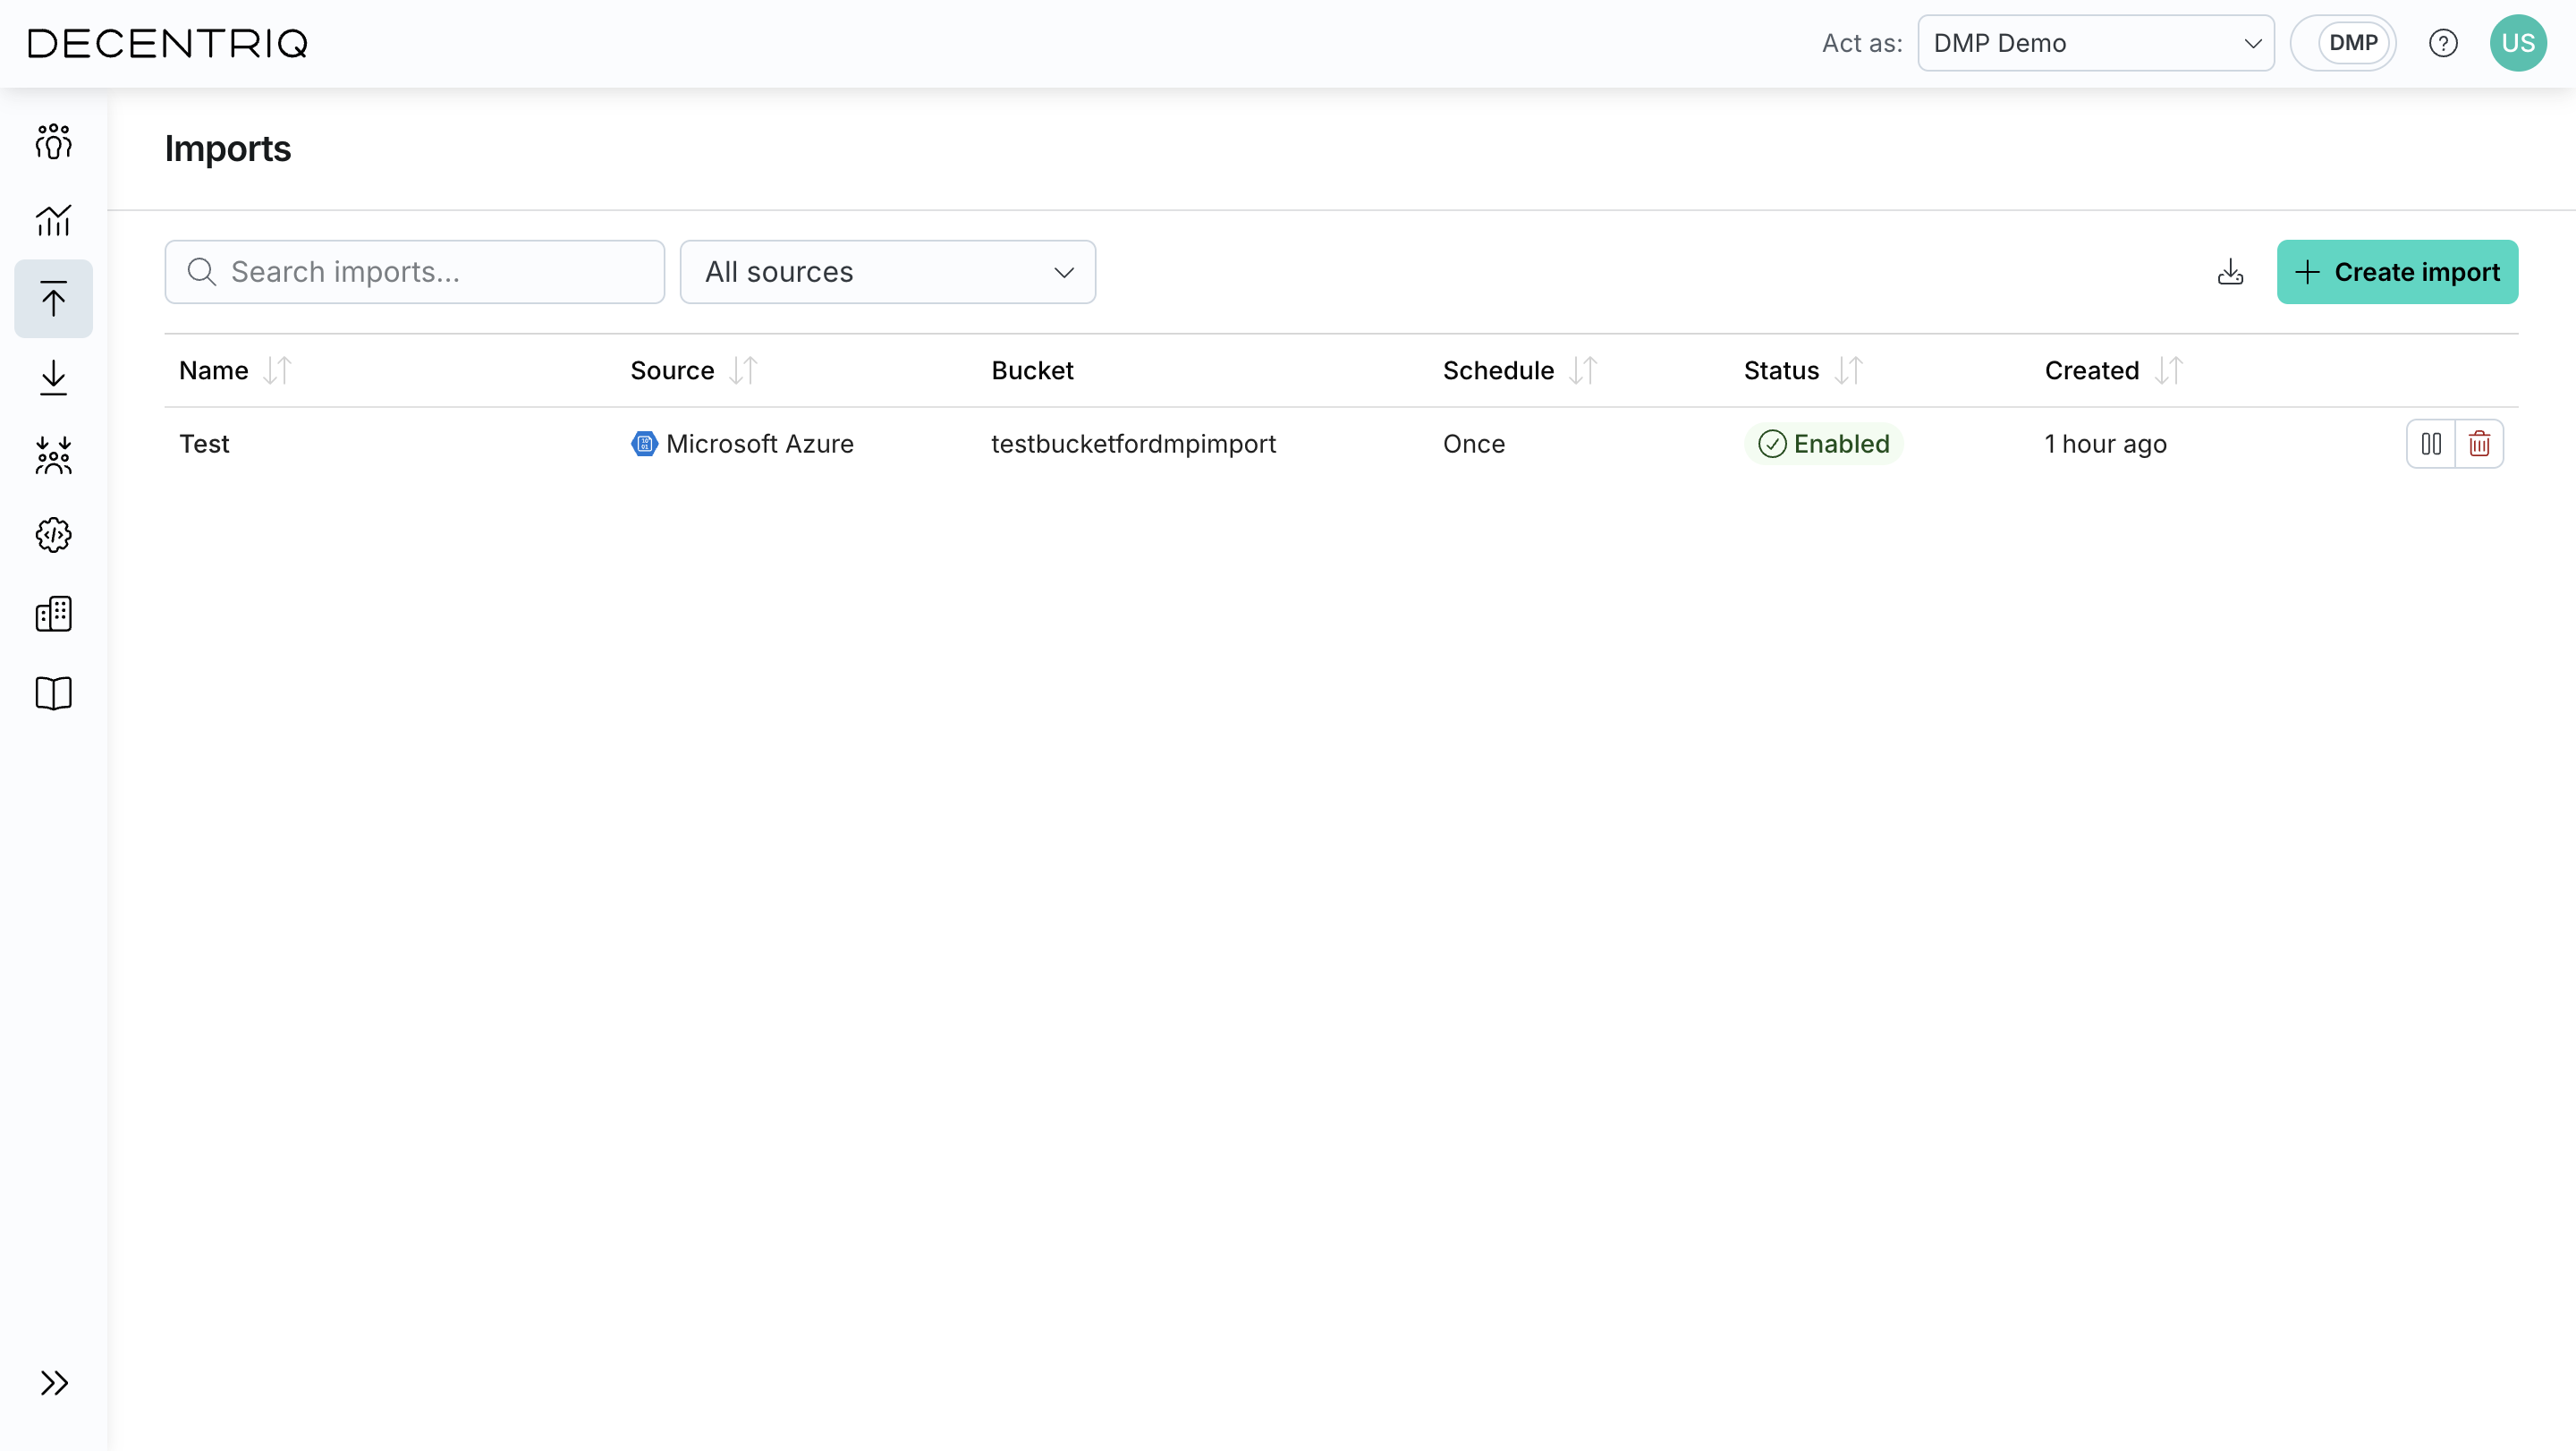
Step 7: Save the import
Click Save to create the import. The import will then appear in the Imports table with the name provided in the previous step.