Create an audience
Overview
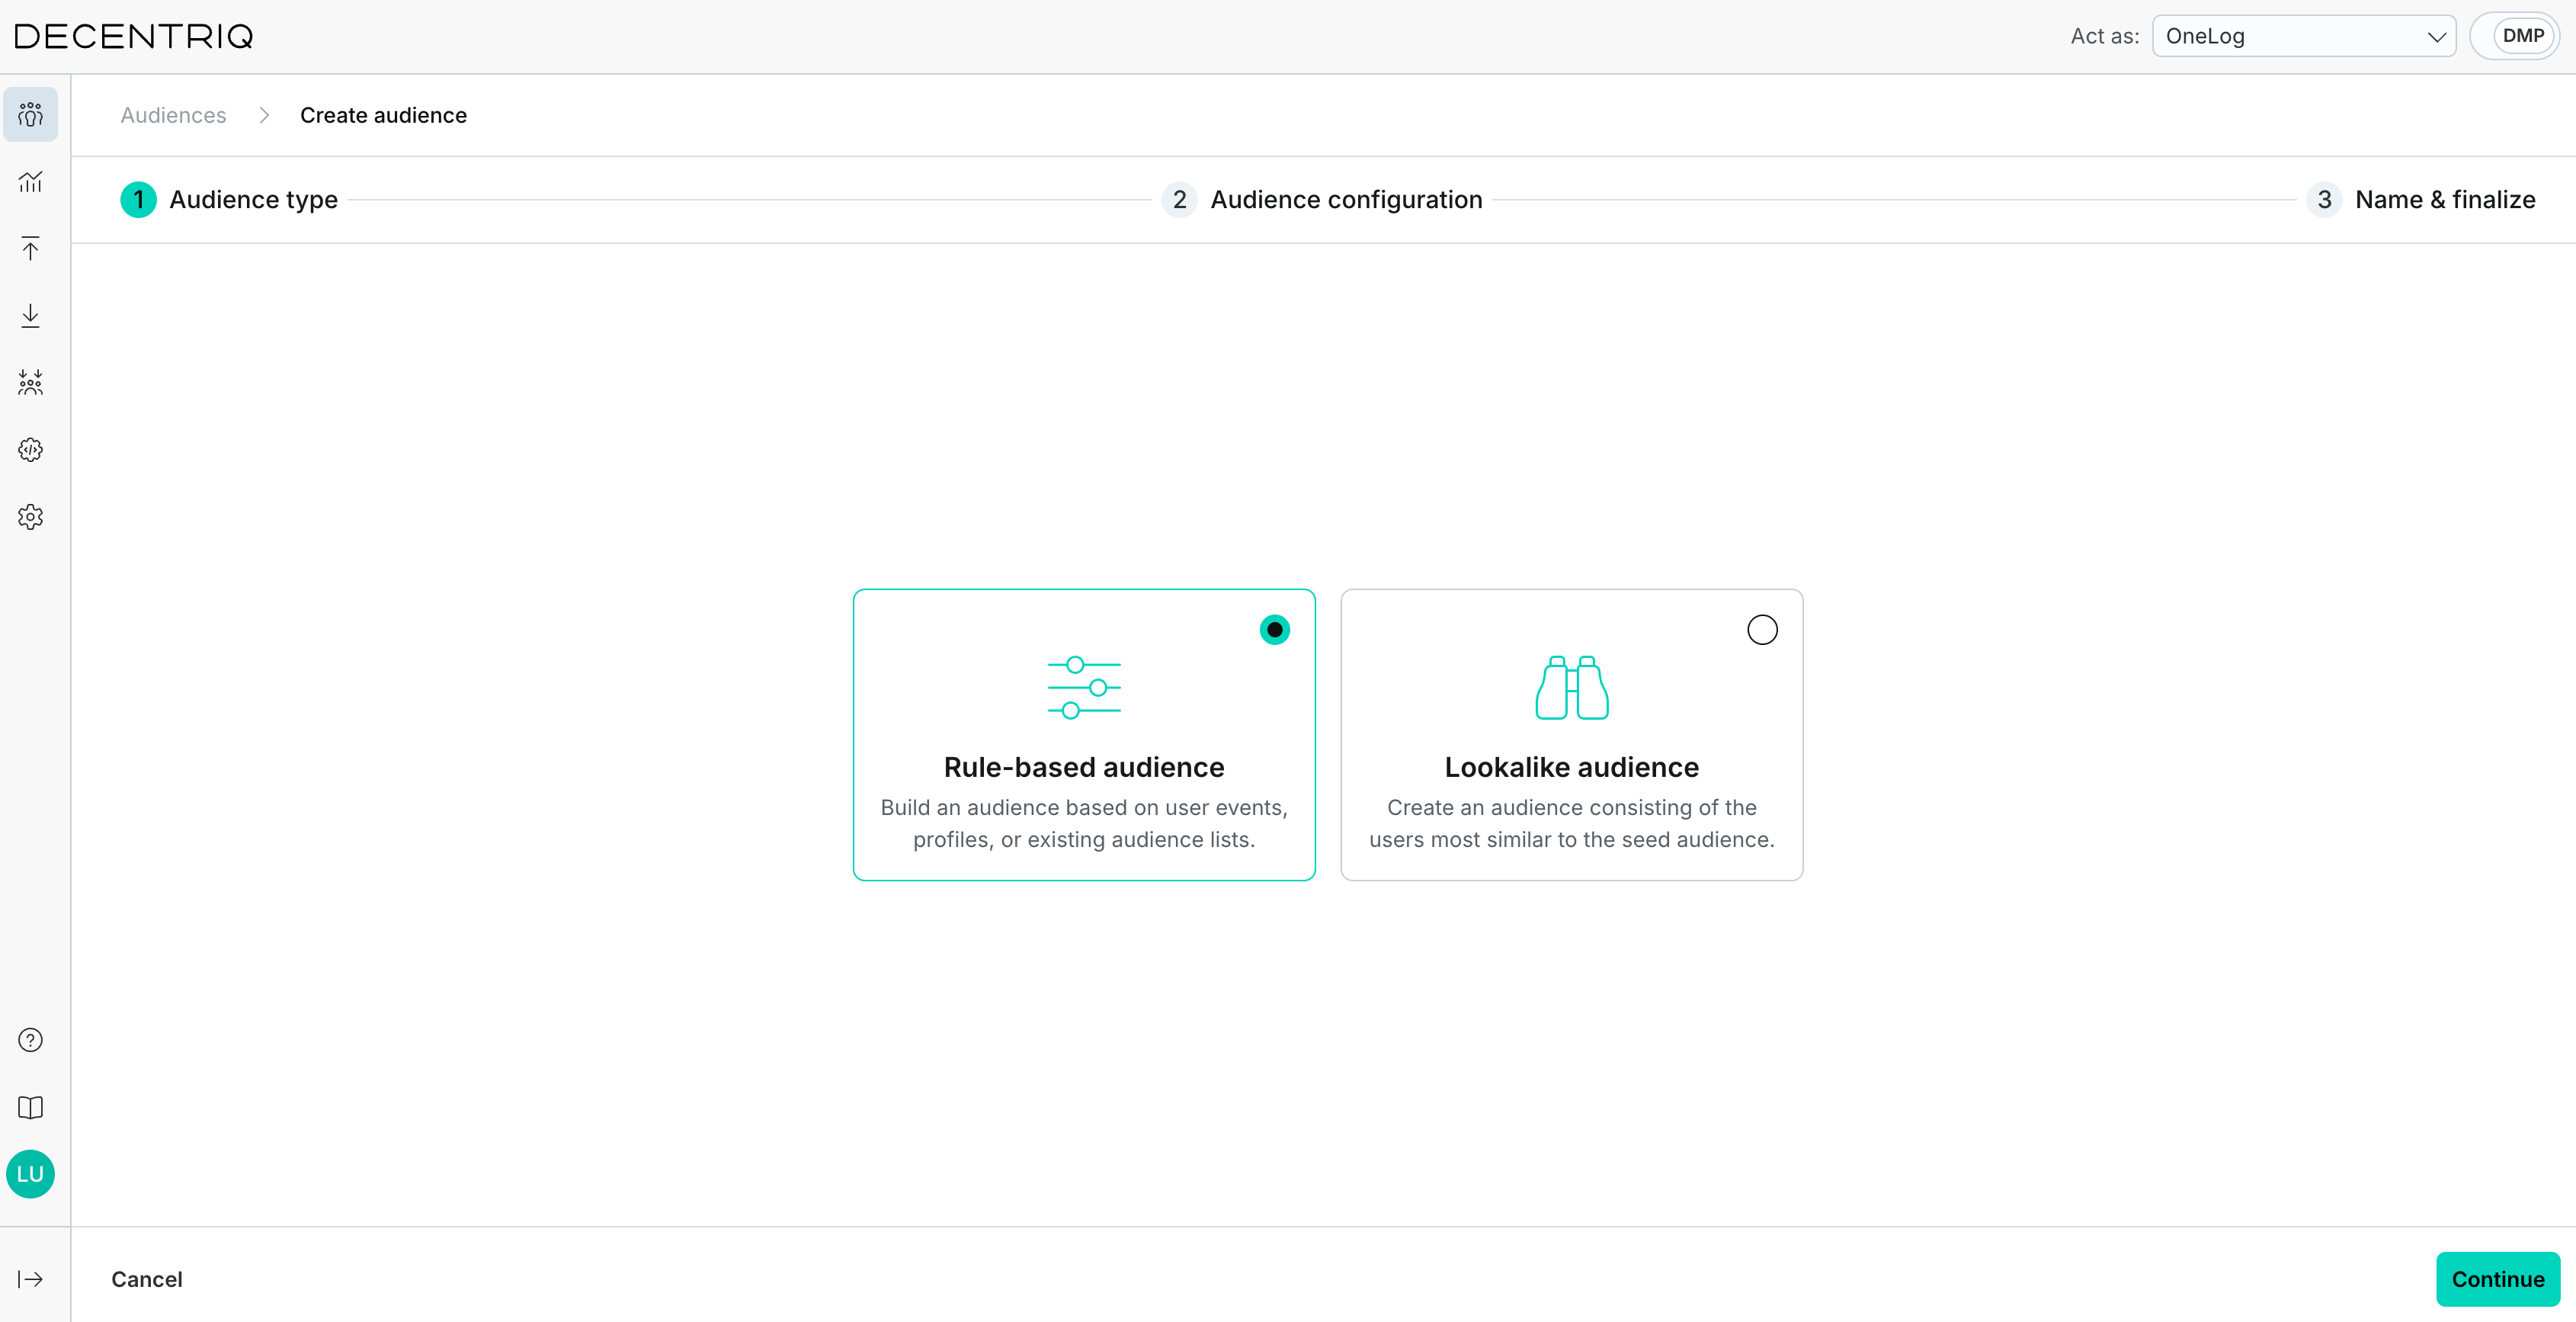
The Decentriq DMP supports two audience types. From Audiences, click Create audience and pick the type in the Audience type step:
- Rule-based audience: Define groups of users by combining conditions based on event data, profile attributes, existing audiences, or a combination of these.
- Lookalike audience: Extend the reach of an existing audience with the users most similar to it, see Creating a lookalike audience.
Creating a rule-based audience
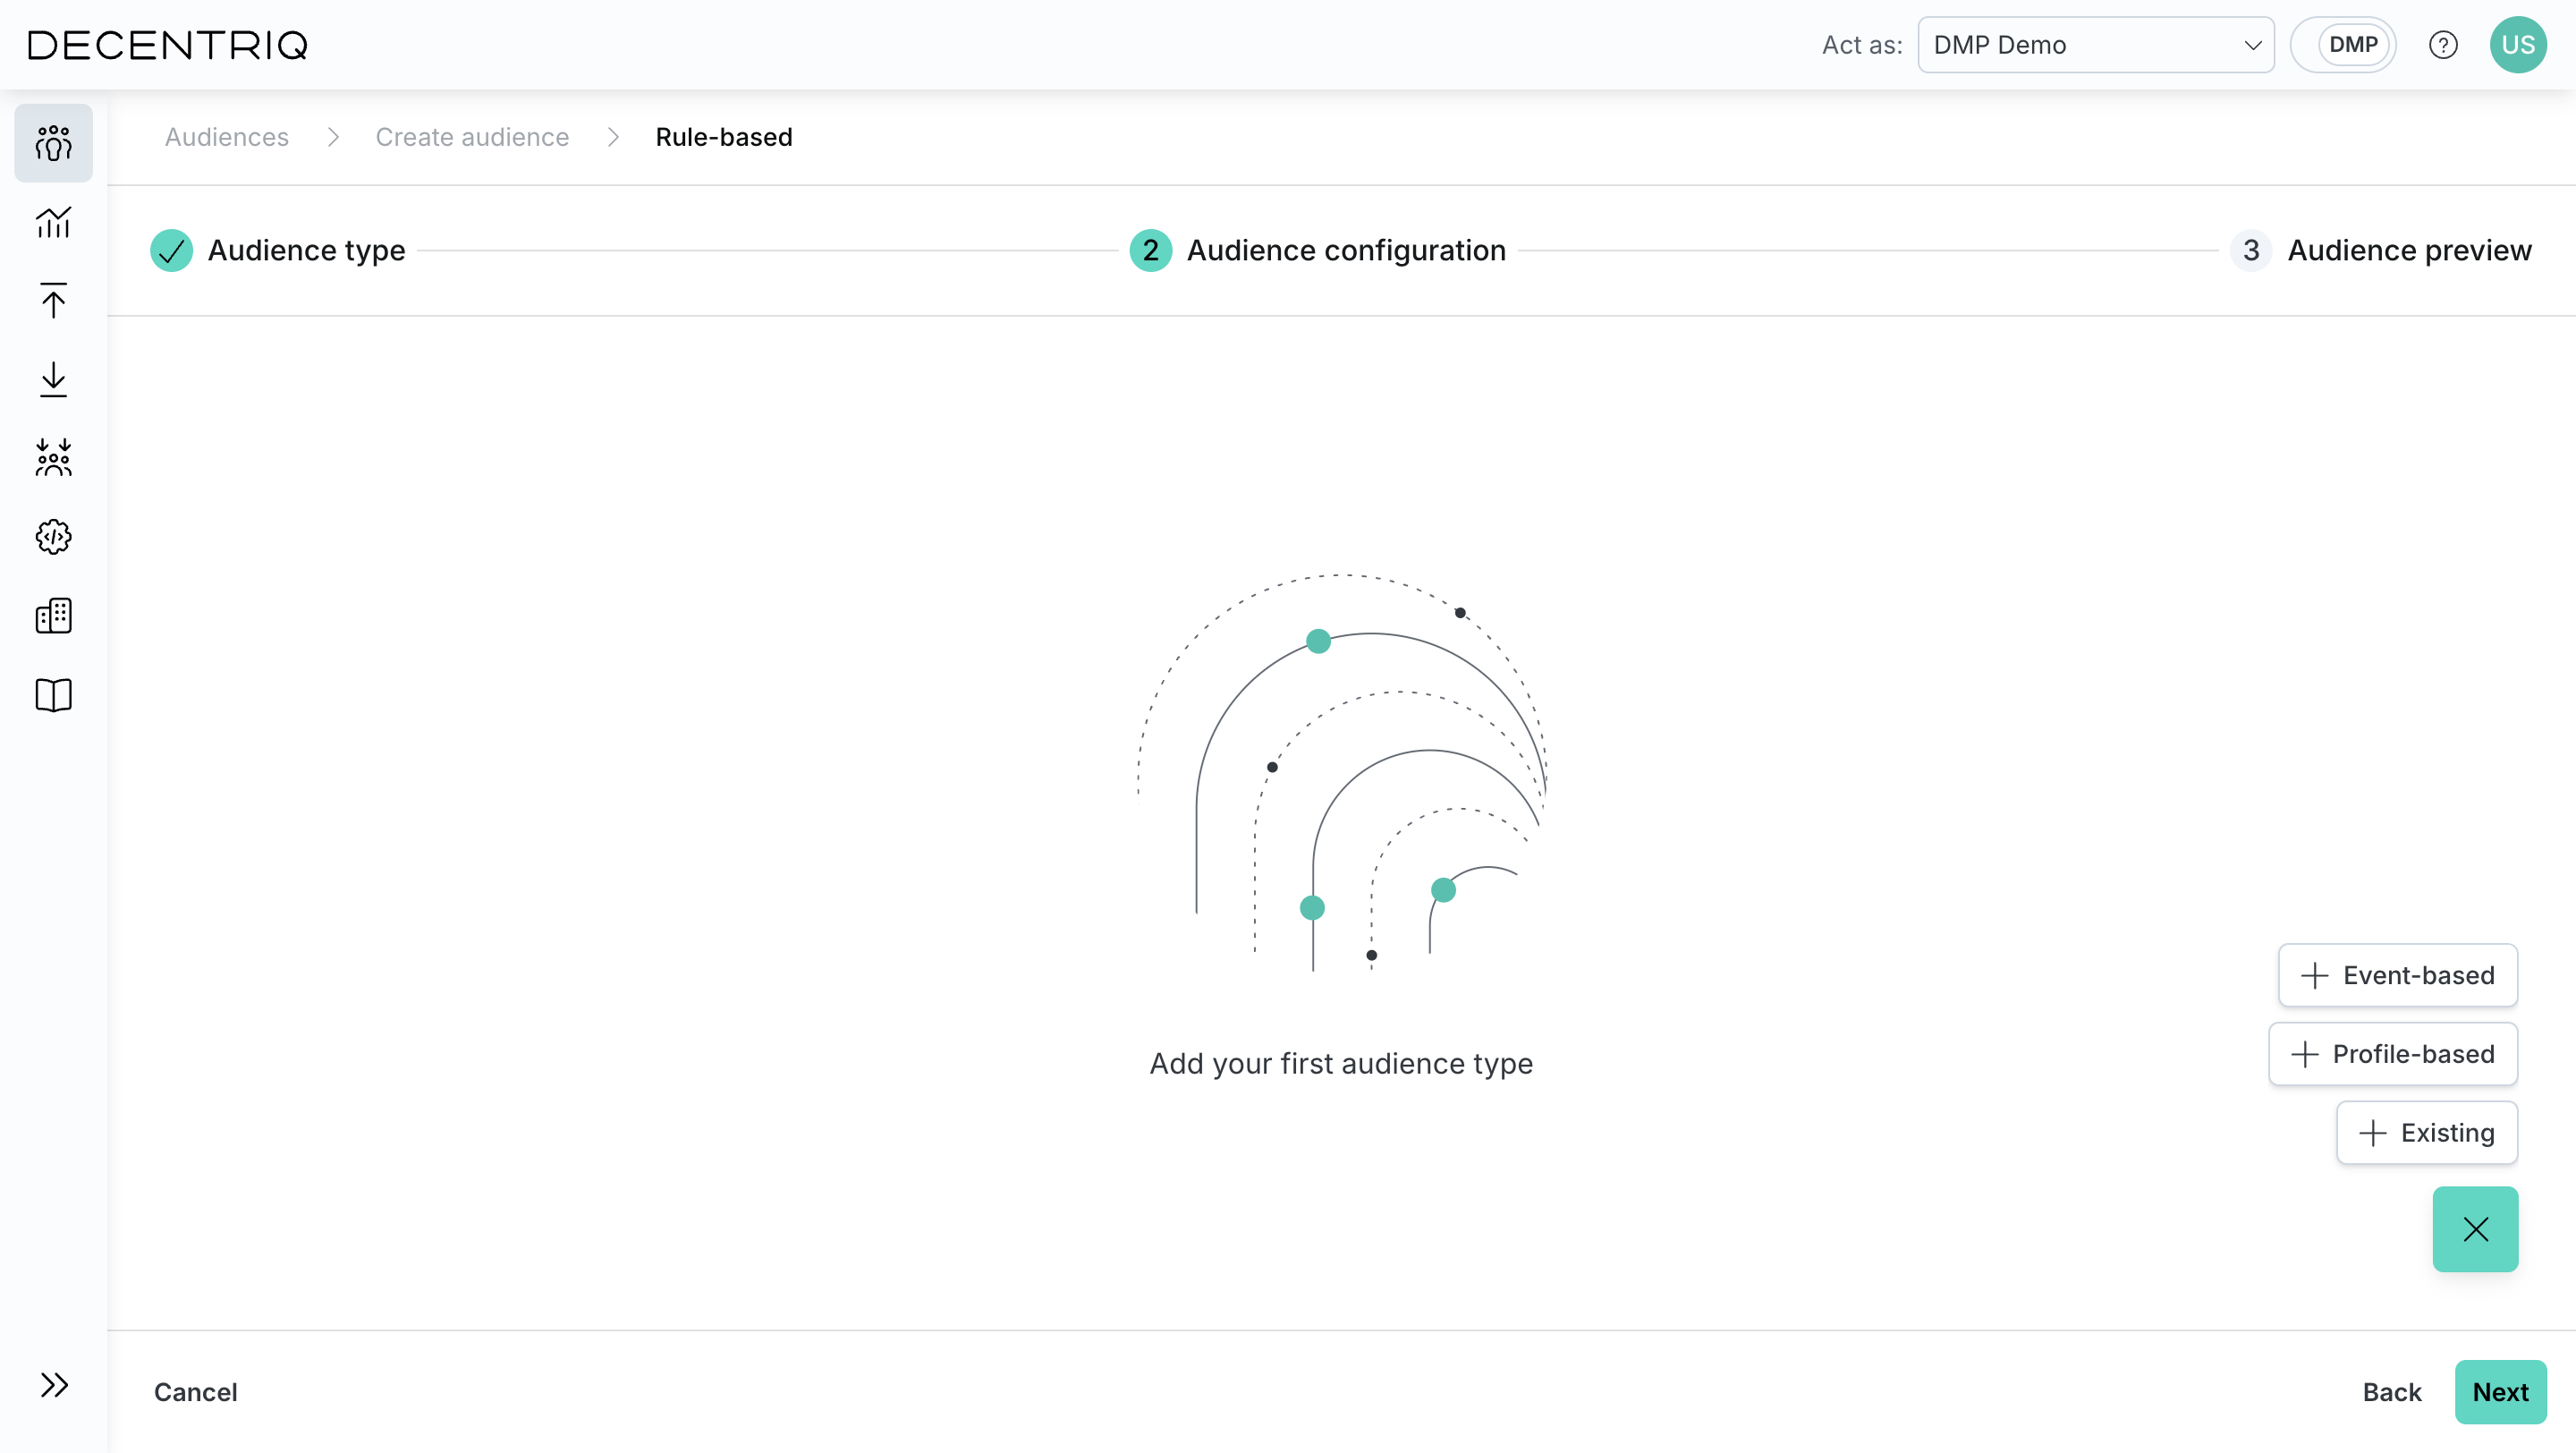
The following audience building blocks are available:
- Event-based audiences: Defined by user behavior, such as events performed within a specific time range, optionally filtered by event properties.
- Profile-based audiences: Defined by user profile attributes, such as demographics, identifiers, or aggregated values.
- Existing audiences: Combinations of one or more previously created audiences.
These building blocks can be combined using logical conditions to create more precise audience definitions. Audience sizes can be computed and updated during creation to estimate how many users match the current definition.
Step 1: Start the audience creation
From Audiences, click Create audience and select Rule-based audience as the audience type.
Step 2: Add building blocks
In the Audience configuration step, start building your audience by adding one or more audience building blocks. You can add these in any order and combine them as needed. You can add multiple blocks of the same type and combine them using logical operators.
Step 3: Configure each block
Configure each added block by defining its conditions:
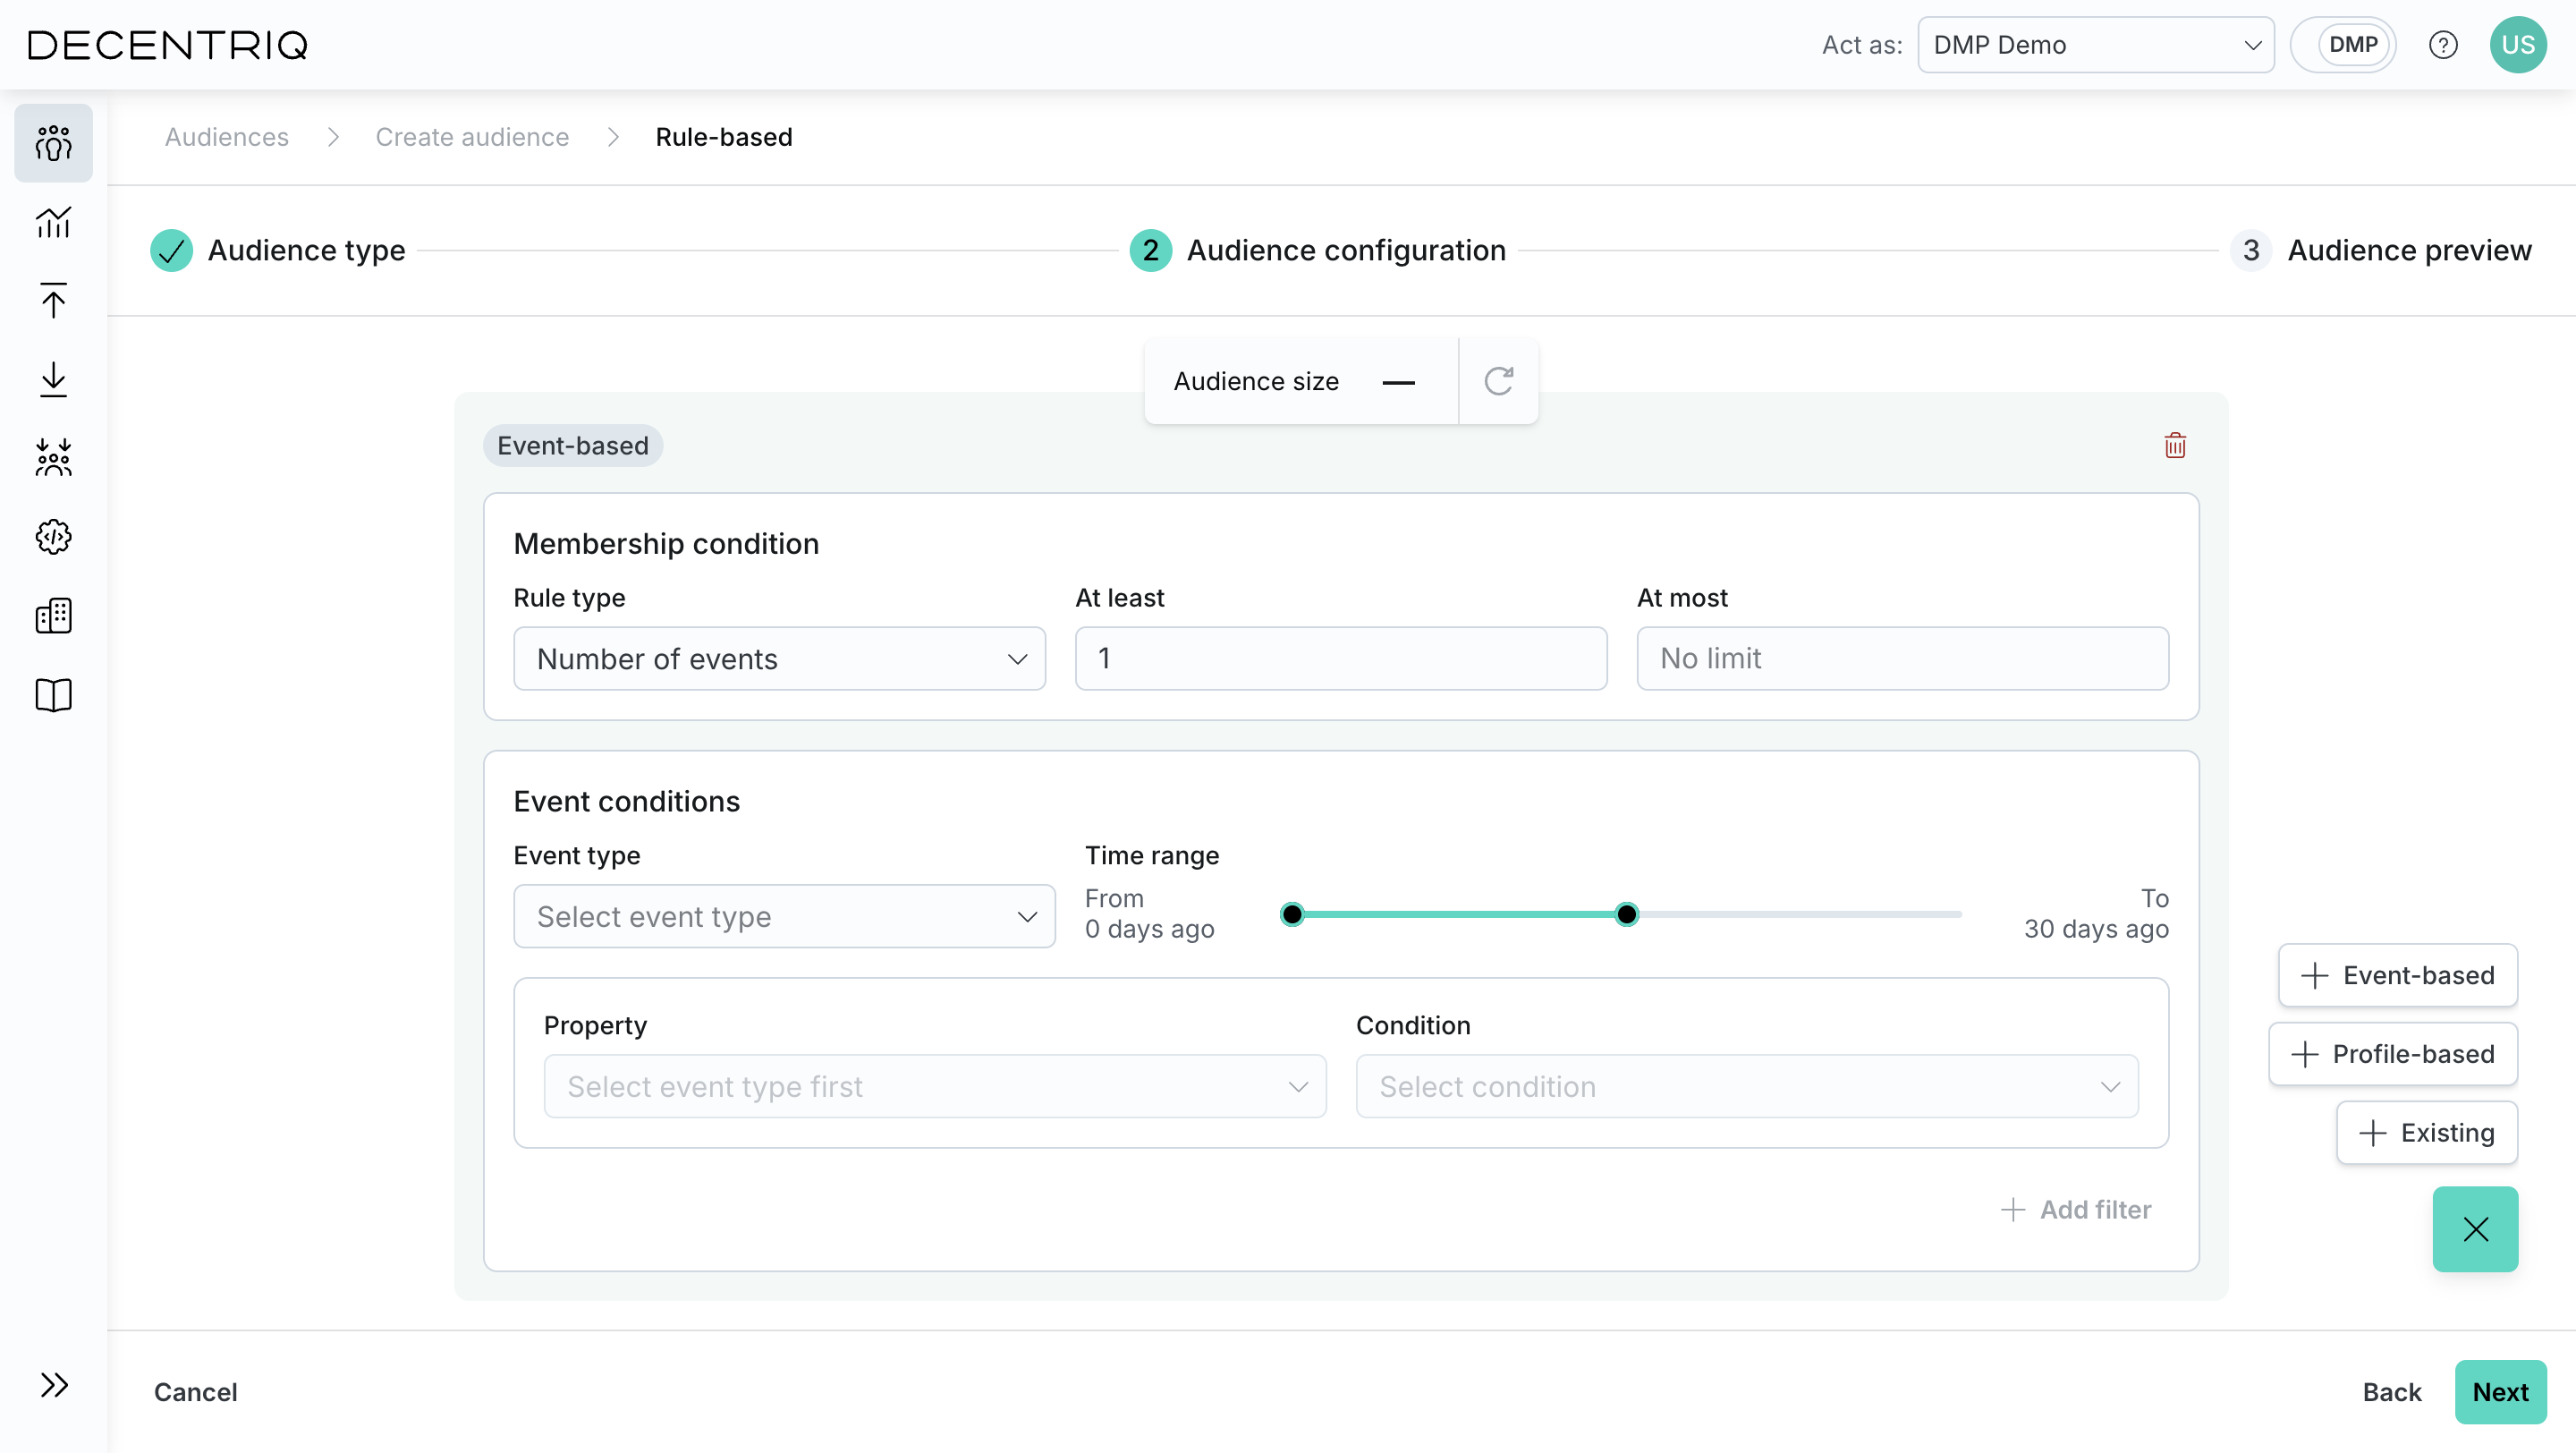
For event-based blocks, specify event types, time ranges, and optional event property filters.
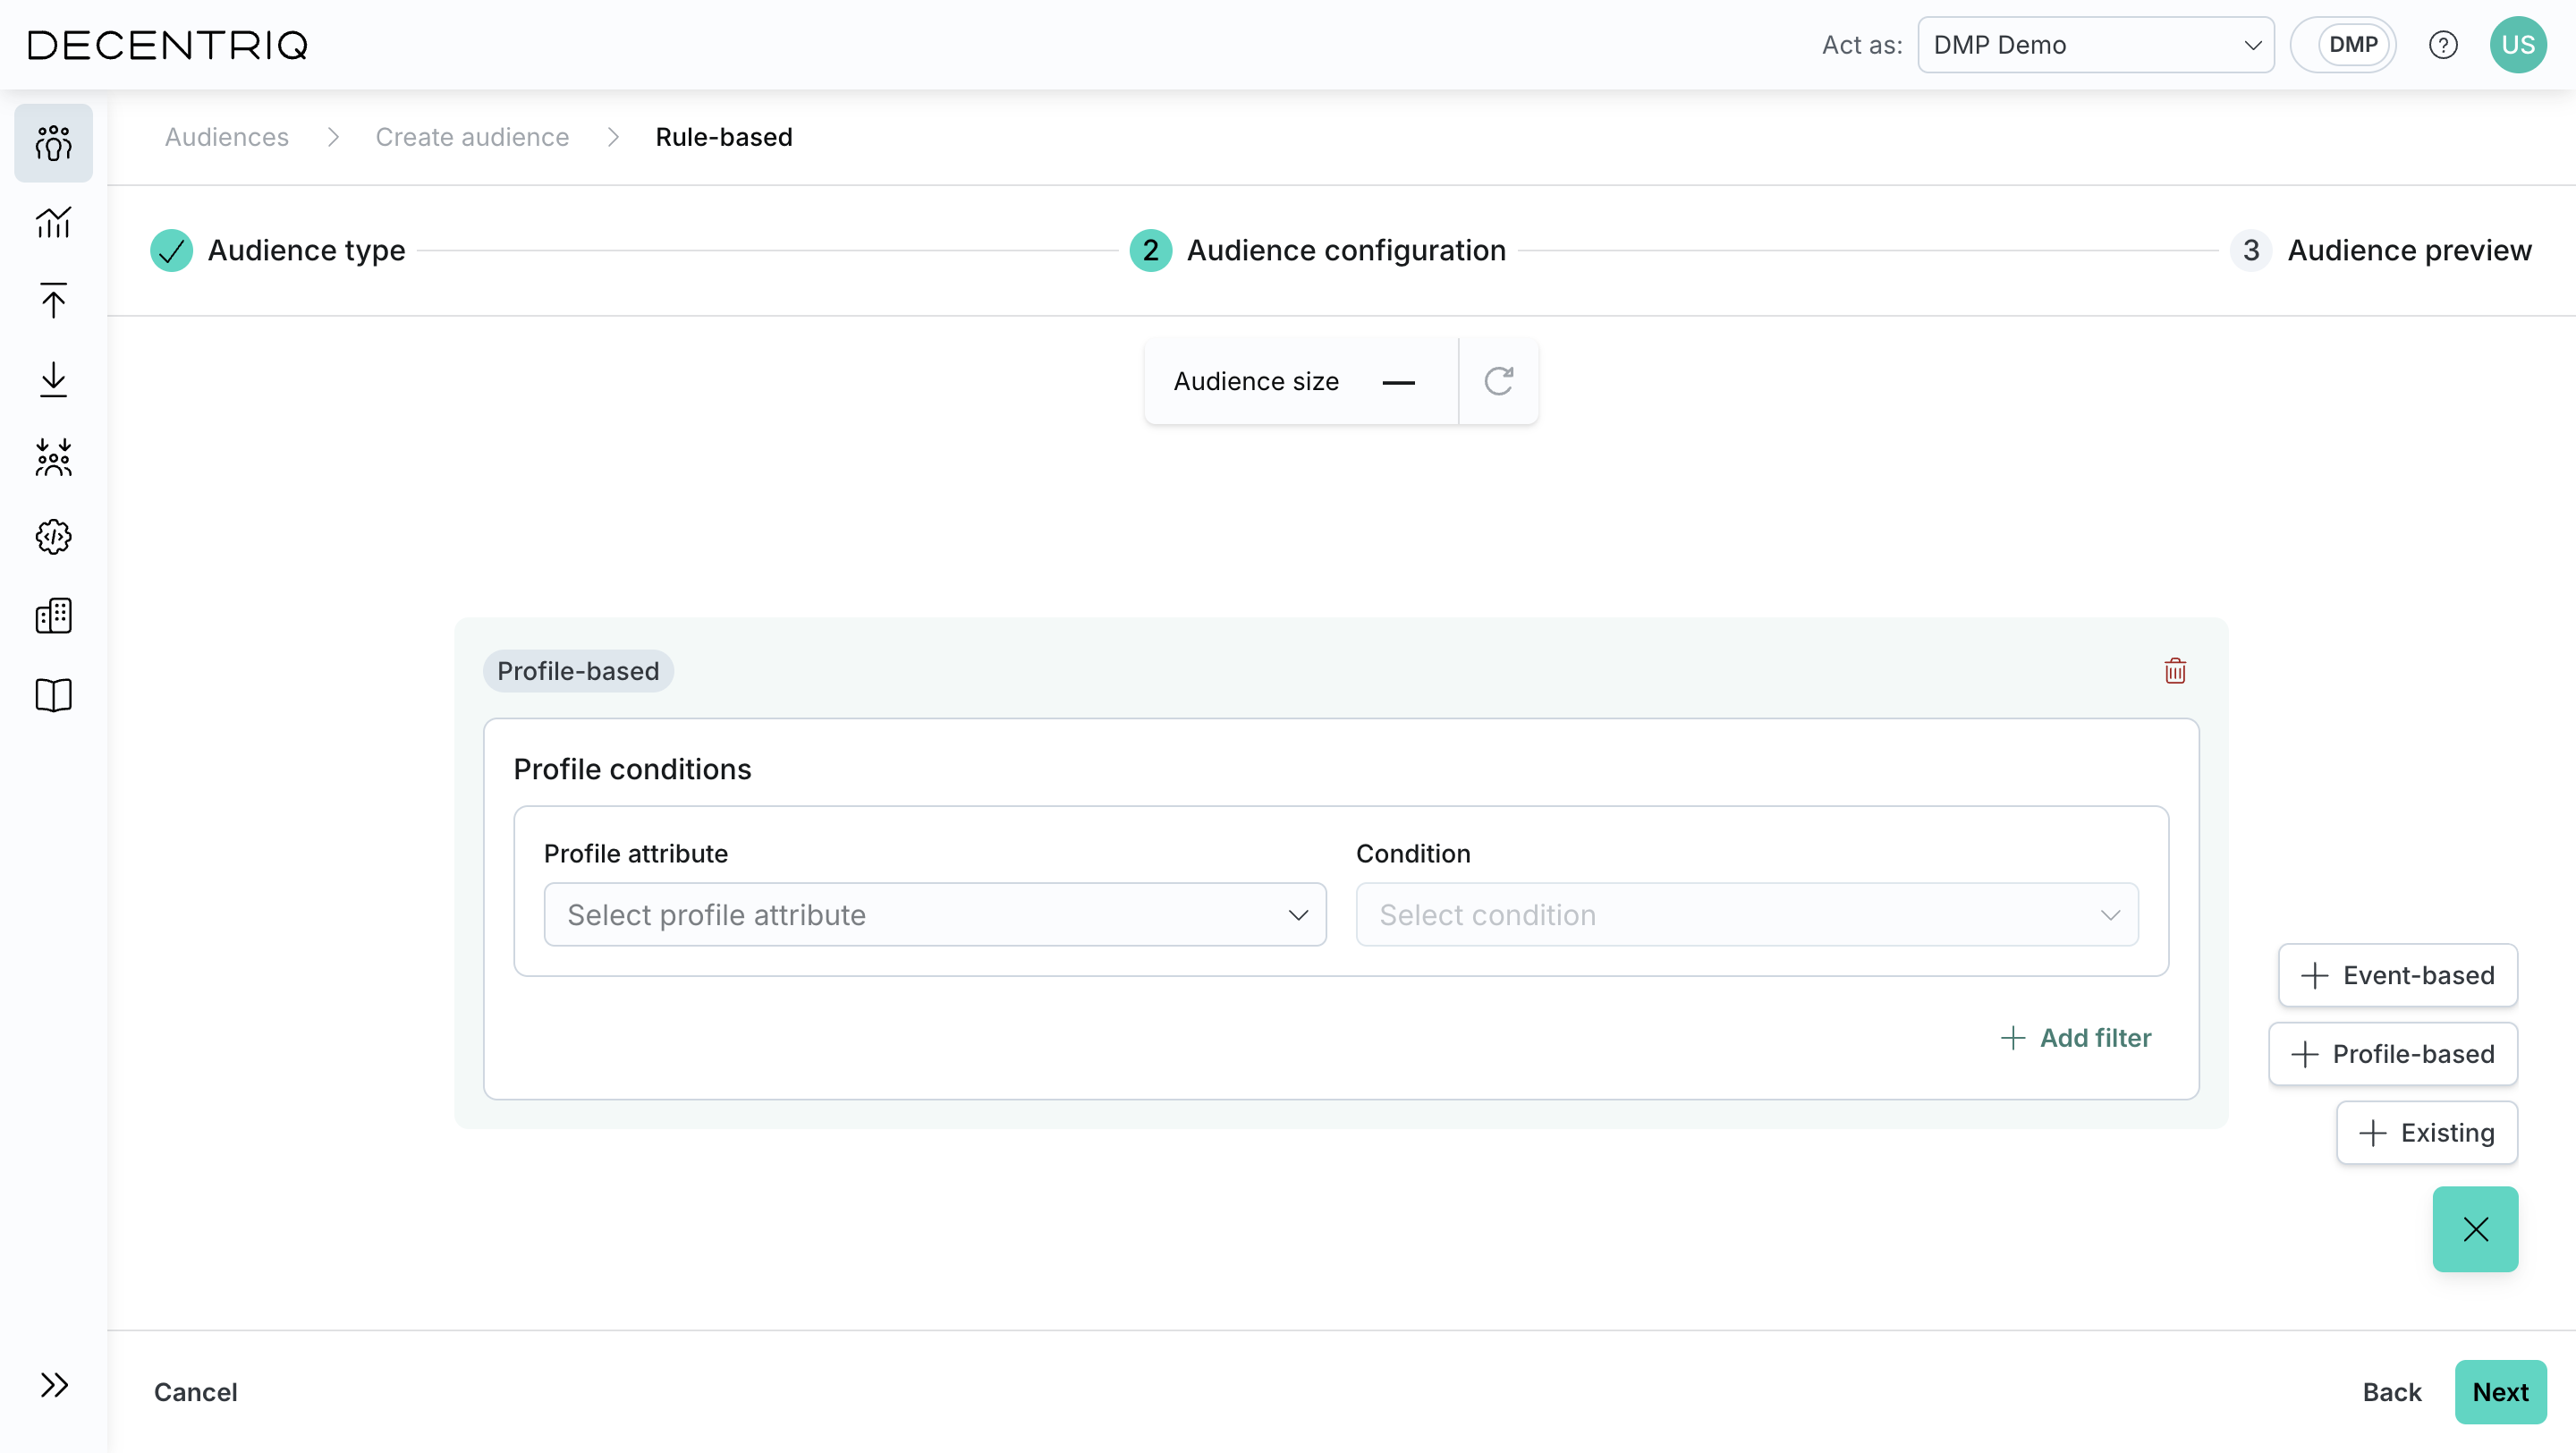
For profile-based blocks, select profile attributes and define matching conditions.
For existing blocks, select one or more existing audiences and define how they should be combined. Audiences shared with your organization by another organization can be selected here too.
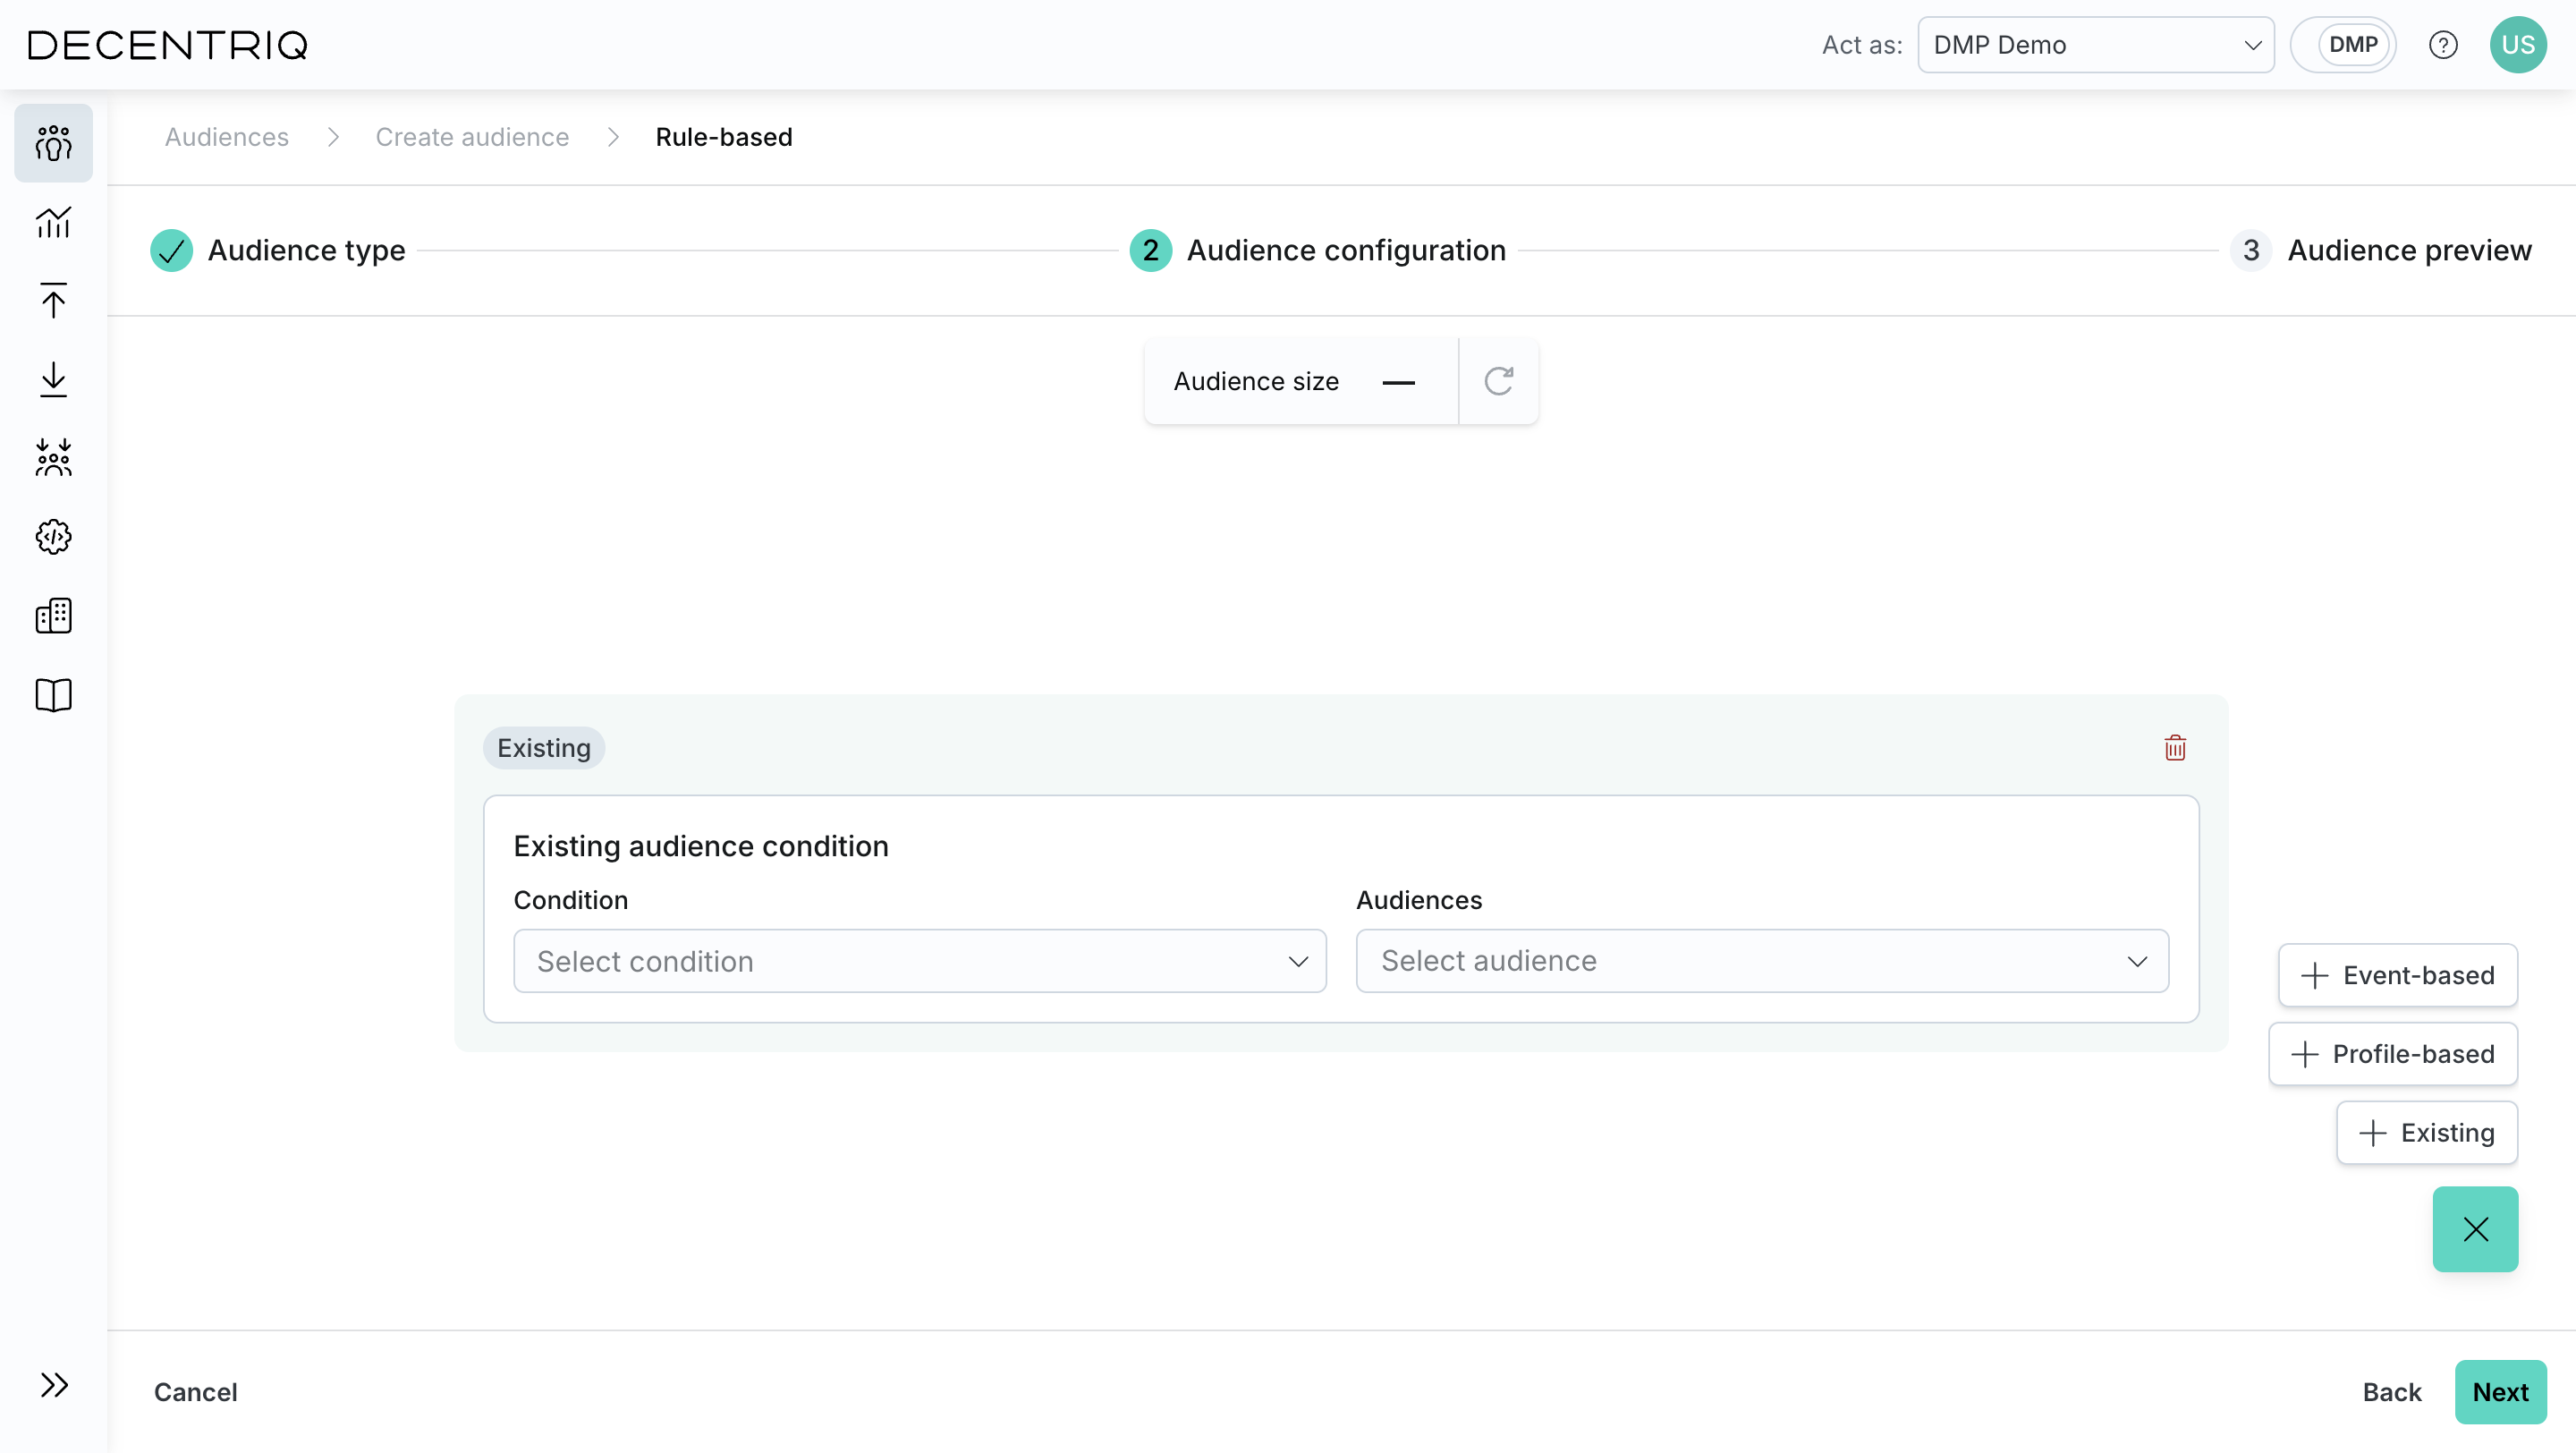
Conditions within and across blocks can be combined to refine the audience definition.
Step 4: Preview the audience
As you build the audience, an audience preview is computed to estimate how many users currently match the definition. When the definition changes and the estimate becomes outdated, you can recompute the preview to refresh the audience size.
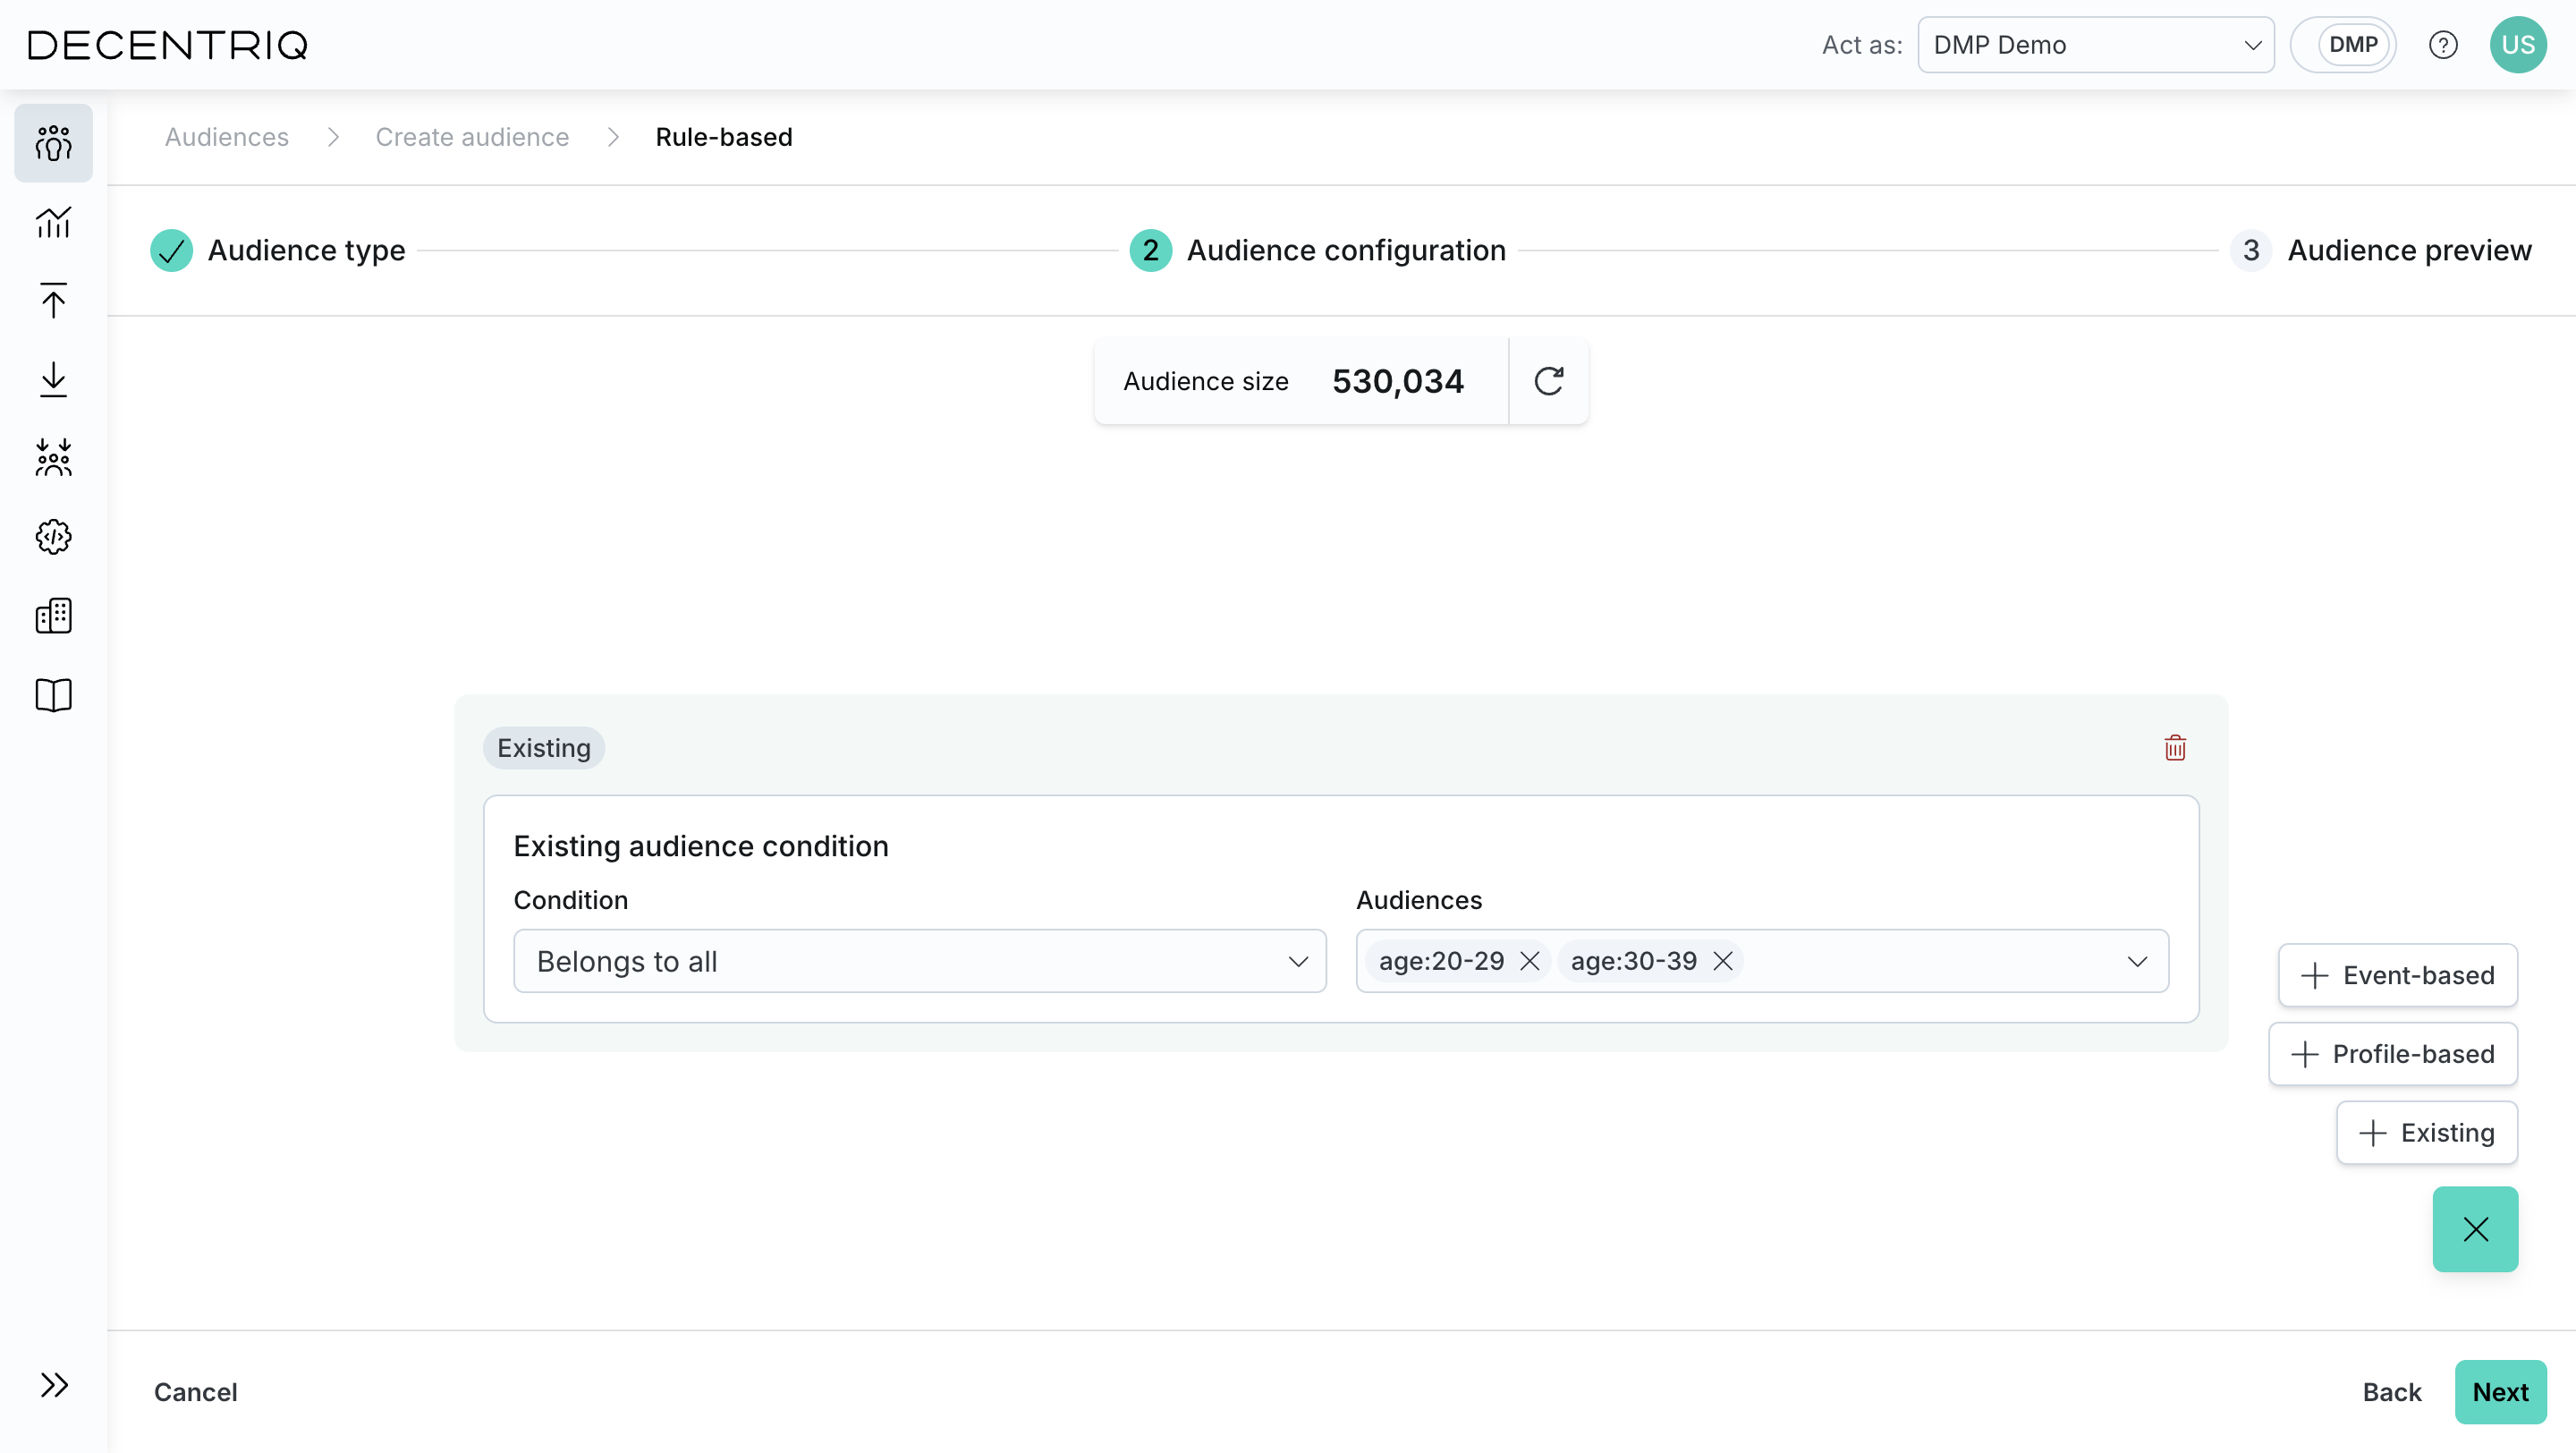
Step 5: Name and save
Review the audience definition, give the audience a name, and assign it to a Group. The group is a free-form label used to organize audiences in the audiences table (for example, Automotive or Lifestyle). You can pick an existing group from the autocomplete or enter a new name to create one. Click Create to create the audience.
Once saved, the audience becomes available for activation and can be exported to external destinations or to Decentriq DCR datasets.
Creating a lookalike audience
A lookalike audience consists of the users most similar to an existing audience, called the seed audience. Use it to extend the reach of a well-performing audience beyond the users who already match its rules.
Any rule-based audience with Ready status can serve as a seed. When you create a lookalike audience, the DMP trains a machine learning model on the seed audience. The model then scores all other users by their similarity to the seed. The most similar users are included until the reach you selected is achieved.
Lookalike audiences depend on your organization's configuration. Contact your customer success representative or support@decentriq.com to enable them.
Step 1: Start the audience creation
From Audiences, click Create audience. In the Audience type step, select Lookalike audience and click Continue.
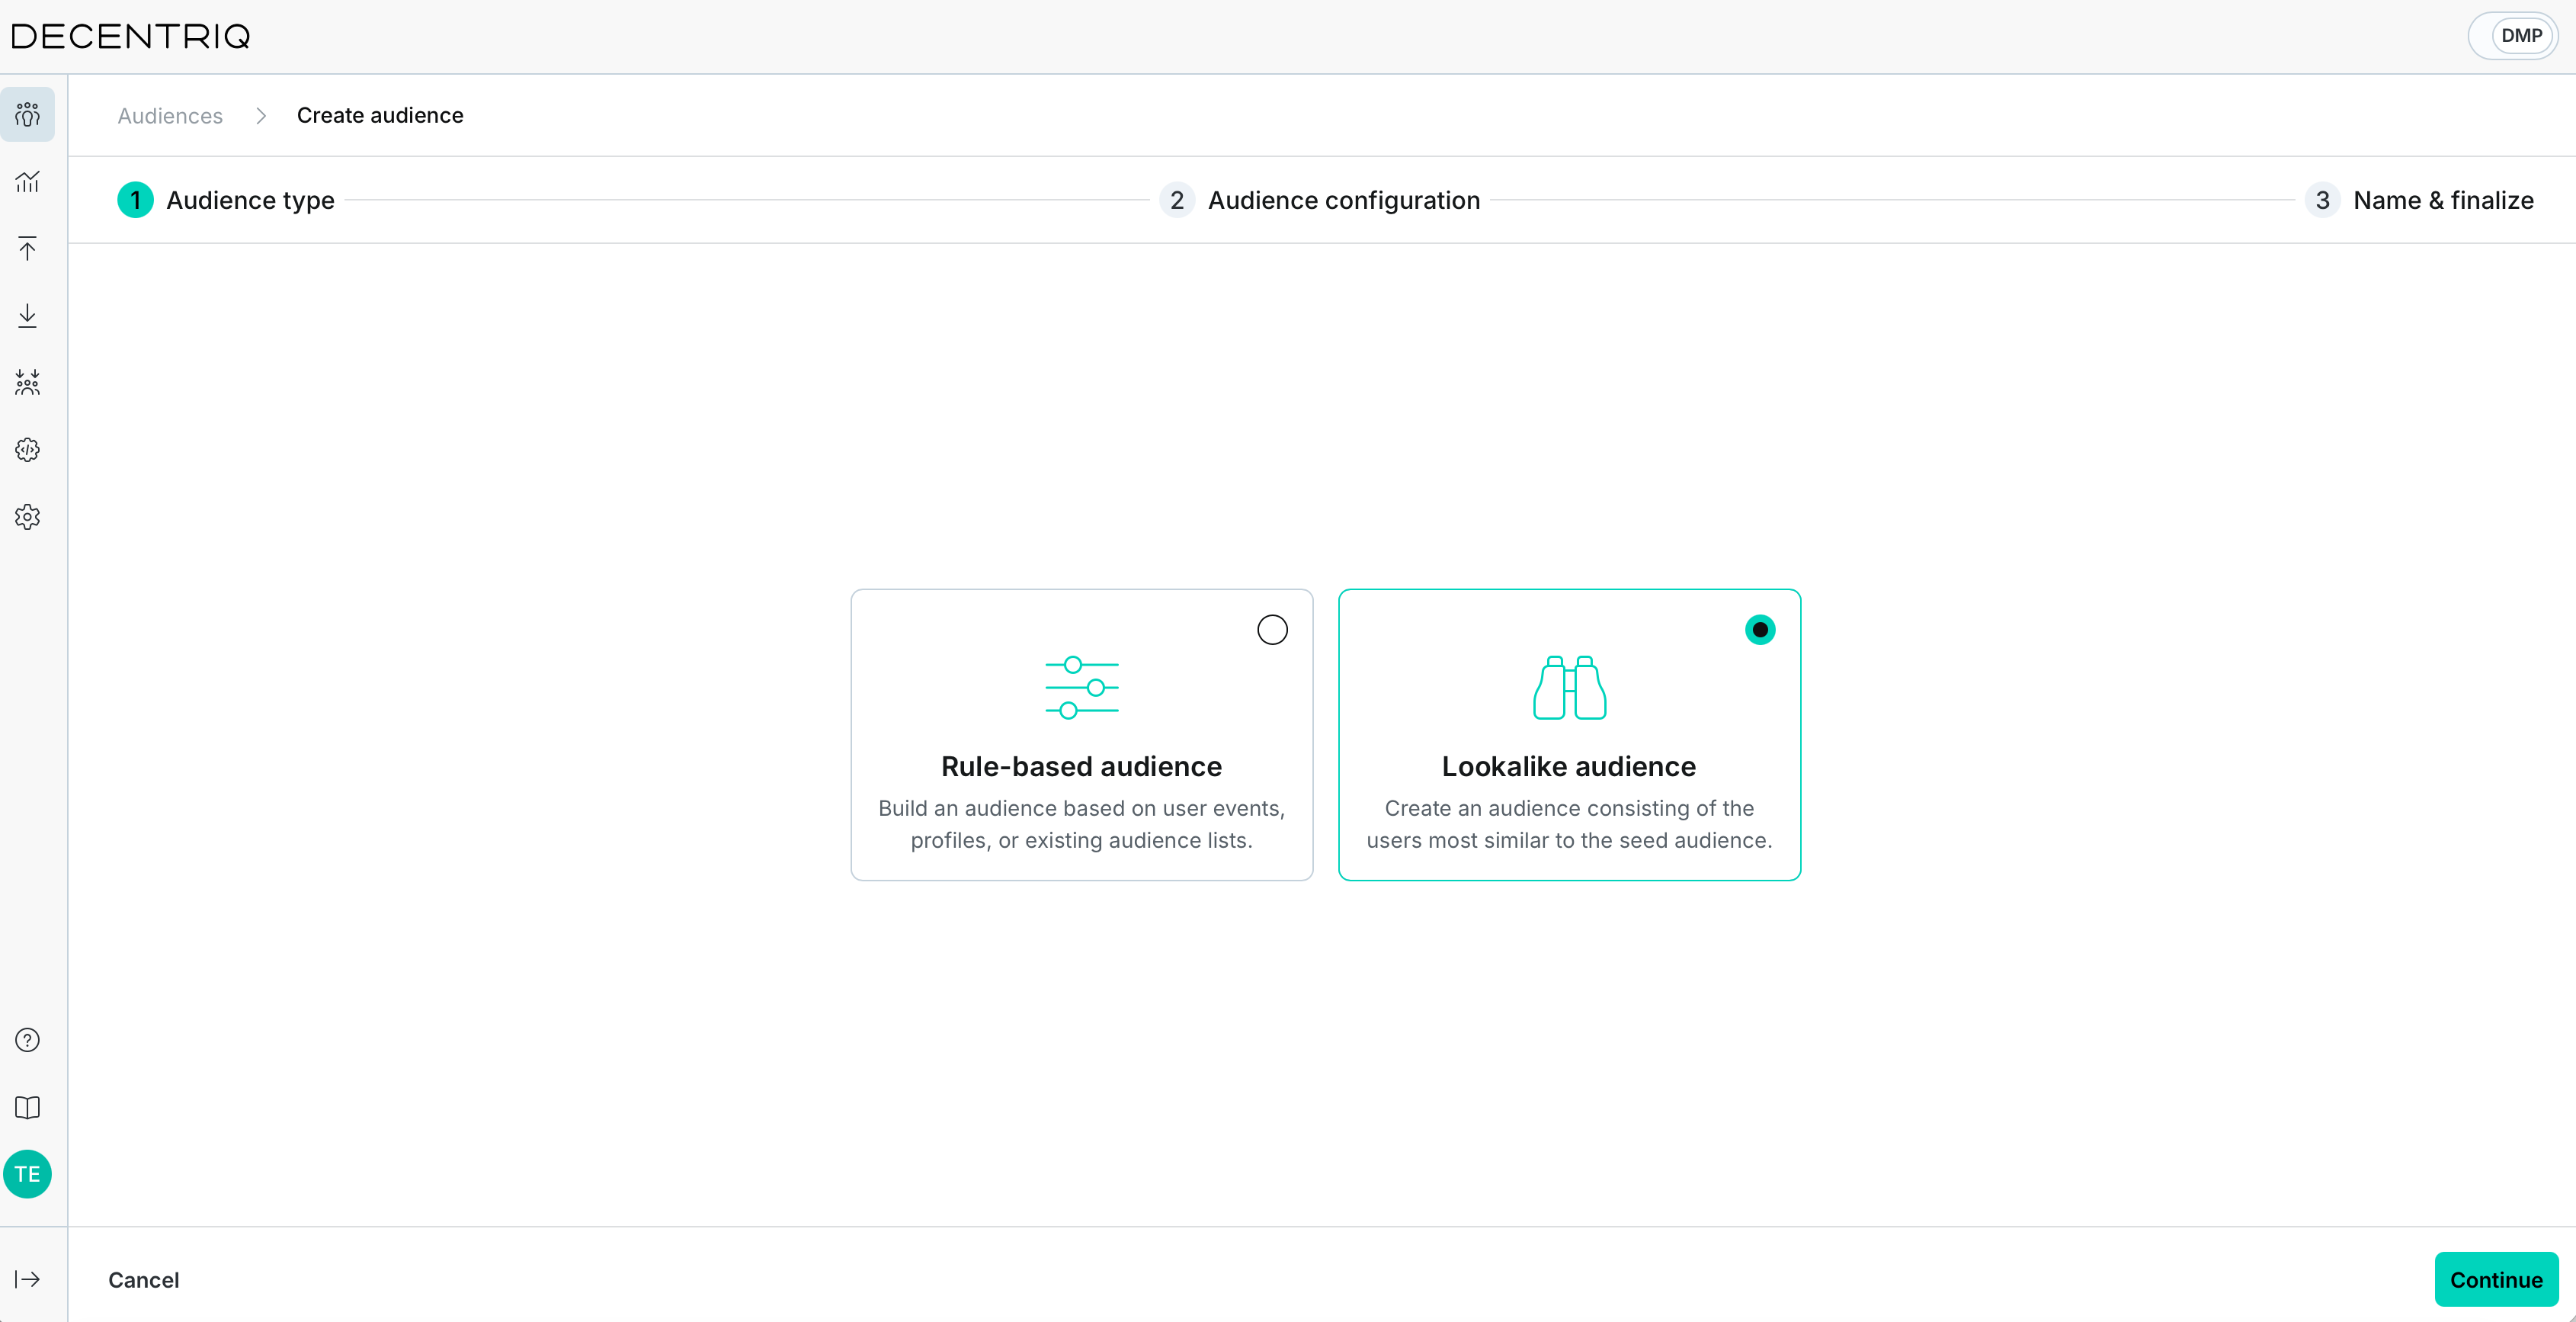
Step 2: Choose the seed audience
In the Audience configuration step, choose a seed audience to train your lookalike model. Only audiences with Ready status are selectable — audiences are typically ready the day after creation. Lookalike audiences can't be used as seeds. Audiences shared with your organization can, unless what was shared is itself a lookalike.
Optionally, check Exclude the seed audience used for training from your new audience. This removes the seed users from the generated audience and replaces them with the next most similar users. This is useful for prospecting campaigns targeting only new users.
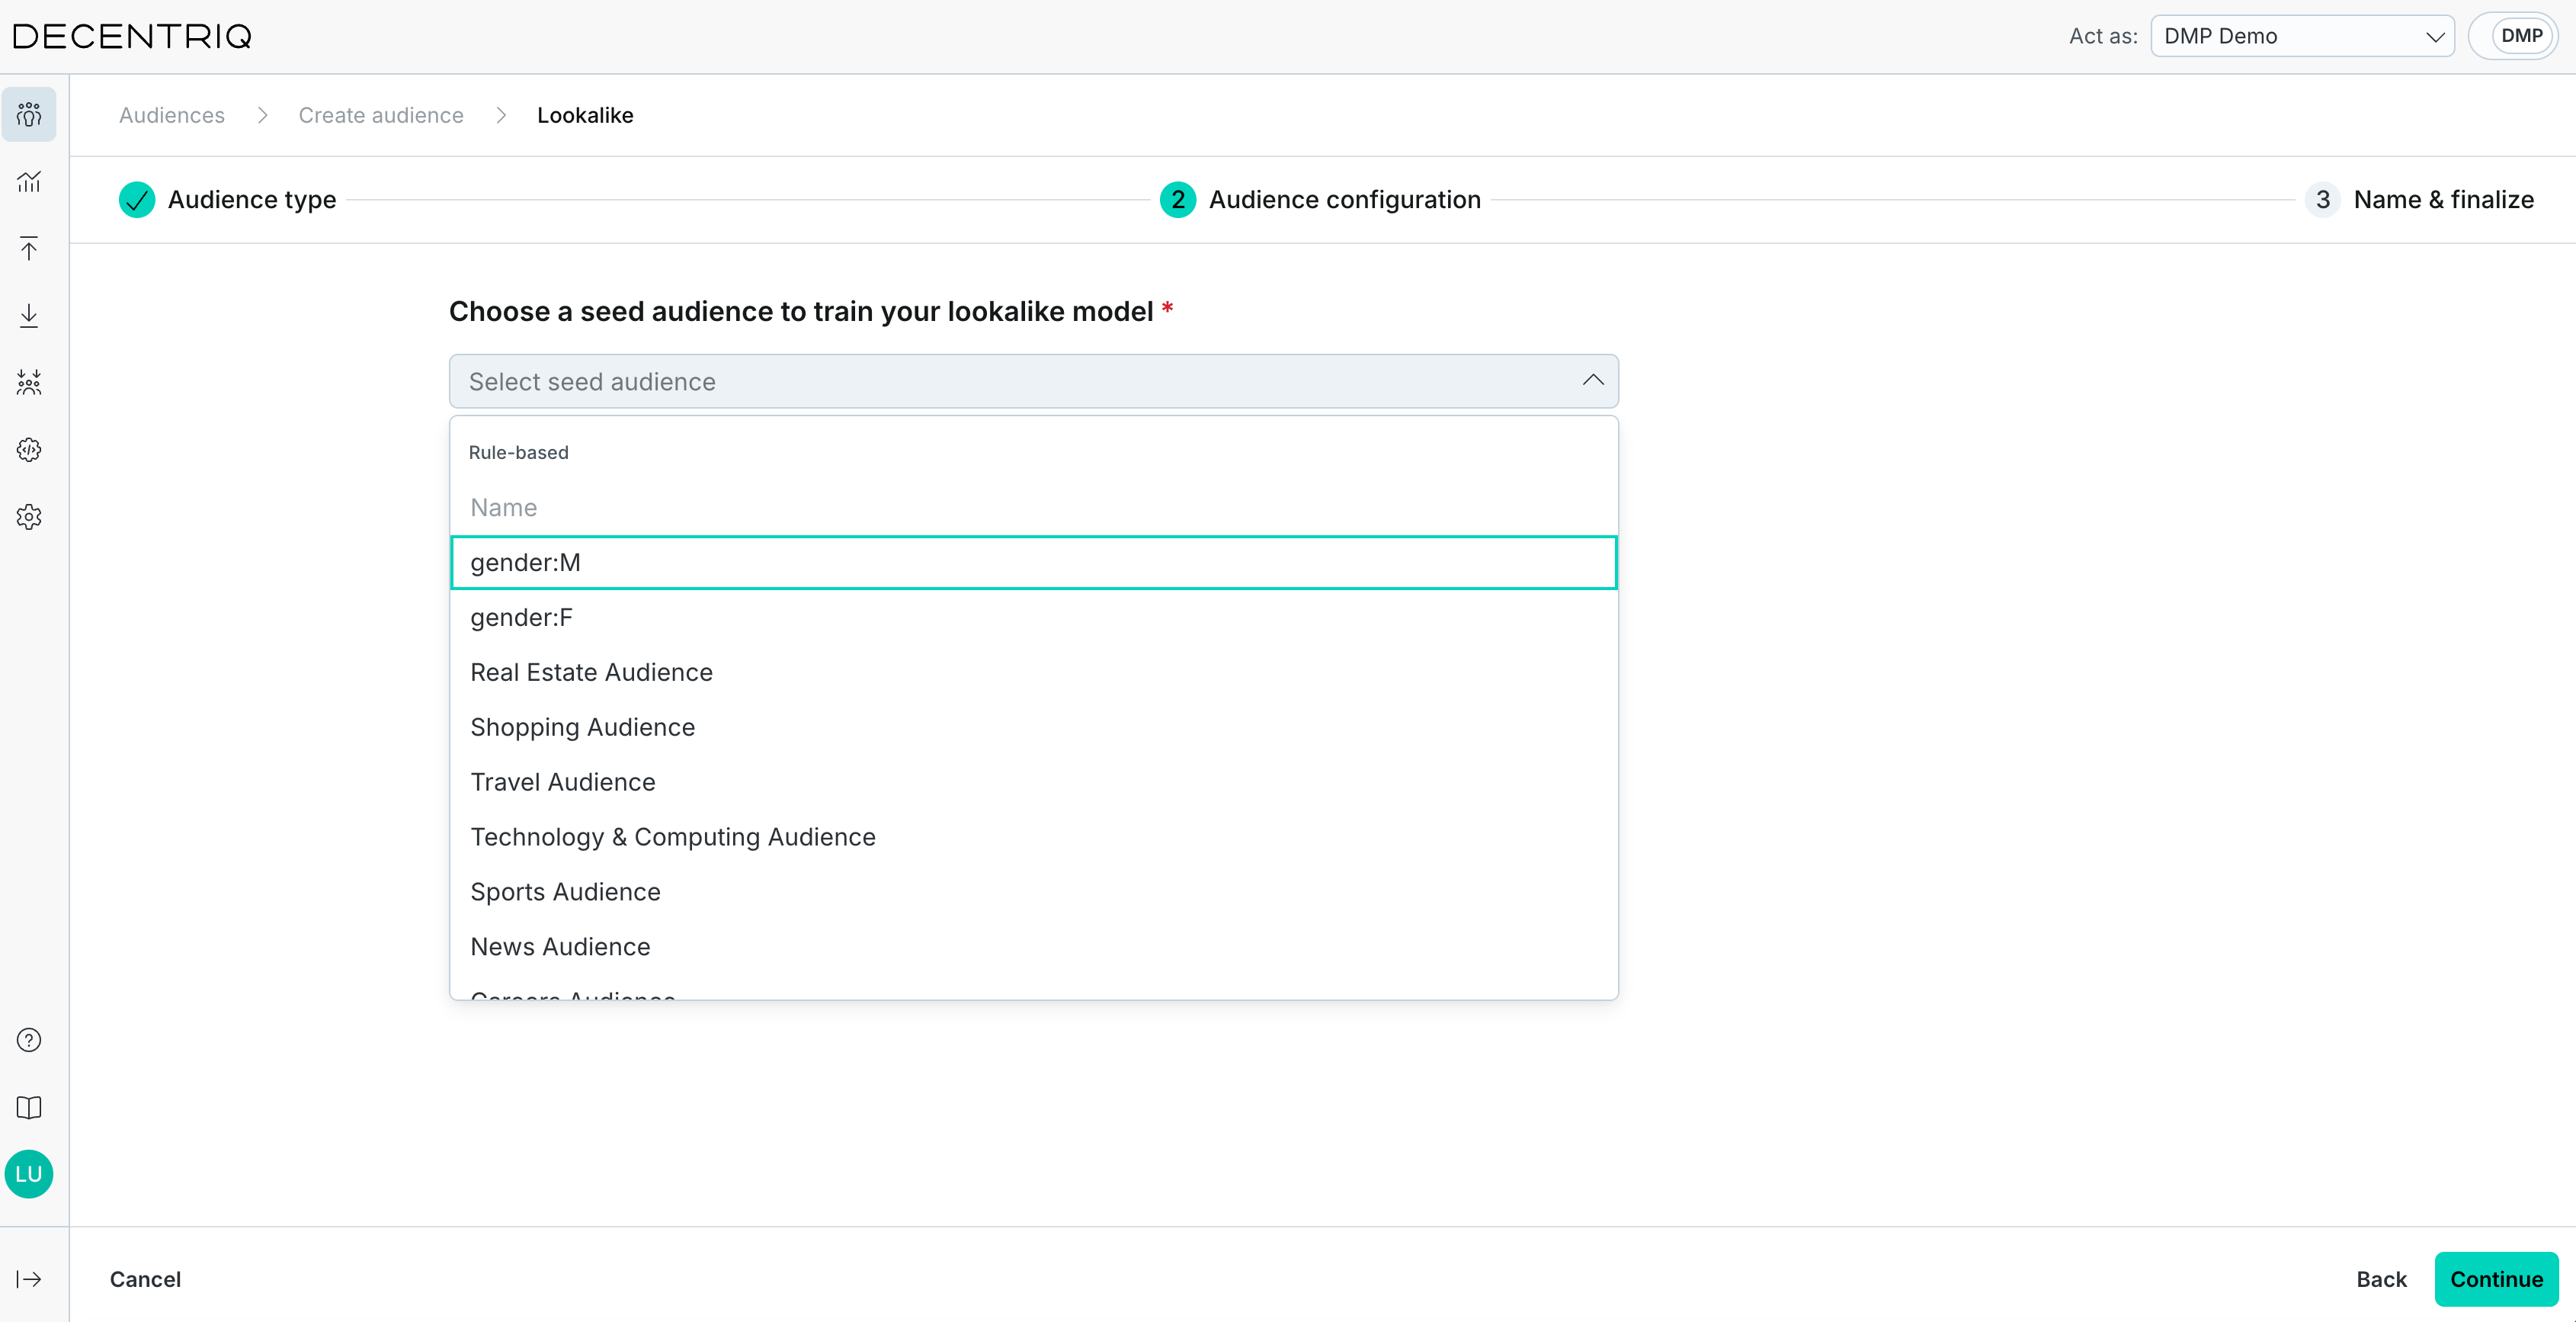
Step 3: Set the reach
Use the slider to set the desired reach, from 1% to 100%. Moving the slider toward Precision keeps only the most similar users. Moving it toward Reach includes more users at the cost of lower average similarity. The generated audience includes users sorted by similarity until the desired reach is achieved.
The quality charts and the Lookalike audience quality statistics panel update as you move the slider, helping you pick a reach where the model still performs well.
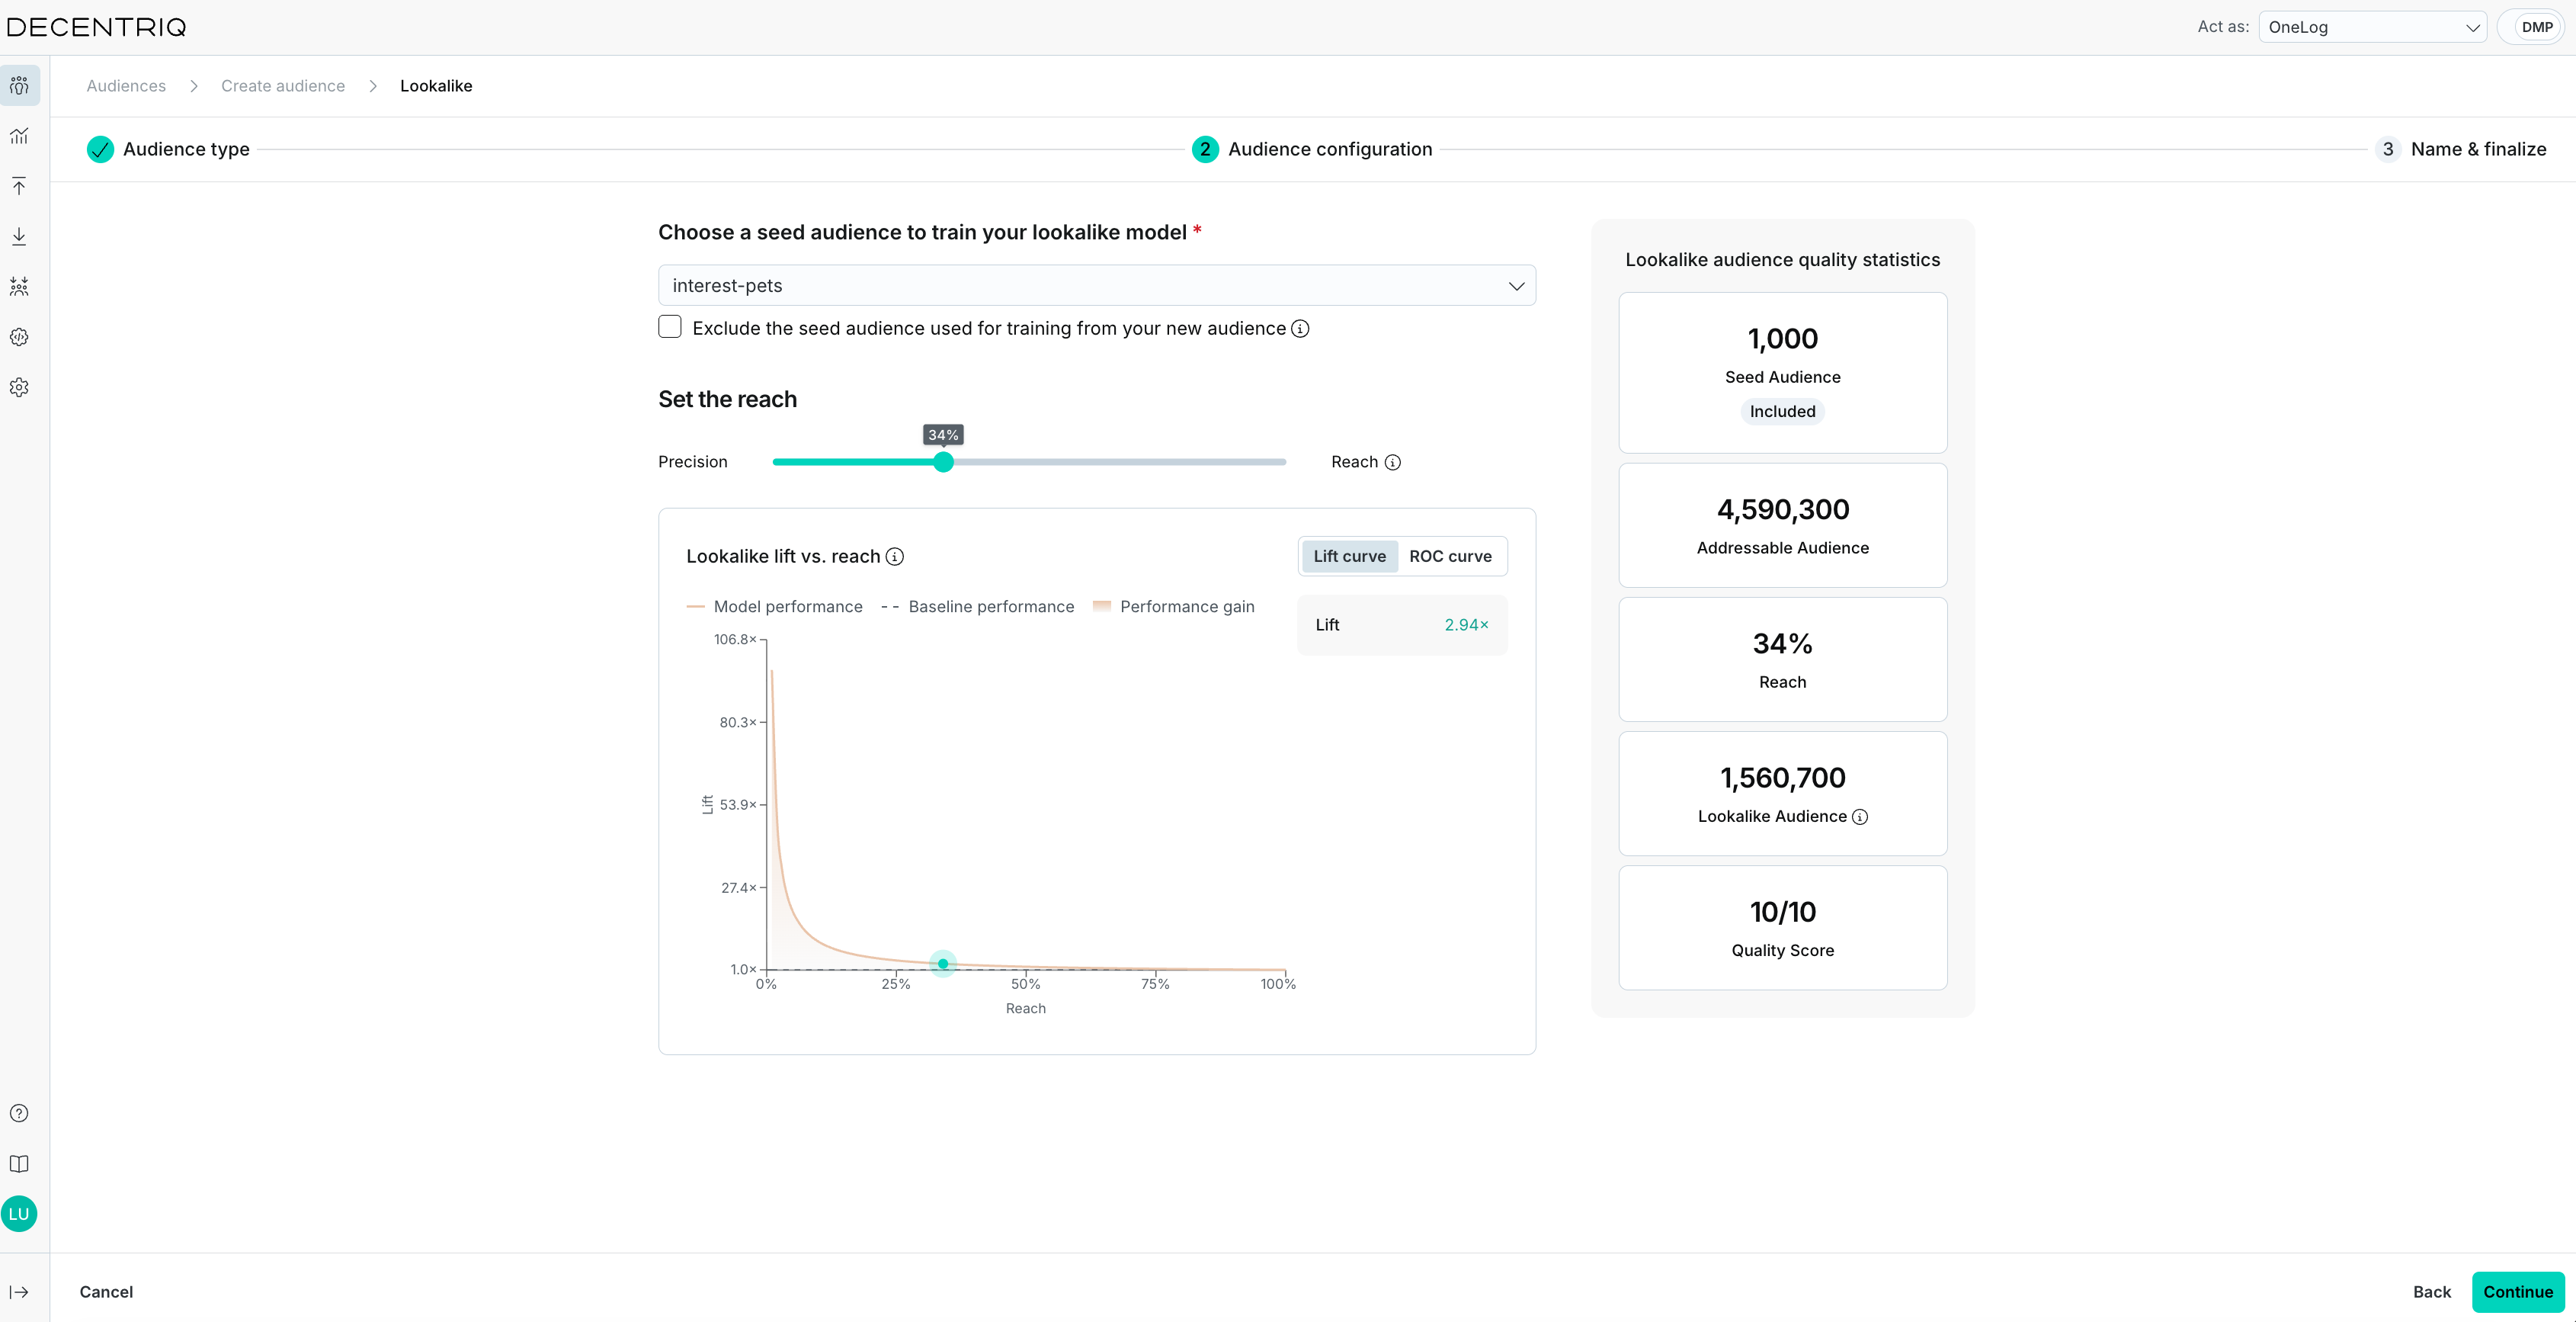
The quality charts box shows Lookalike lift vs. reach with a toggle between two views:
- Lift curve: Compares model performance against a random baseline at each reach. The legend shows Model performance, Baseline performance, and Performance gain. A lift readout such as 2.31× means the audience contains 2.31 times as many relevant users as a random selection of the same size. Lift typically decreases as reach increases, so use the curve to find a reach where lift is still acceptable.
- ROC curve: Plots the true positive rate (TPR) against the false positive rate (FPR) at each threshold. A curve bending toward the top-left corner indicates a model that clearly outperforms random selection. A straight diagonal line means the model is no better than random.
The Quality Score in the statistics panel condenses the ROC curve into a single number out of 10. It's computed as the area under the ROC curve (ROC AUC) multiplied by 10. Higher scores indicate a better model. Treat it as a relative score — don't compare it across different seed audiences or publishers.
The statistics panel also shows the Seed Audience size (with an Included or Excluded chip), the Addressable Audience, the selected Reach in %, and the estimated Lookalike Audience size. Sizes are shown with a ~ prefix because they're estimates — see After creation.
Some metrics and graphs may take up to an hour to become available. You can continue creating your audience and review them later.
Step 4: Name and save
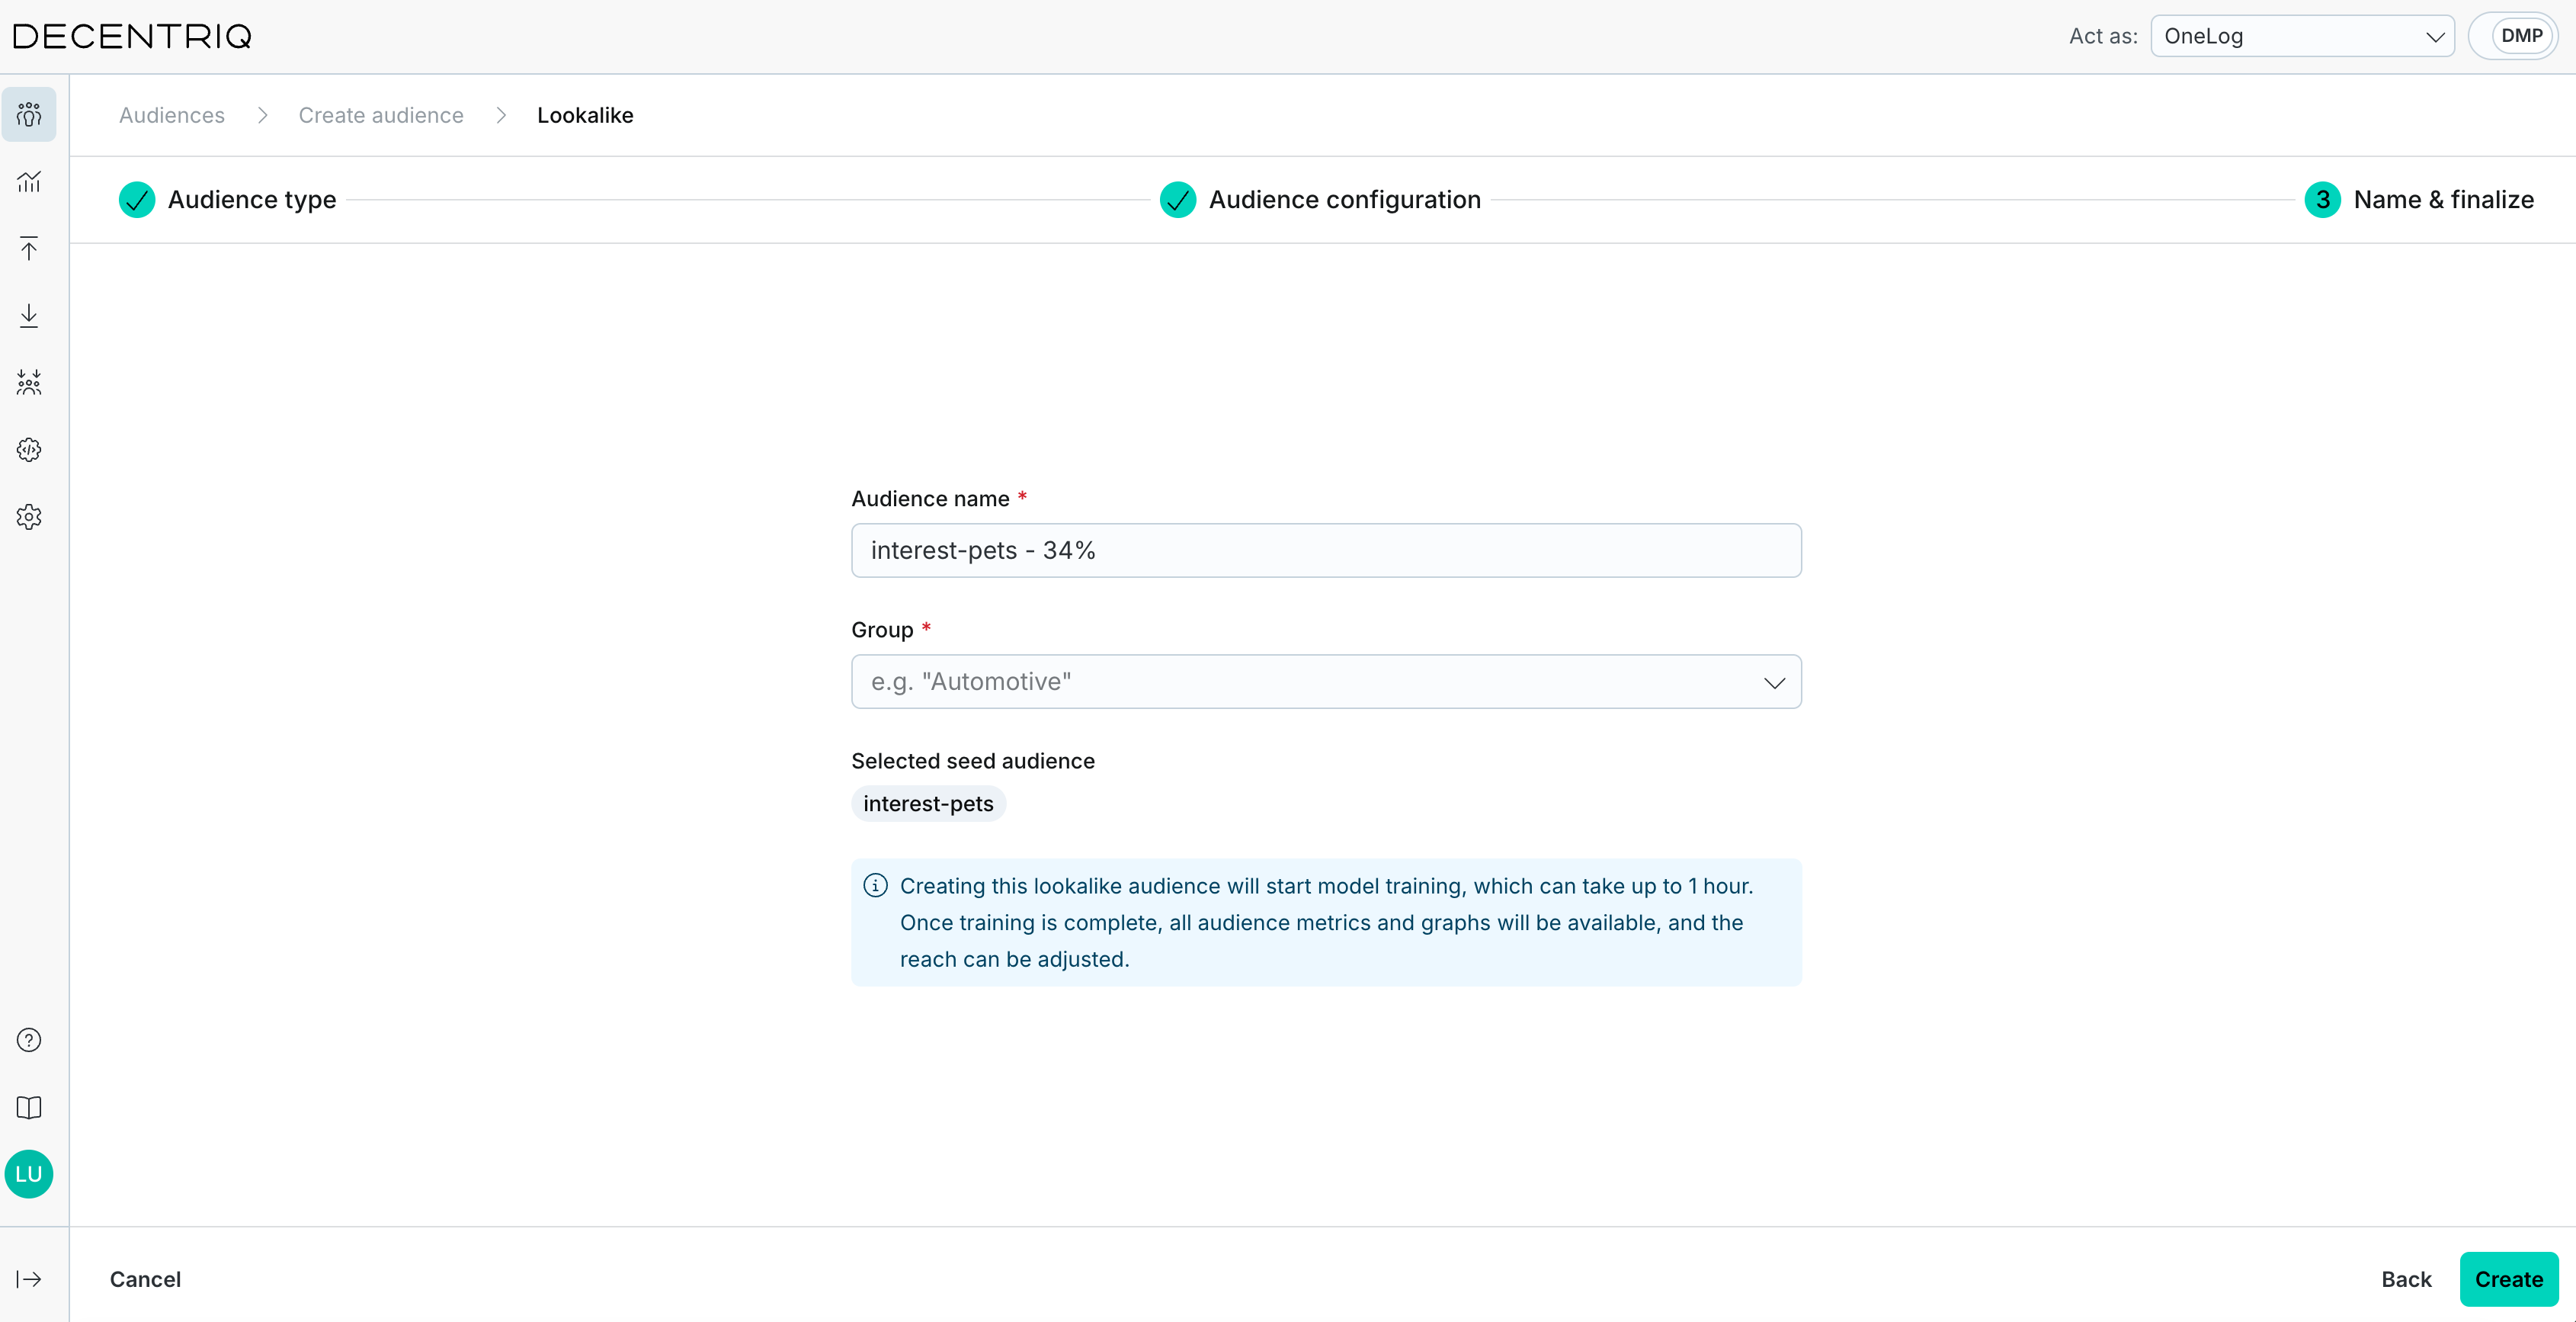
In the Name & finalize step, review the Audience name, which is prefilled as <seed audience name> - <reach>%. Assign a Group and check the read-only Selected seed audience chip. Click Create to create the audience.
Creating the lookalike audience starts model training, which can take up to one hour. Once training is complete, all audience metrics and graphs become available, and the reach can be adjusted.
After creation
Statuses
A lookalike audience moves through the following statuses, visible in the audiences table and side panel:
- Untrained: The audience was just created and training hasn't been queued yet. Usually visible only briefly.
- Training: The model is queued and being trained. Training takes up to one hour.
- Scheduled: The model is trained, but the audience itself hasn't been computed yet. The next daily pipeline run selects the users that make up the audience.
- Ready: The audience has been computed and its latest size is available.
- Modified: The reach has been updated and the audience will be re-computed during the next pipeline run.
- Failed: Model training or audience generation failed. Contact support@decentriq.com if you need help interpreting the error.
Sizes are estimates
During creation and reach editing, the lookalike audience size is an estimate derived from the model's quality metrics, shown with a ~ prefix. The next daily pipeline run selects the actual users that make up the audience, after which the audiences table shows the exact size.
Editing the reach
You can adjust the reach after creation without retraining the model. Open the audience side panel, click Edit on the Reach card, move the slider, and click Apply. The audience status changes to Modified and the audience is re-computed during the next pipeline run. See Manage audiences for the other side panel details.
Reference: rule operators
The operators below apply to rule-based audience building blocks. The exact set of operators shown for a given event property or profile trait can also depend on its data type — the platform only offers operators that make sense for the property.
Event-based blocks — for each event property filter:
- Equals / Is empty
- Contains / Starts with / Ends with — for text properties such as URLs
- Belongs to at least one / Belongs to none — match against a list of values
For the event itself, you can also constrain how often the user performed it:
- Number of events — at least / at most N events in the time window
- Time range — limit the events considered to a recent window
Profile-based blocks — for each profile attribute:
- Equals / Is empty
- Belongs to at least one / Belongs to none
Existing audiences — combine one or more previously saved audiences:
- Belongs to all — user must be in every selected audience
- Belongs to at least one — user must be in any of the selected audiences
- Belongs to none — user must not be in any of the selected audiences
Combiners — AND and OR are available both within a block (combining its rules) and across blocks (combining the blocks themselves).