Creating an Advanced Analytics DCR
This section will walk you through the process of creating an Advanced Analytics DCR (AA DCR).
Your organization needs an active license and must be analytics enabled to create AA DCRs. If you have questions, contact your customer success representative or support@decentriq.com.
Step 1: Create an Advanced Analytics DCR
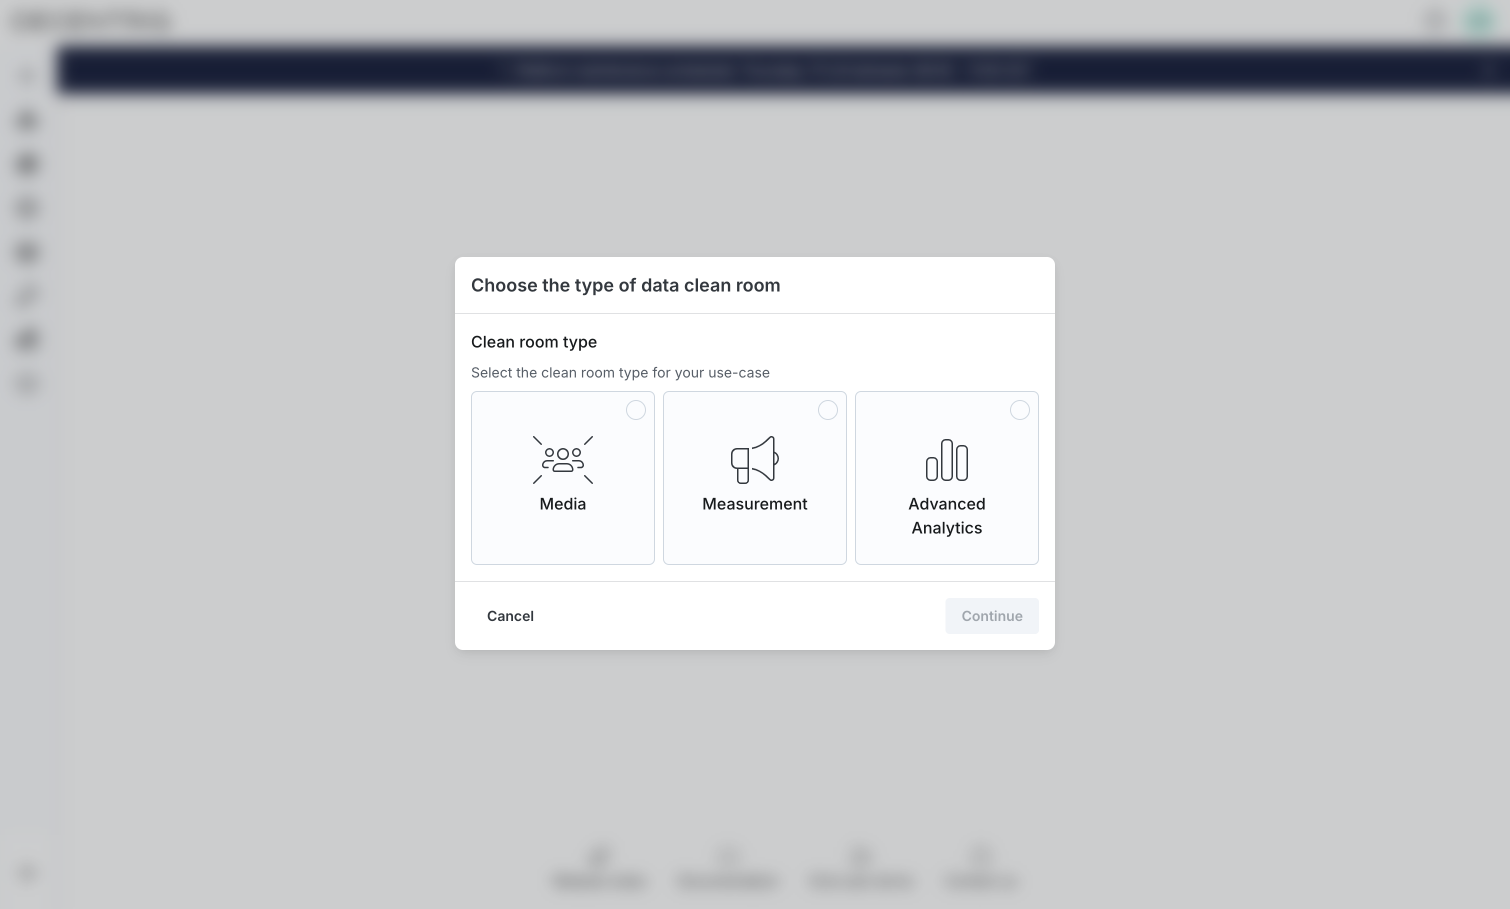
- Click on the New DCR button in the sidebar. Depending on your type of access, you might be presented with other types of data clean rooms. If so, select Advanced Analytics.
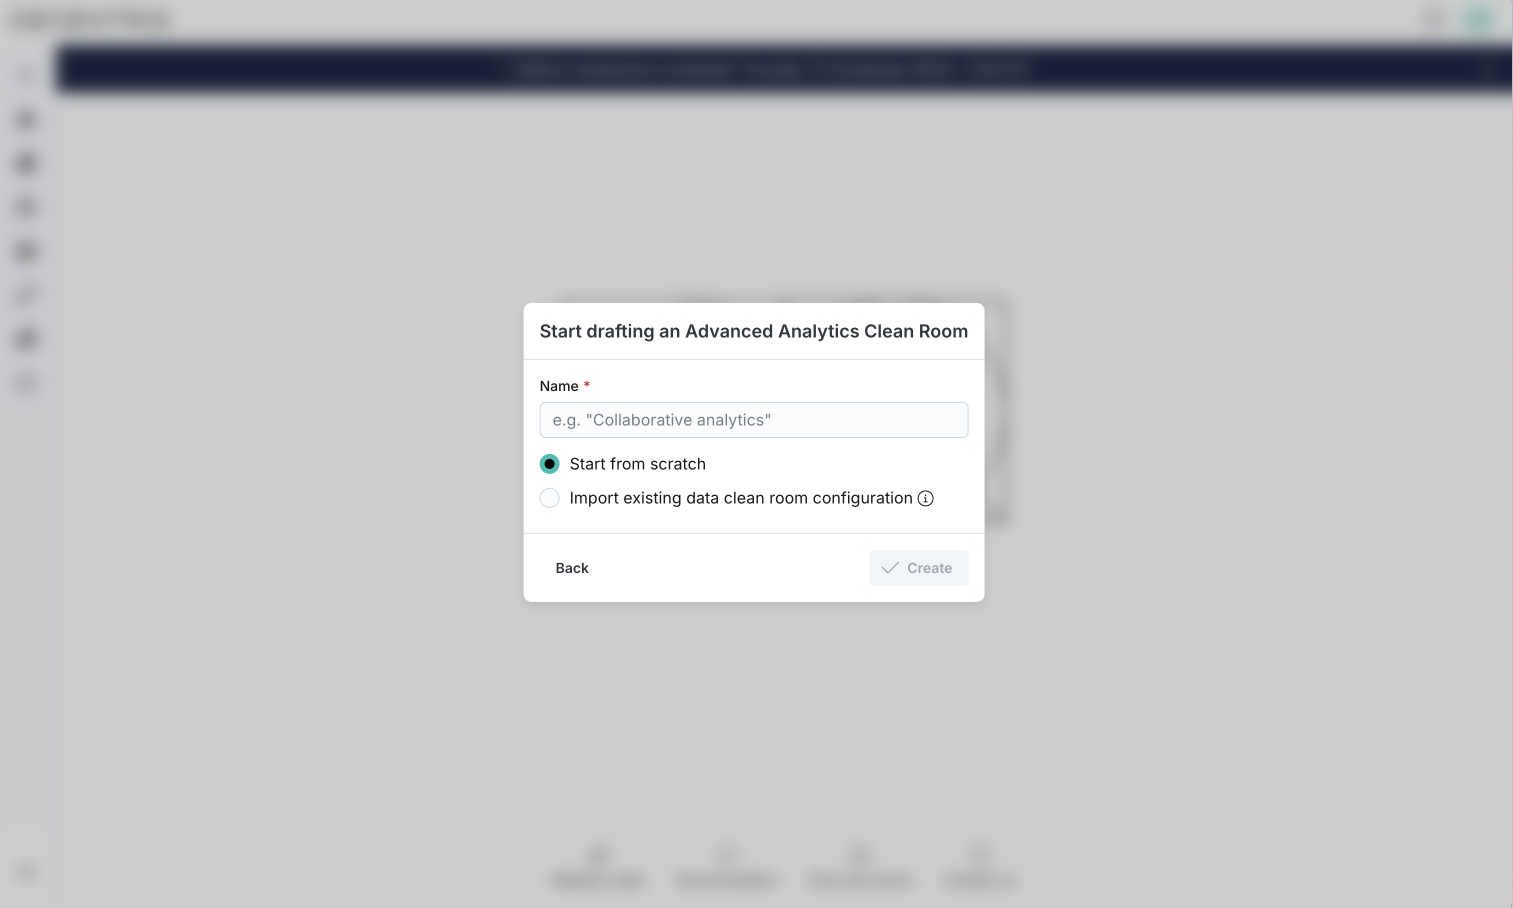
- Provide a name for your DCR.
- Choose to start from scratch or import an existing DCR configuration which can be exported from existing DCRs.
- A new Advanced Analytics DCR in draft state has been created. At this point, only you have access to it. To make it visible to other users, you have to publish the DCR (see below).
Step 2: Configure datasets in the Data tab
Define the datasets to be provided by the data owners:
Structured data or tables
To indicate that this DCR should operate on a structured dataset:
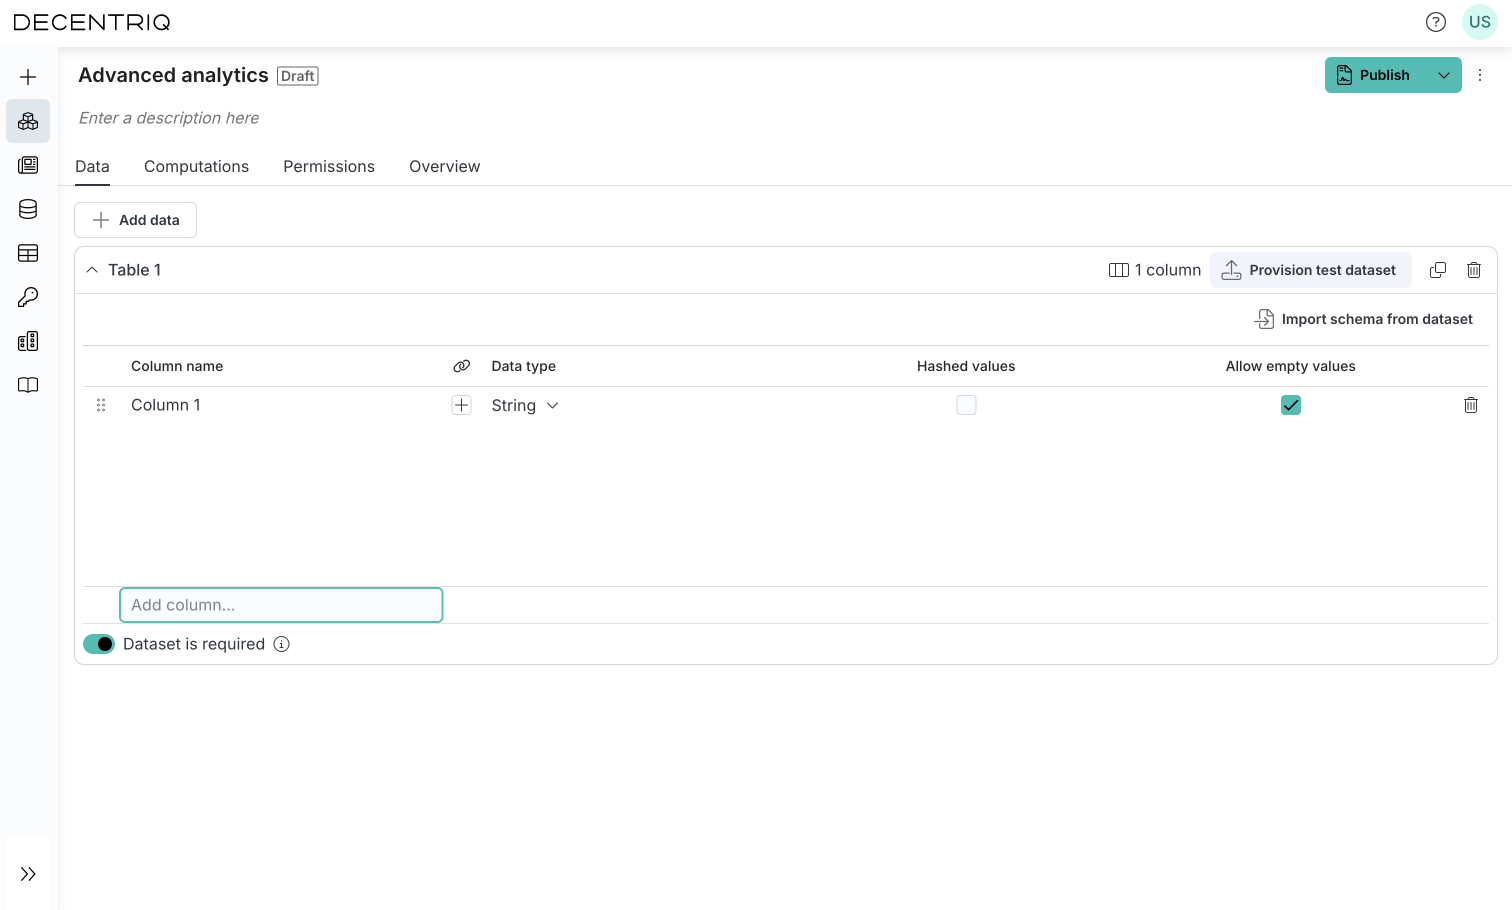
- Click on Add data and choose table and set a name
- For each column, configure its name, data type, if its values are hashed, and if it allows empty values. Note that the schema can be auto-detected from a file provided by you using Import schema. Via the + button under the link column, it is possible to set uniqueness constraints.
- Set whether the dataset must be provided for computations to run and unique value constraints (optional)
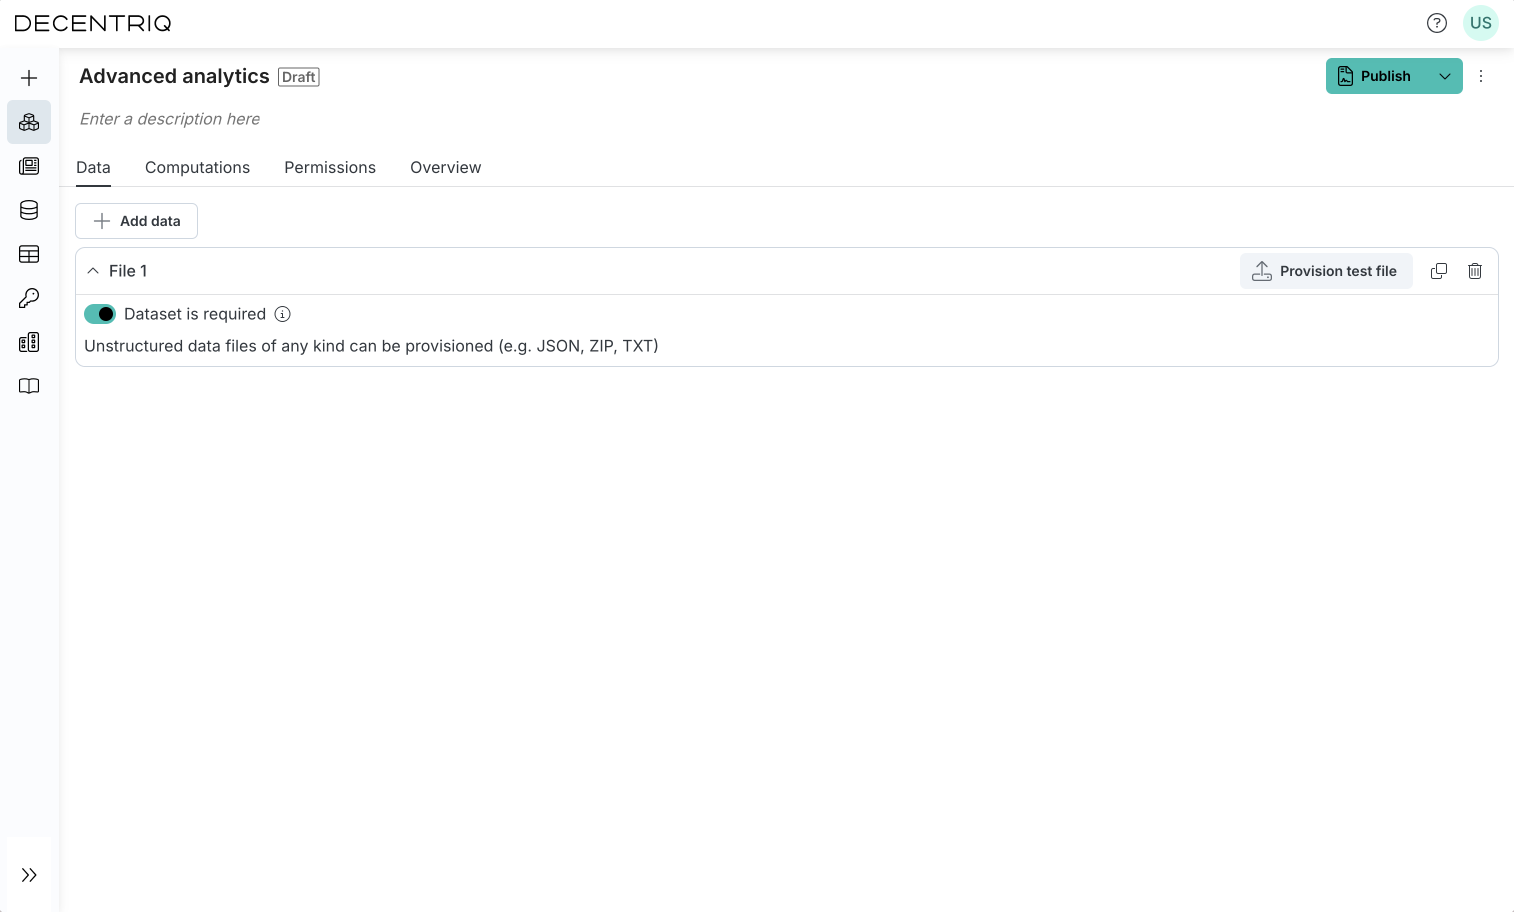
Unstructured data or files
To indicate that this DCR should operate on an unstructured dataset:
- Click on Add data and choose file and set a name
- Set whether the dataset must be provided for computations to run and unique value constraints (optional)
Step 3: Configure computations in the Computations tab
Add computations that will be executed on the data. The computations can depend on both the previously defined datasets as well as on the output of computations themselves. A computation can only be executed and its results retrieved by participants who have the data analyst permission on this computation. In a situation where a user wants to access the result of computation C1 which depends on computation C2, the user only needs data analyst permission on C1, not C2. See Computations for descriptions of the available computations.

Step 4: Test the DCR configuration
As long as your DCR is in draft mode, you can upload test data to all datasets and run computations over this test data without any permission restrictions. This allows you to develop and test the DCR before publishing it.
Step 5: Define permissions in the Permissions tab
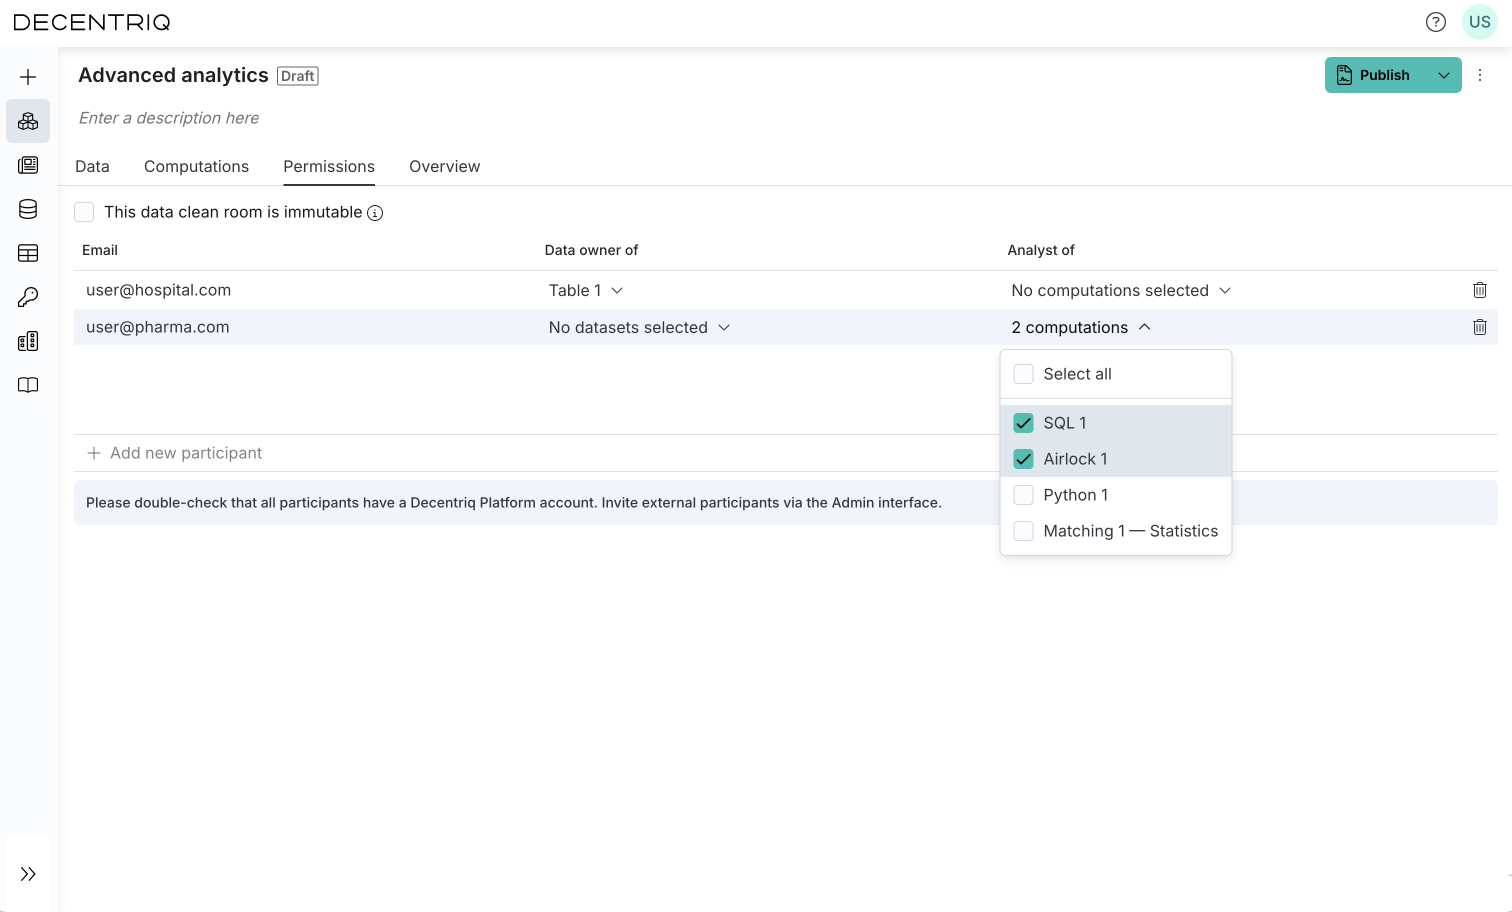
Configure which participants will be invited to the collaboration, and assign them permissions.
Add new participants by typing in their email. They will receive email-based invitations as soon as the DCR is published.
Use the dropdown boxes to assign data owner permissions. If a participant is data owner of a dataset, they can provision data to it. It is possible that multiple participants are data owner of the same dataset in which case, any of them can provision data to it.
Use the dropdown boxes to assign data analyst permissions. If a participant is data analyst of a computation, they can run it and retrieve its results.
By default, Advanced Analytics DCRs are interactive, allowing participants to request new computations which have to be approved by the data owners. To prevent any modifications after publishing, check the This data clean room is immutable option.
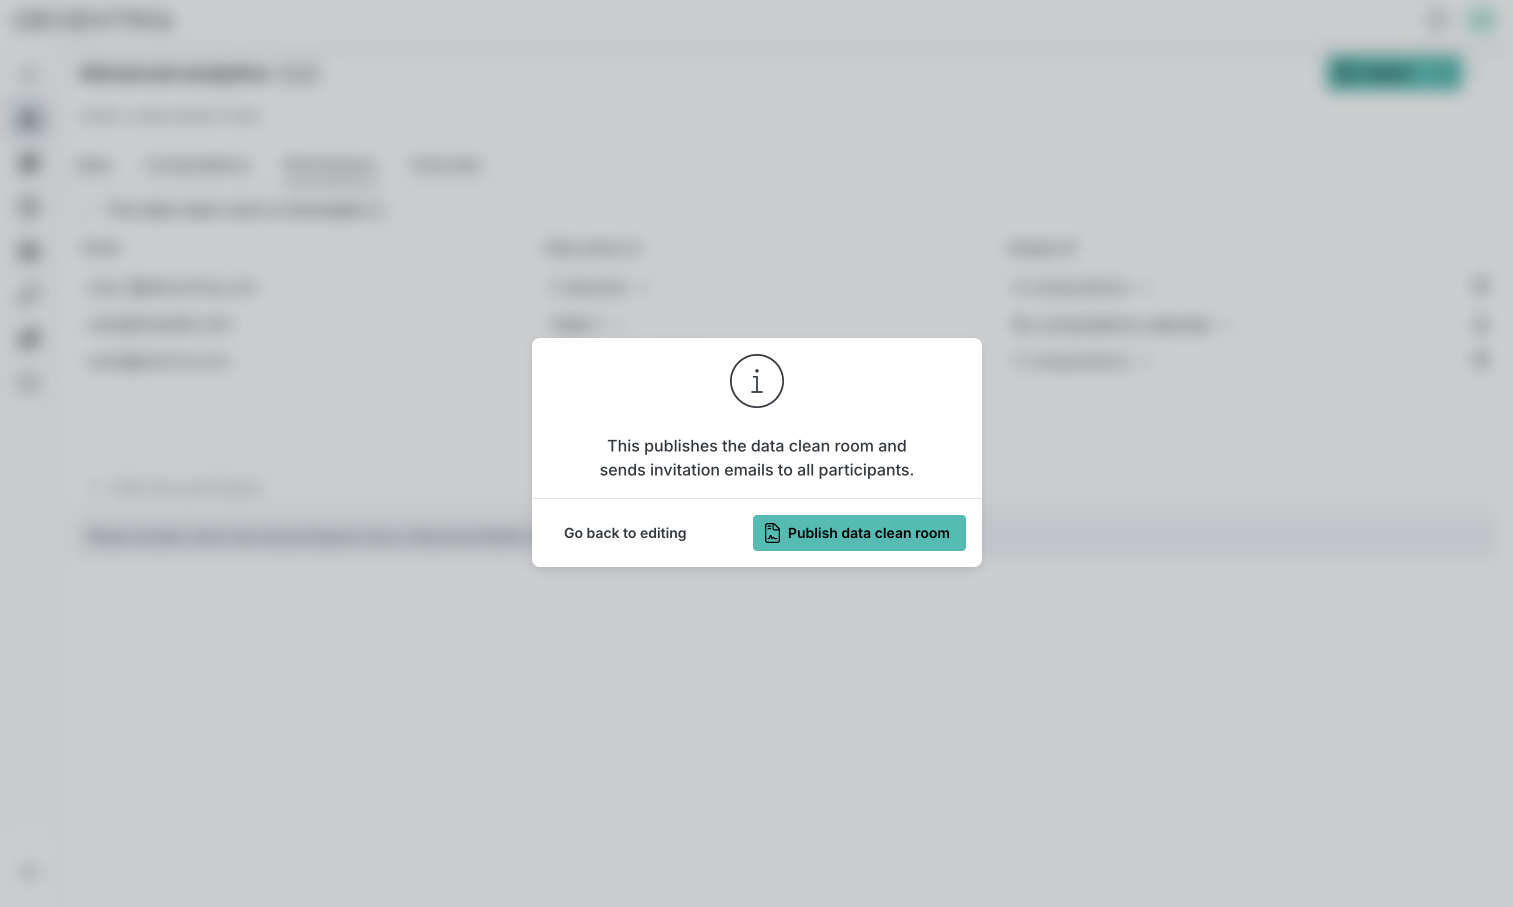
Step 6: Publish the DCR
Click on the Publish button to publish your DCR. By default, this test-runs the DCR with the provided test datasets (empty if none provided) to ensure the correctness of the computations. Note that running the computations on empty datasets may result in errors. To avoid this, choose Publish without validation.
After publishing, participants are automatically invited via email to the DCR and can begin collaborating. See the Using an Advanced Analytics DCR as a data analyst and/or the Using an Advanced Analytics DCR as a data owner section for the next steps.